Powerful, safe and easy-to-use disk cloning software for disk clone, partition clone and digital device clone.
With the promotion of Windows 11, many users have installed the latest Windows 11 system, but there are some problems. For example, some users encounter the situation that Windows 11 disk occupies 100%. How to solve this? In the afternoon, we will introduce five solutions you can try:
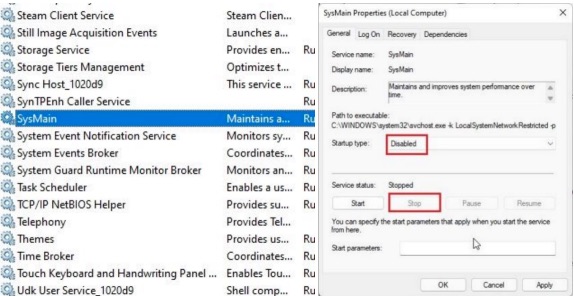
Method 1. Close the Sysmain Service
1. First, right-click the Windows 11 desktop This computer, select Manage;
2. Select services and applications;
3. Find the Sysmain service in the service item, stop and disable it.
Method 2: Reset virtual memory
Some users have found that 100% disk usage can be resolved by resetting virtual memory.
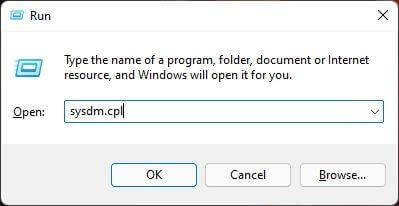
1. First, right-click the Windows icon and click Run.
2. Then, type "sysdm.cpl" and press Enter.
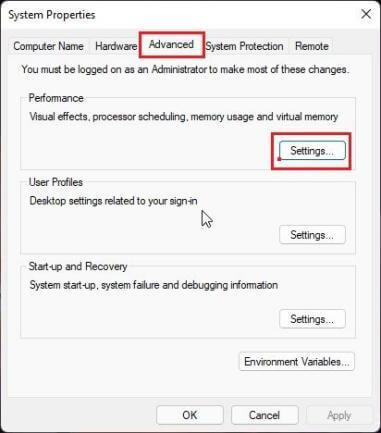
3. When the System Properties opens, click the Advanced tab. In the Performance tab, select Settings.
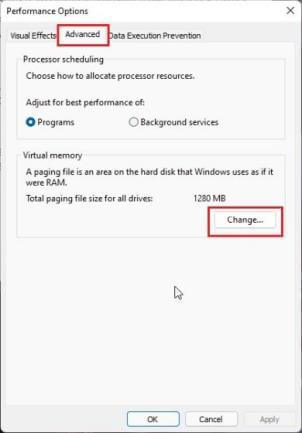
4. Select the Advanced settings tab.
5. In the Virtual Memory section, select Change to change the paging file size change.
6. First uncheck the option "Automatically manage paging file size for all drives" so you can adjust it manually. (You must select the drive where Windows 10 is installed.) Then select the "C:" drive from the list of drives.
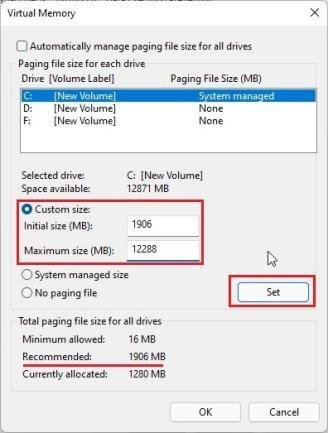
7. Select Custom Size, then set the Initial Size and Maximum Size accordingly.
Method 3: Check the Disk
1. Press Windows key + R key and enter "cmd" and press Enter.
2. Next, right-click Command Prompt and right-click Run as administrator.
3. Then, enter this command (chkdsk C: /f /r /x) and press enter. Type "Y" into the terminal and press Enter to start the scan the next time the computer restarts.

Method 4. Clean Boot Windows 11
A clean boot is all about starting the Windows 11 operating system with only the required programs and drivers. (This method may take a long time, it is recommended to try it last)
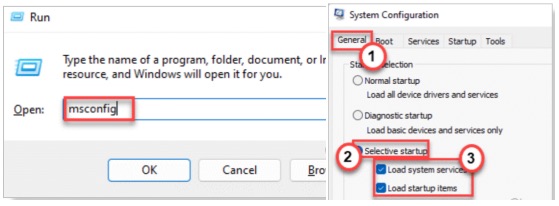
1. Press the Windows key + R key and enter "msconfig" and then press Enter to open the "System Configuration" window.
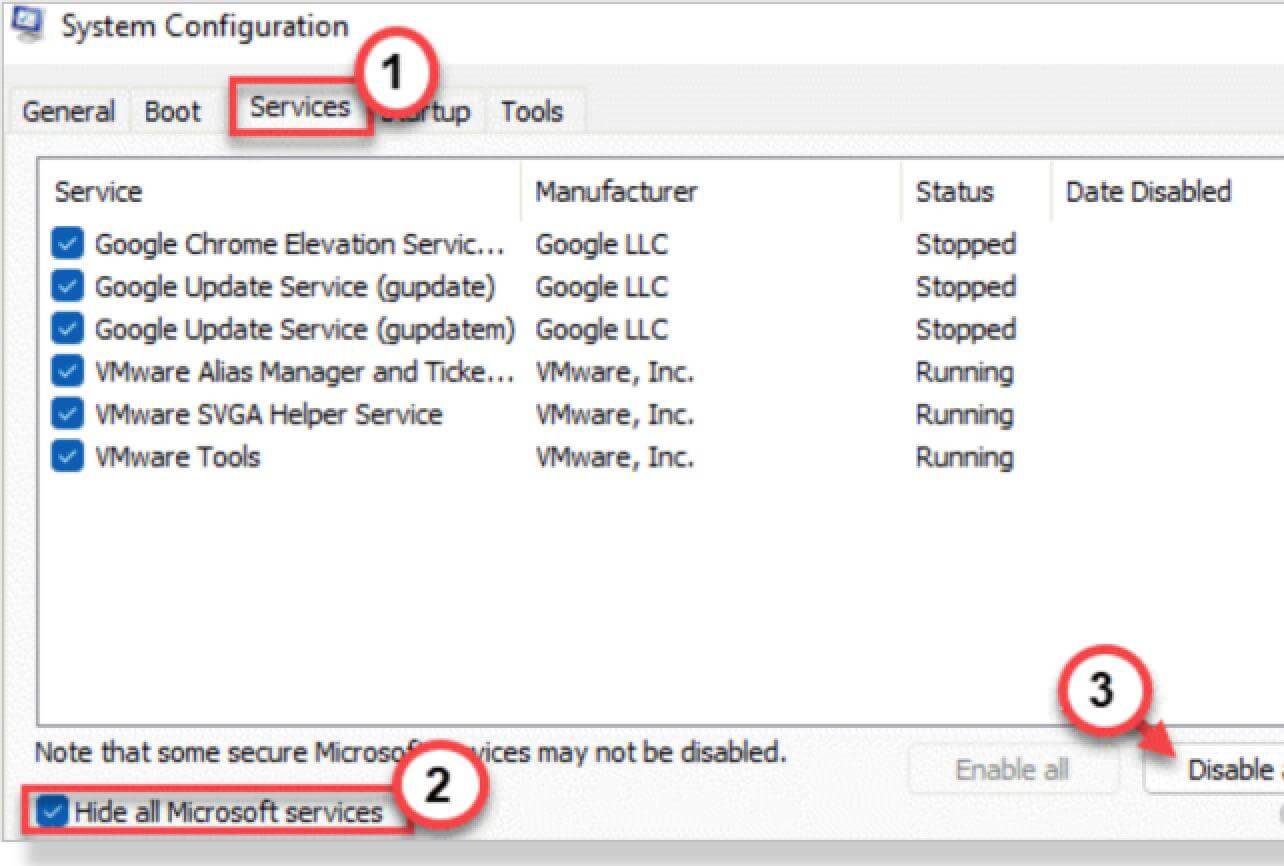
2. Select the "Services" item, check "Hide all Microsoft services", and then select "Disable all".
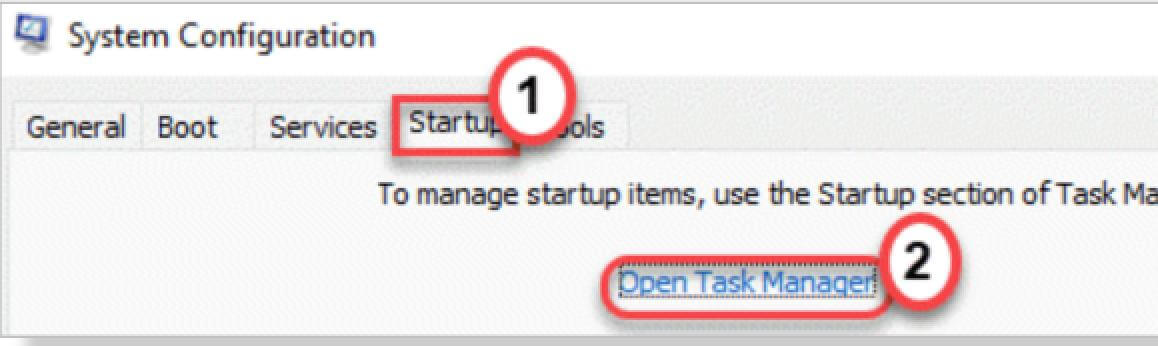
3. Select the Startup item, and then select Open Task Manager.
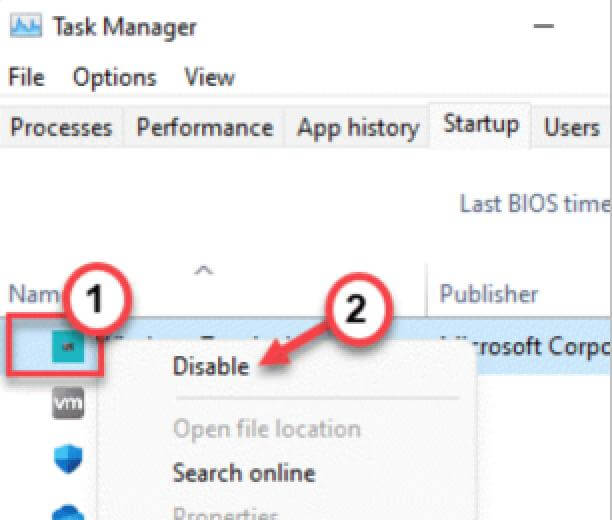
4. In the Task Manager's Startup item, disable the program you think may be causing the 100% disk usage problem. When done, close the task manager.
5. Go back to the System Configuration window and select OK.
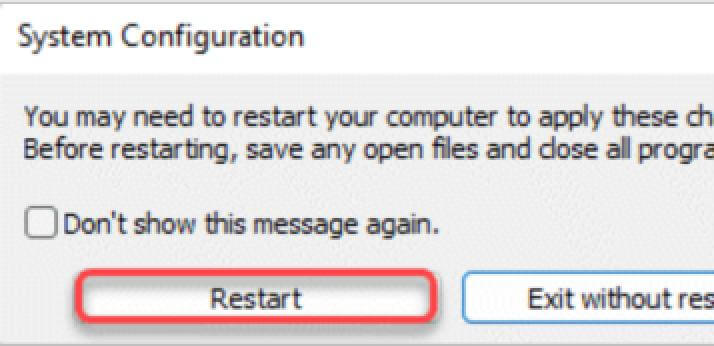
6. Select Restart your computer.
Method 5. Edit the Values Related to the AHCI Driver
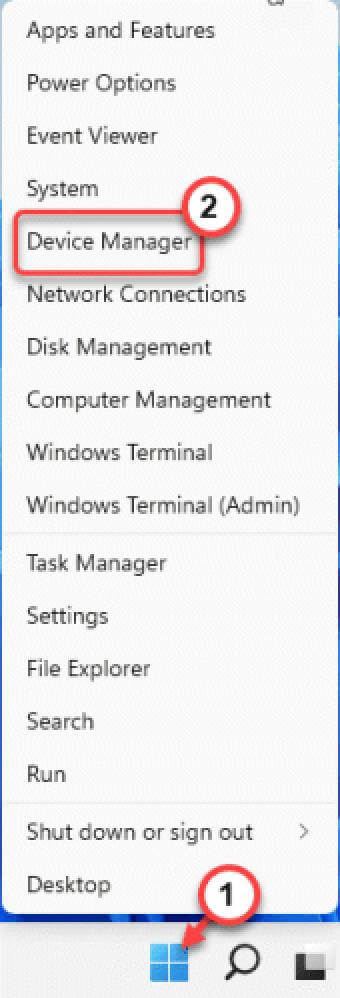
1. Press the Windows key + X key.
2. Then, click on "Device Manager" to access it.
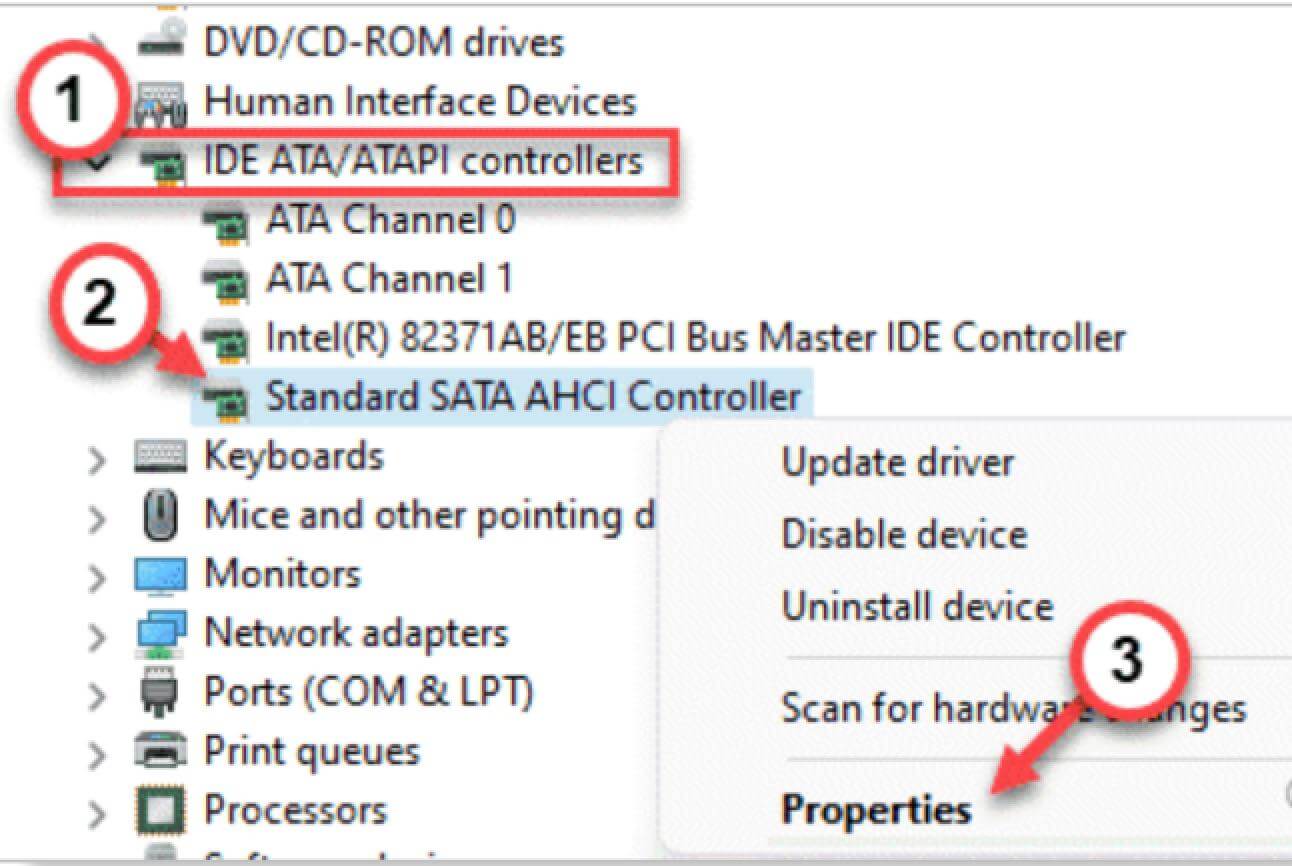
3. Once the Device Manager window opens, expand IDE ATA/ATAPI Controllers.
4. Then, right-click on the "Standard SATA AHCI Controller" device and select "Properties".
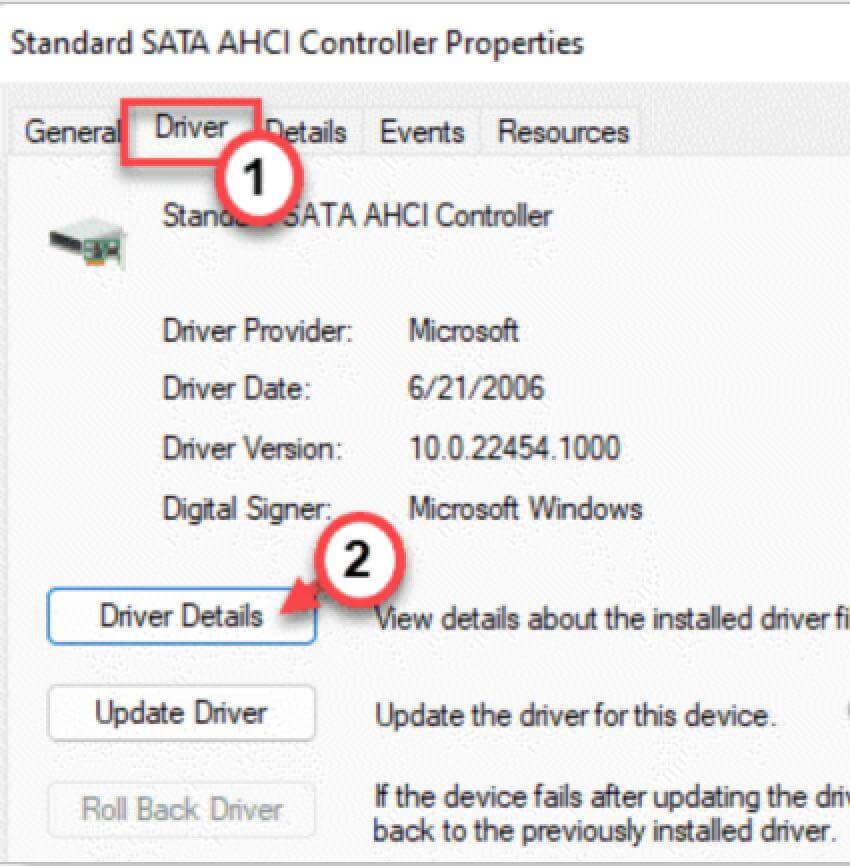
5. Now, select the "Driver" item.
6. Then, tap "Driver Details" to access detailed driver information.
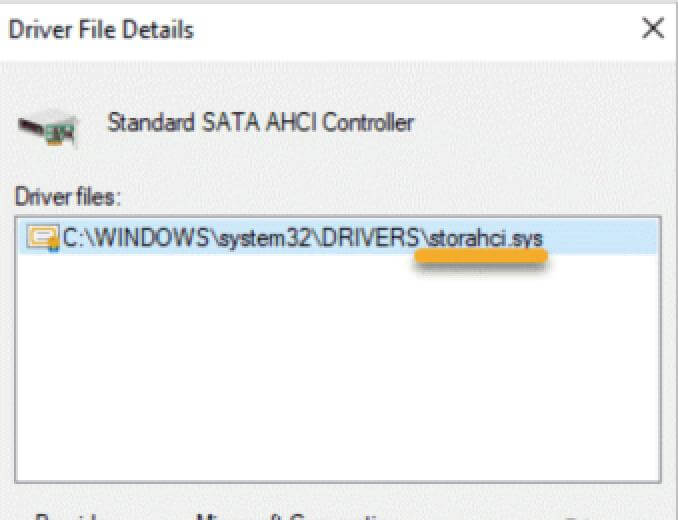
7.You can see the driver's name. If you see "Storahci.sys", that's the cause of the problem. Close the driver file details window.
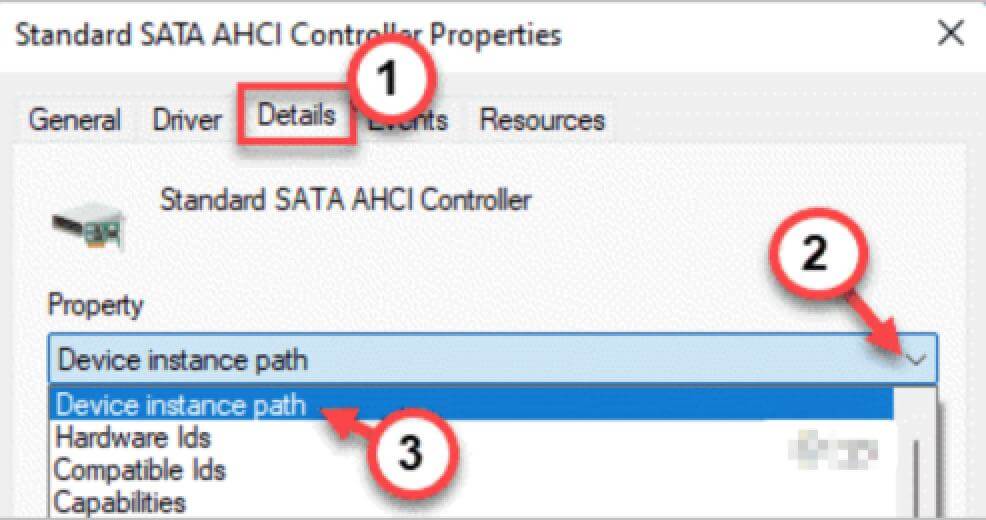
8. Back in the Properties window, go to the Details item.
9. Here, select the drop-down icon and select Device Instance Path.
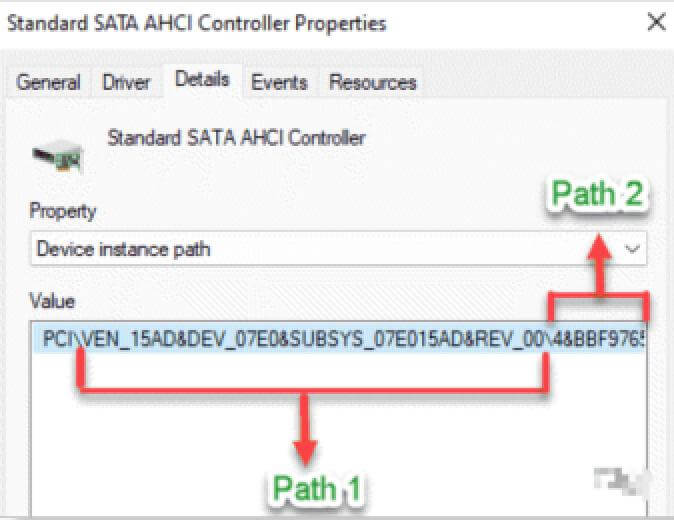
10. Now, carefully note the path after "PCI\" and after the end of the slash.
This is critical for later steps.
Example: (This is based on the path displayed on your computer)
The device instance path is:
PCI\VEN_15AD&DEV_07E0&SUBSYS_07E015AD&REV_004&BBF9765&0&2088
Path 1 is: VEN_15AD&DEV_07E0&SUBSYS_07E015AD&REV_00
Path 2 is: 4&BBF9765&0&2088
After recording these two paths, you can close the Device Manager window first.
You must now modify the registry key associated with this AHCI standard controller.
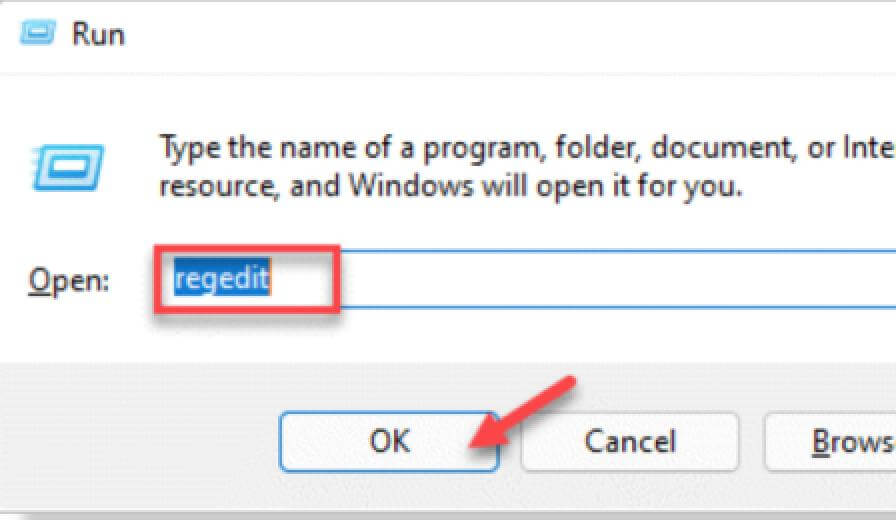
Step1. Press Windows key + R key, type "regedit" and press Enter.
Notices:
Registry Editor is the most sensitive part of the system. Before you modify/delete registry keys, we recommend backing up the registry on your computer.
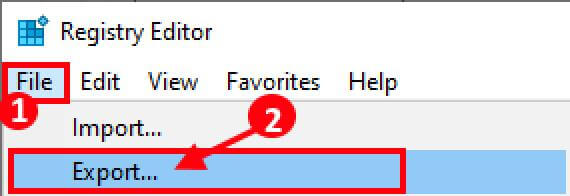
Step2. With the Registry Editor open, select the File item. Then select "Export" to make a new backup on your computer.
Step3. On the left, expand in this way:
HKEY_LOCAL_MACHINE > System > CurrentControlSet > Enum > PCI > Path1(Path 1 recorded above)> Path2(Path 2 recorded above)> Device Parameters > Interrupt Management > MessageSignaledInterruptProperties

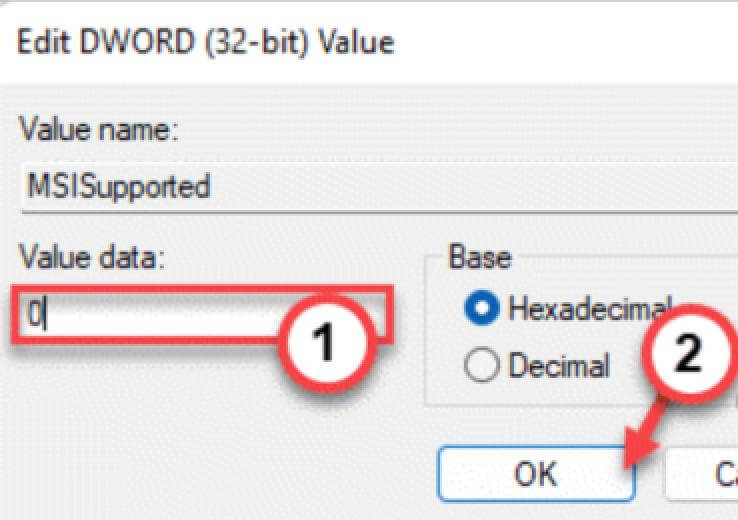
Step4. Now, on the right, double click on the "MSISupported" to edit it.

Step5. Then, after setting the value to "0", select "OK".
Close the Registry Editor window when the settings are complete. Restart your computer to save this change. This should stop disk usage issues on the system.
Doing any setting may encounter some problems that cause the system to fail to start, remember to make backups of important files! Some users reported that some files were lost after upgrading to Windows 11. You can choose DMclone for Windows to back up your data. Just download and install DMclone on your Windows PC.
