Download & Install
Supported OS: macOS 10.13 High Sierra or later.
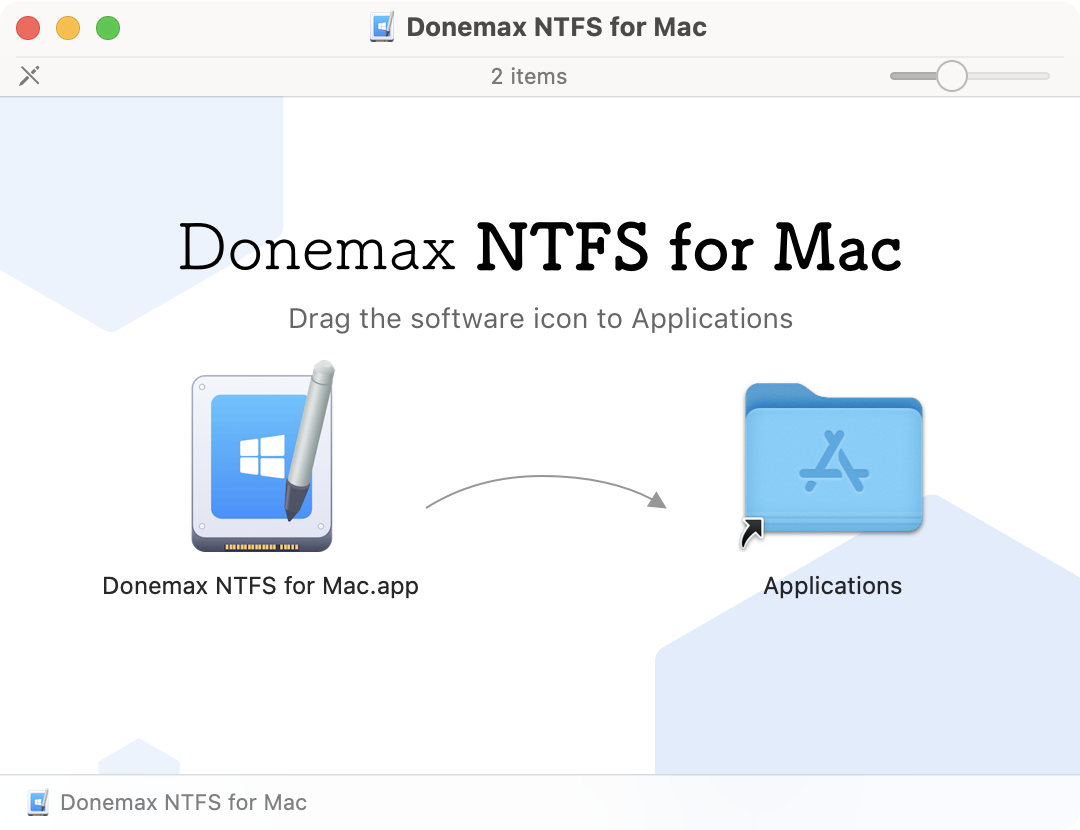
Step 1. Download Donemax NTFS for Mac, then open Downloads folder find the .dmg file, click to install it.
Step 2. Drag the software icon to Applications box to install it on Mac.
Activation
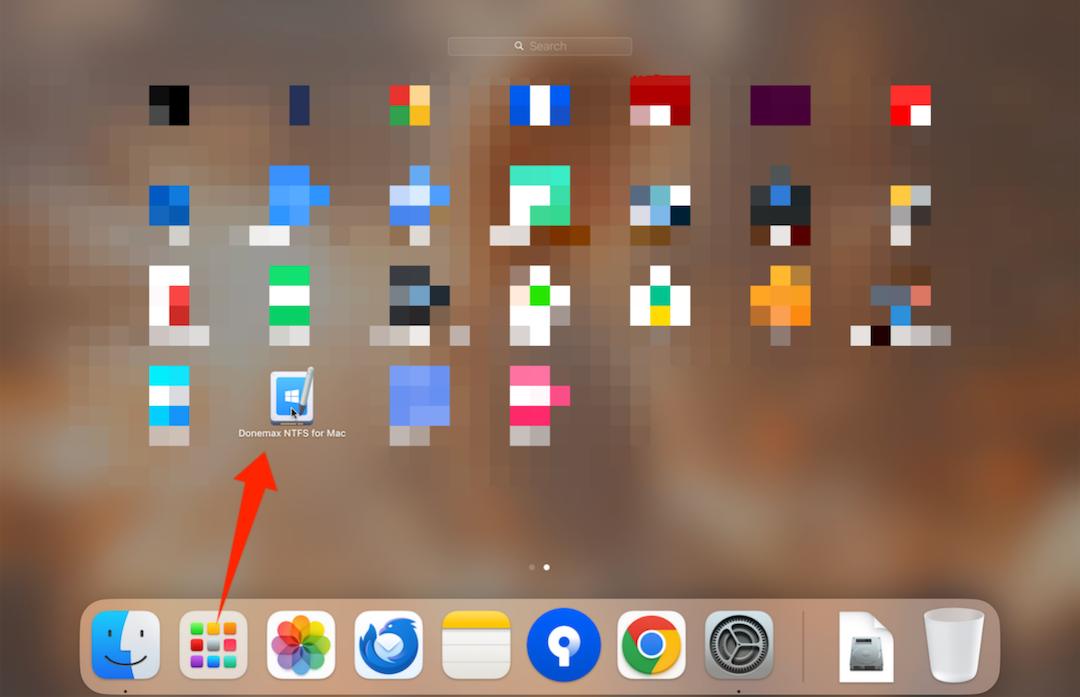
Step 1. Open the software from Launchpad (or from Applications).
Step 2. Click Activation icon, enter your license code to activate it to full version.

Get NTFS for Mac Permission from Your Mac
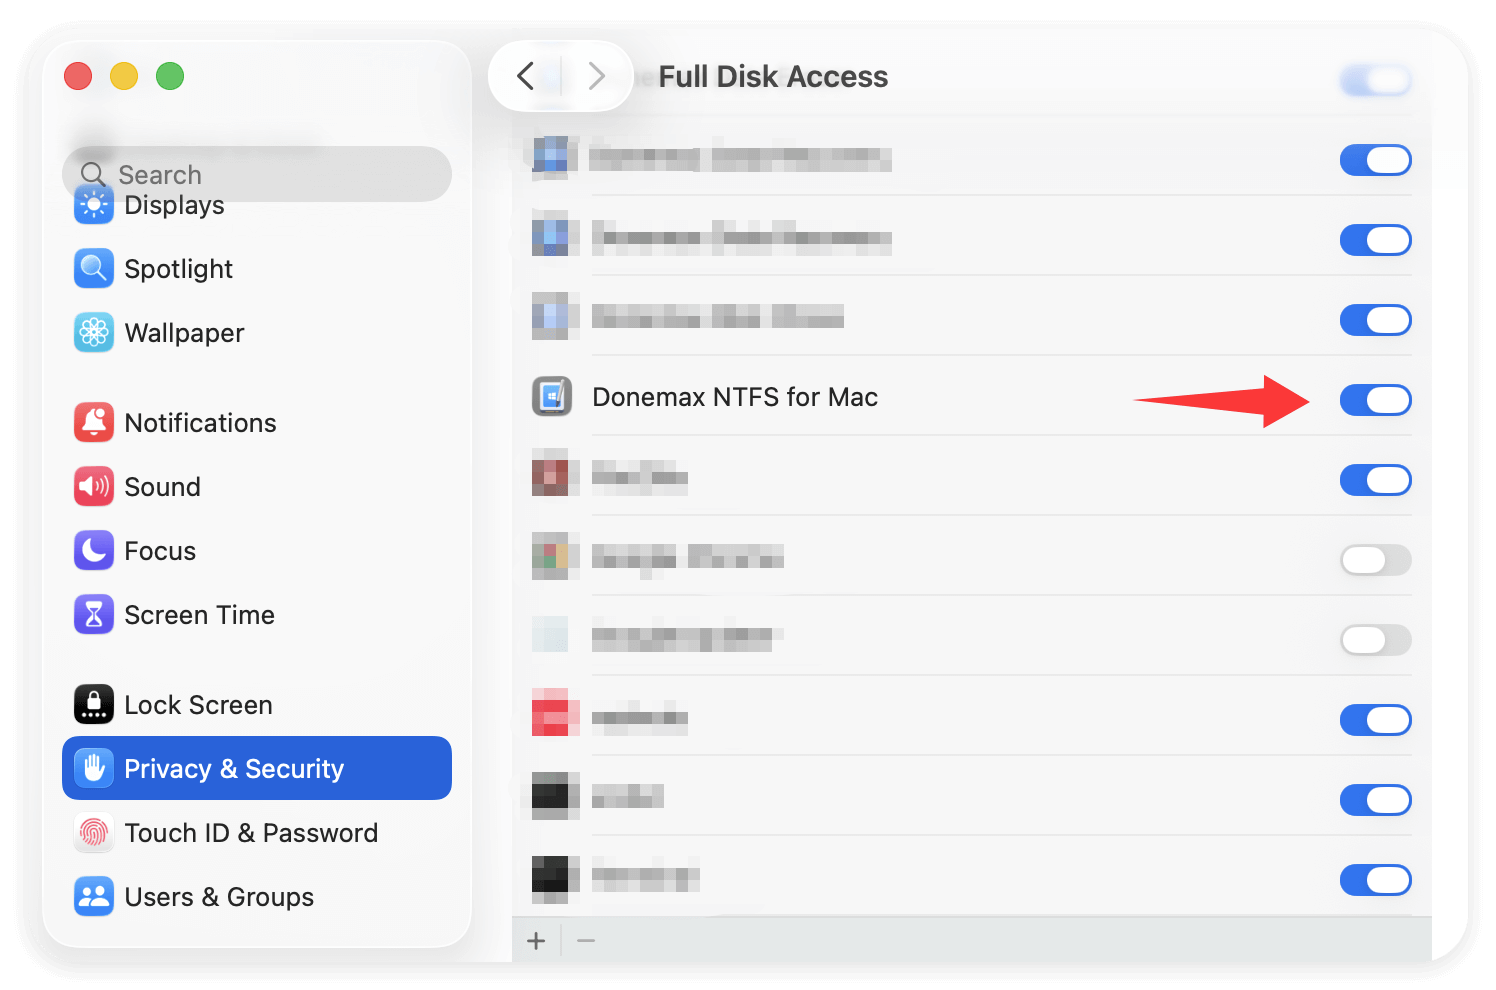
After installing and activating Donemax NTFS for Mac, you can connect an NTFS drive to your Mac. When you use it for the first time, you should get the Full Disk Access permission from your Mac so that you can enable Read-write for NTFS drives on your Mac.
Manage NTFS drives on Mac
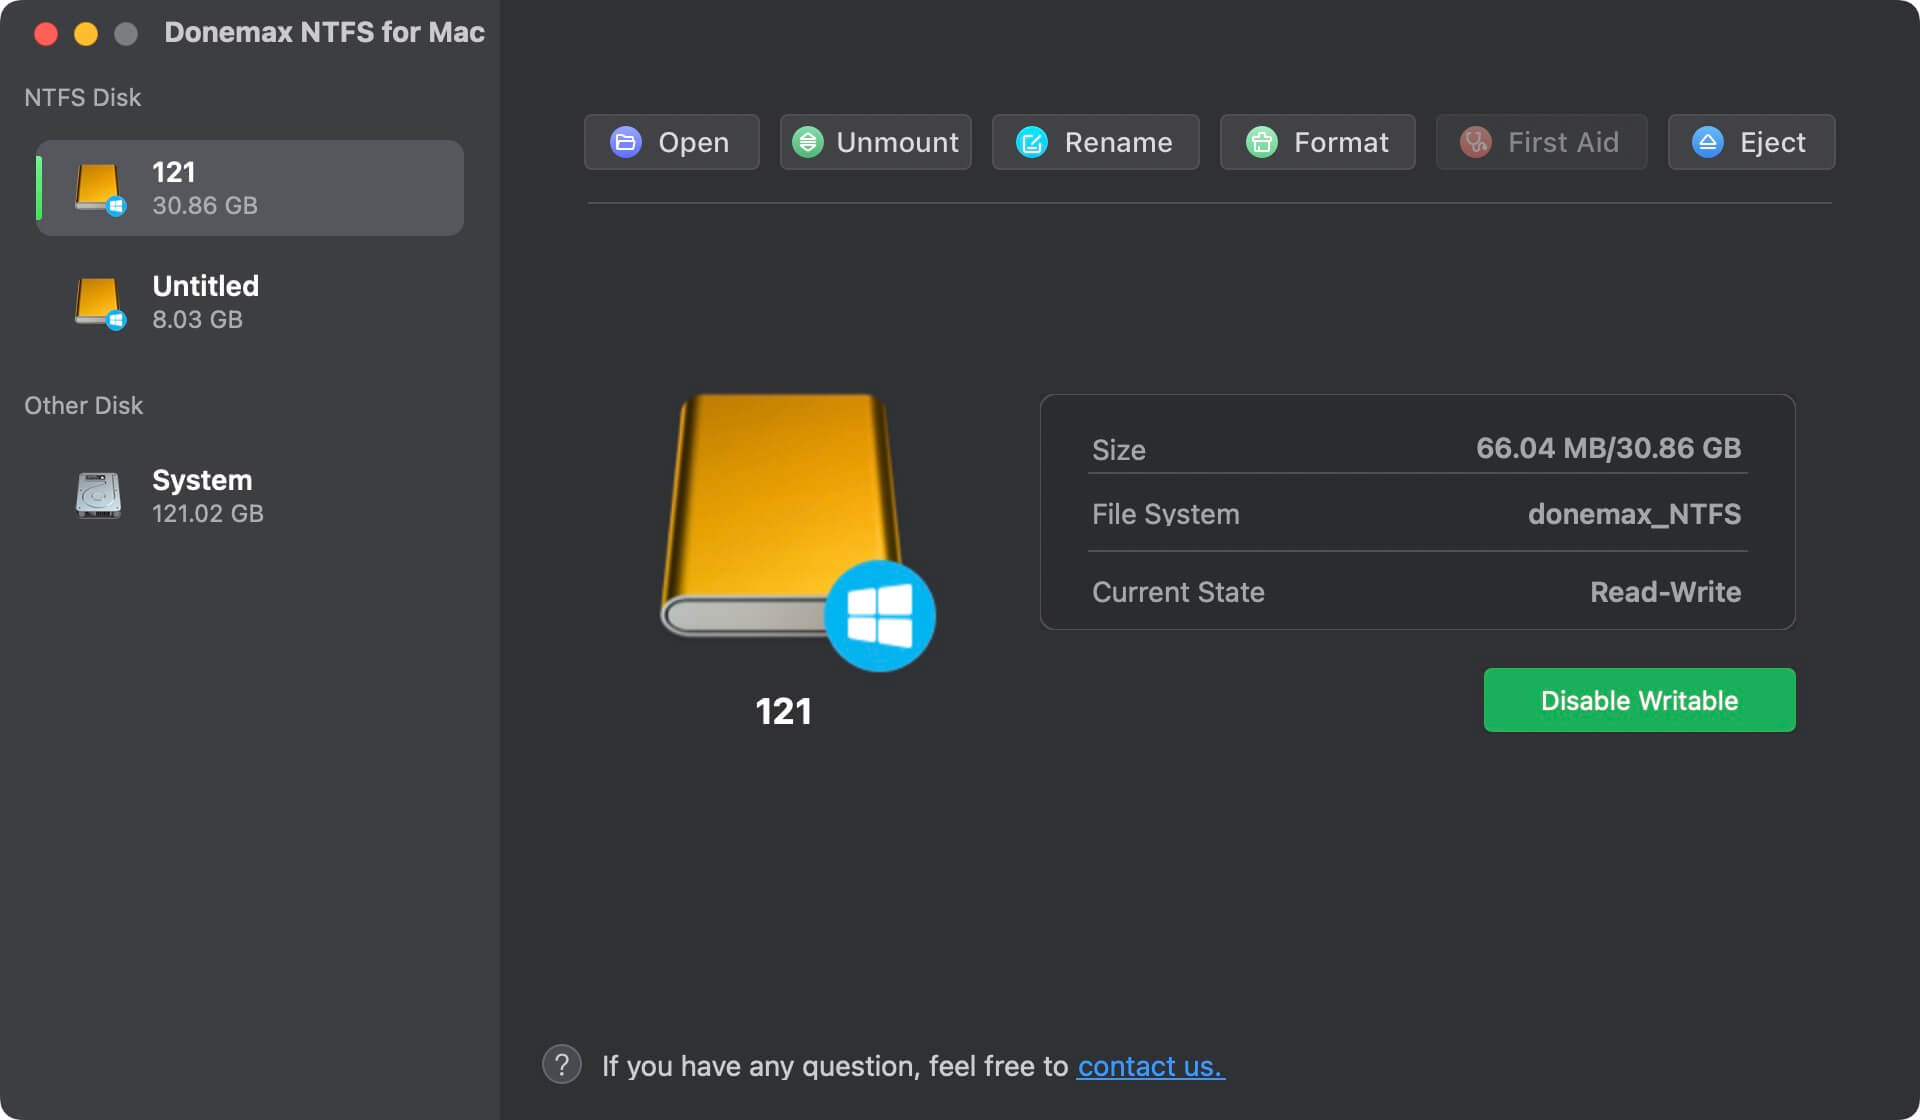
When you connect an external hard drive to your Mac, you can check if it is an NTFS dive. If it is an NTFS drive, open Donemax NTFS for Mac, find it and click "Enable Writable", then you can write data to the NTFS drive and edit, move, delete or add new data to the NTFS drive without any limitation.

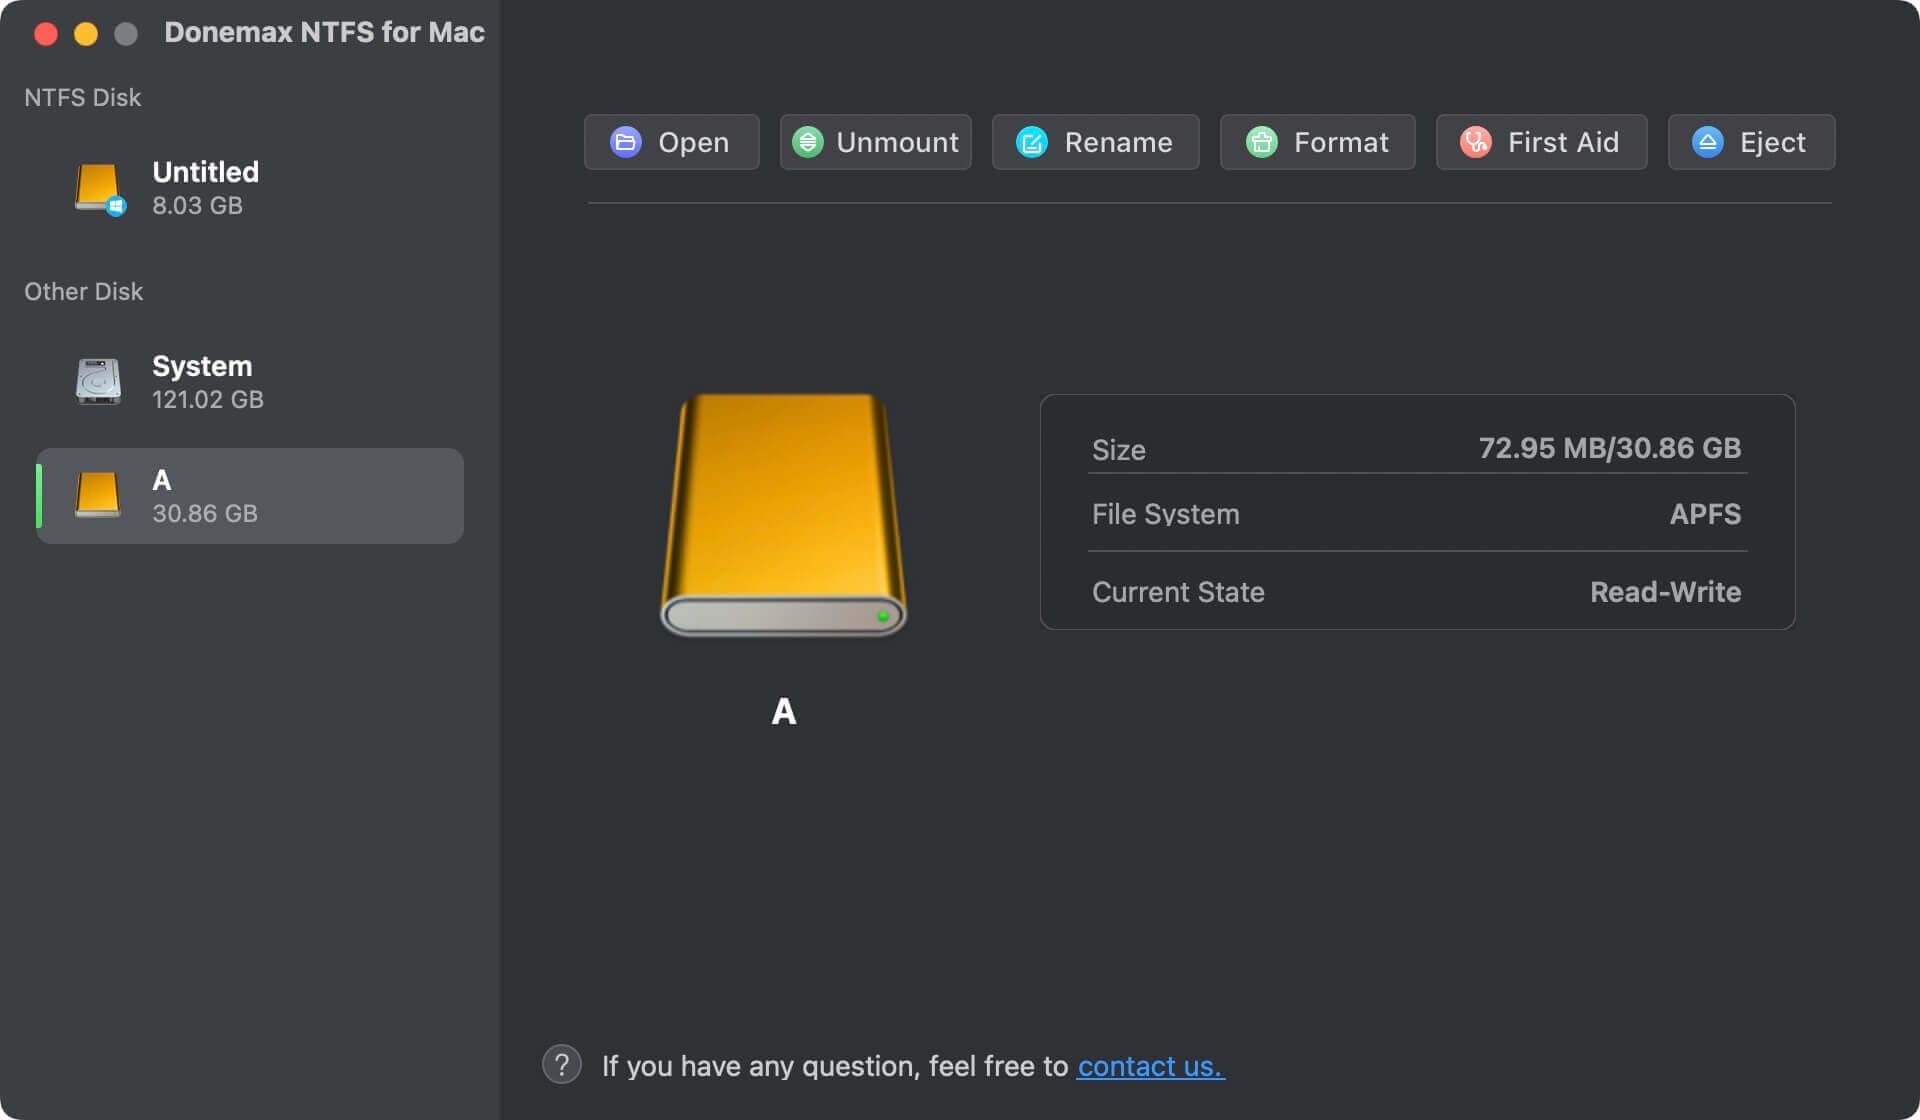
Donemax NTFS for Mac also allows you to open, rename,mount/unmount format, first aid or eject the NTFS drive.
Manage other drives on Mac
Under Other Disk, you can check all non-NTFS drives on your Mac, you can open, rename, format, first aid, mount/unmount, eject the drives.
FAQs
Mostly, it's because the software was not installed successfully. If you run the software from the mounted image from deskop or in the installation package directly, it's read-only.
After downloading the DMG package for the software, double-click it and ensure to drag the icon of the software from the left side to the right side "Applications" in the popup window to install it on yur Mac. Then you can run the software from Launchpad and activate it. You will not be asked to activate the software each time when starting it.
Yes, Donemax NTFS for Mac fully supports Intel-based Mac, Apple T2 Security Mac, Apple silicon Macs (M1/M2/M3/M4/M5 chip included).
Feel free to contact us if you have any question.