
Written byMariaUpdated on Jun 16, 2023
Transfer macOS to SSD with or without Software
Approved byGerhard Chou
The performance of your Mac may be significantly improved, and its storage capacity can be increased by upgrading the drive that was originally installed in the system. When moving user data from one drive to another, Apple often advises installing a new installation of OS X or macOS and then using Migration Assistant to carry over your user data.
It is done when transferring user data from one drive to another. You will need to overcome one challenge if you decide to increase the storage on your Mac to an SSD. It is up to you to oversee the data transfer procedure.
Even if you have the option to perform a fresh installation of the operating system, it is not recommended that you do so. The papers, files, images, and music collections that are irreplaceable to their owners are among the terabytes of information stored on computers.

How to transfer macOS to SSD?
To make this operating system switch successful, you must do some basic preparation. It would help if you had an SSD that is in excellent working condition. All information from your primary system drive should fit comfortably in its available space. If you can't upgrade to a newer SSD, you may always try clearing up some of the clutter on your present drive.
Create a copy of your data, just in case. Never attempt to change your hard drive without creating a backup, no matter how little. Before beginning the transfer, ensure you have a complete backup of all your crucial data.
Step 1. If you try to install the wrong drive, the whole process will halt. Before continuing, you should verify that your Mac has a valid model ID by selecting Option + Apple Menu > System Details. Use the "My Upgrades" section to locate the appropriate storage medium after you have the model ID.
Step 2. Both the old and new drives need to be connected simultaneously for the data transfer to take place. A mechanism to connect the old drive to the computer after installing a new hard drive is required for machines with only one drive, such as most laptops.
When you're done, you may reuse the enclosure you put your previous drive in for continued external storage. You can connect using the Voyager Drive Docking Solution technology or the Universal Drive Adapter Technology, standard external enclosures for drives of the proper size. Yet, in some cases (especially with MacBook Air models), a dedicated drive necessitates specialized housing.
Step 3. Before upgrading, double-check that you have a recent backup of your data stored on a different disc. You shouldn't have any problems as long as you have a Time Machine backup. In the extremely unusual case of data loss during the update, you will have a second, non-connected duplicate of your data to fall back on. The replacement drive can be installed if you are confident about your backup.
Step 4. Once you've changed out the old drive for the new one in your computer, you may attach the old one to the external enclosure or adapter. Next, format the new drive with Disk Utility. Disk Utility may be used in every OS X release from the utility menu. When you launch Disk Utility, you'll see a list of drives on the left side. If you want to delete everything on the disc, pick it and then click the "Erase" button.
Step 5. Even if you just loaded the latest version of the operating system, chances are updates are available for it. When the first installation is complete, click "Software Update..." from the Apple menu and apply any available updates. If an additional restart is required, continue the procedure until no more updates are available.
Step 6. Migration Assistant is in the Applications/Utilities folder, so navigate there. After Migration Assistant is up and running, choose to import user data from a different disc and hit the "Continue" button. The items you can send or receive will be displayed on the next screen.
Choose the accounts, programs, and network configurations to move to the new hard drive. Choose the goods you wish to bring across, then hit the "Transfer" button. It will take some time, depending on the size of the transfer. The rest of the installation process and booting to the new disc may be completed once Migration Assistant has completed its task.
Move macOS to an external SSD
If the SSD is an external hard drive, you also can move macOS and startup disk data to the external SSD by using a disk cloning application.
Donemax Disk Clone for Mac is one of the best disk cloning applications which can help you clone Mac OS to an external hard drive and enable the bootable feature. Just follow the steps below to move macOS to an external SSD.
Step 1. Download and install Donemax Disk Clone for Mac on your Mac then connect the SSD which can save the macOS to your Mac.
Donemax Disk Clone for Mac
- Clone HDD, SSD, and external storage device on Mac.
- Create disk image backup on Mac.
- Create bootable clone backup for Mac.
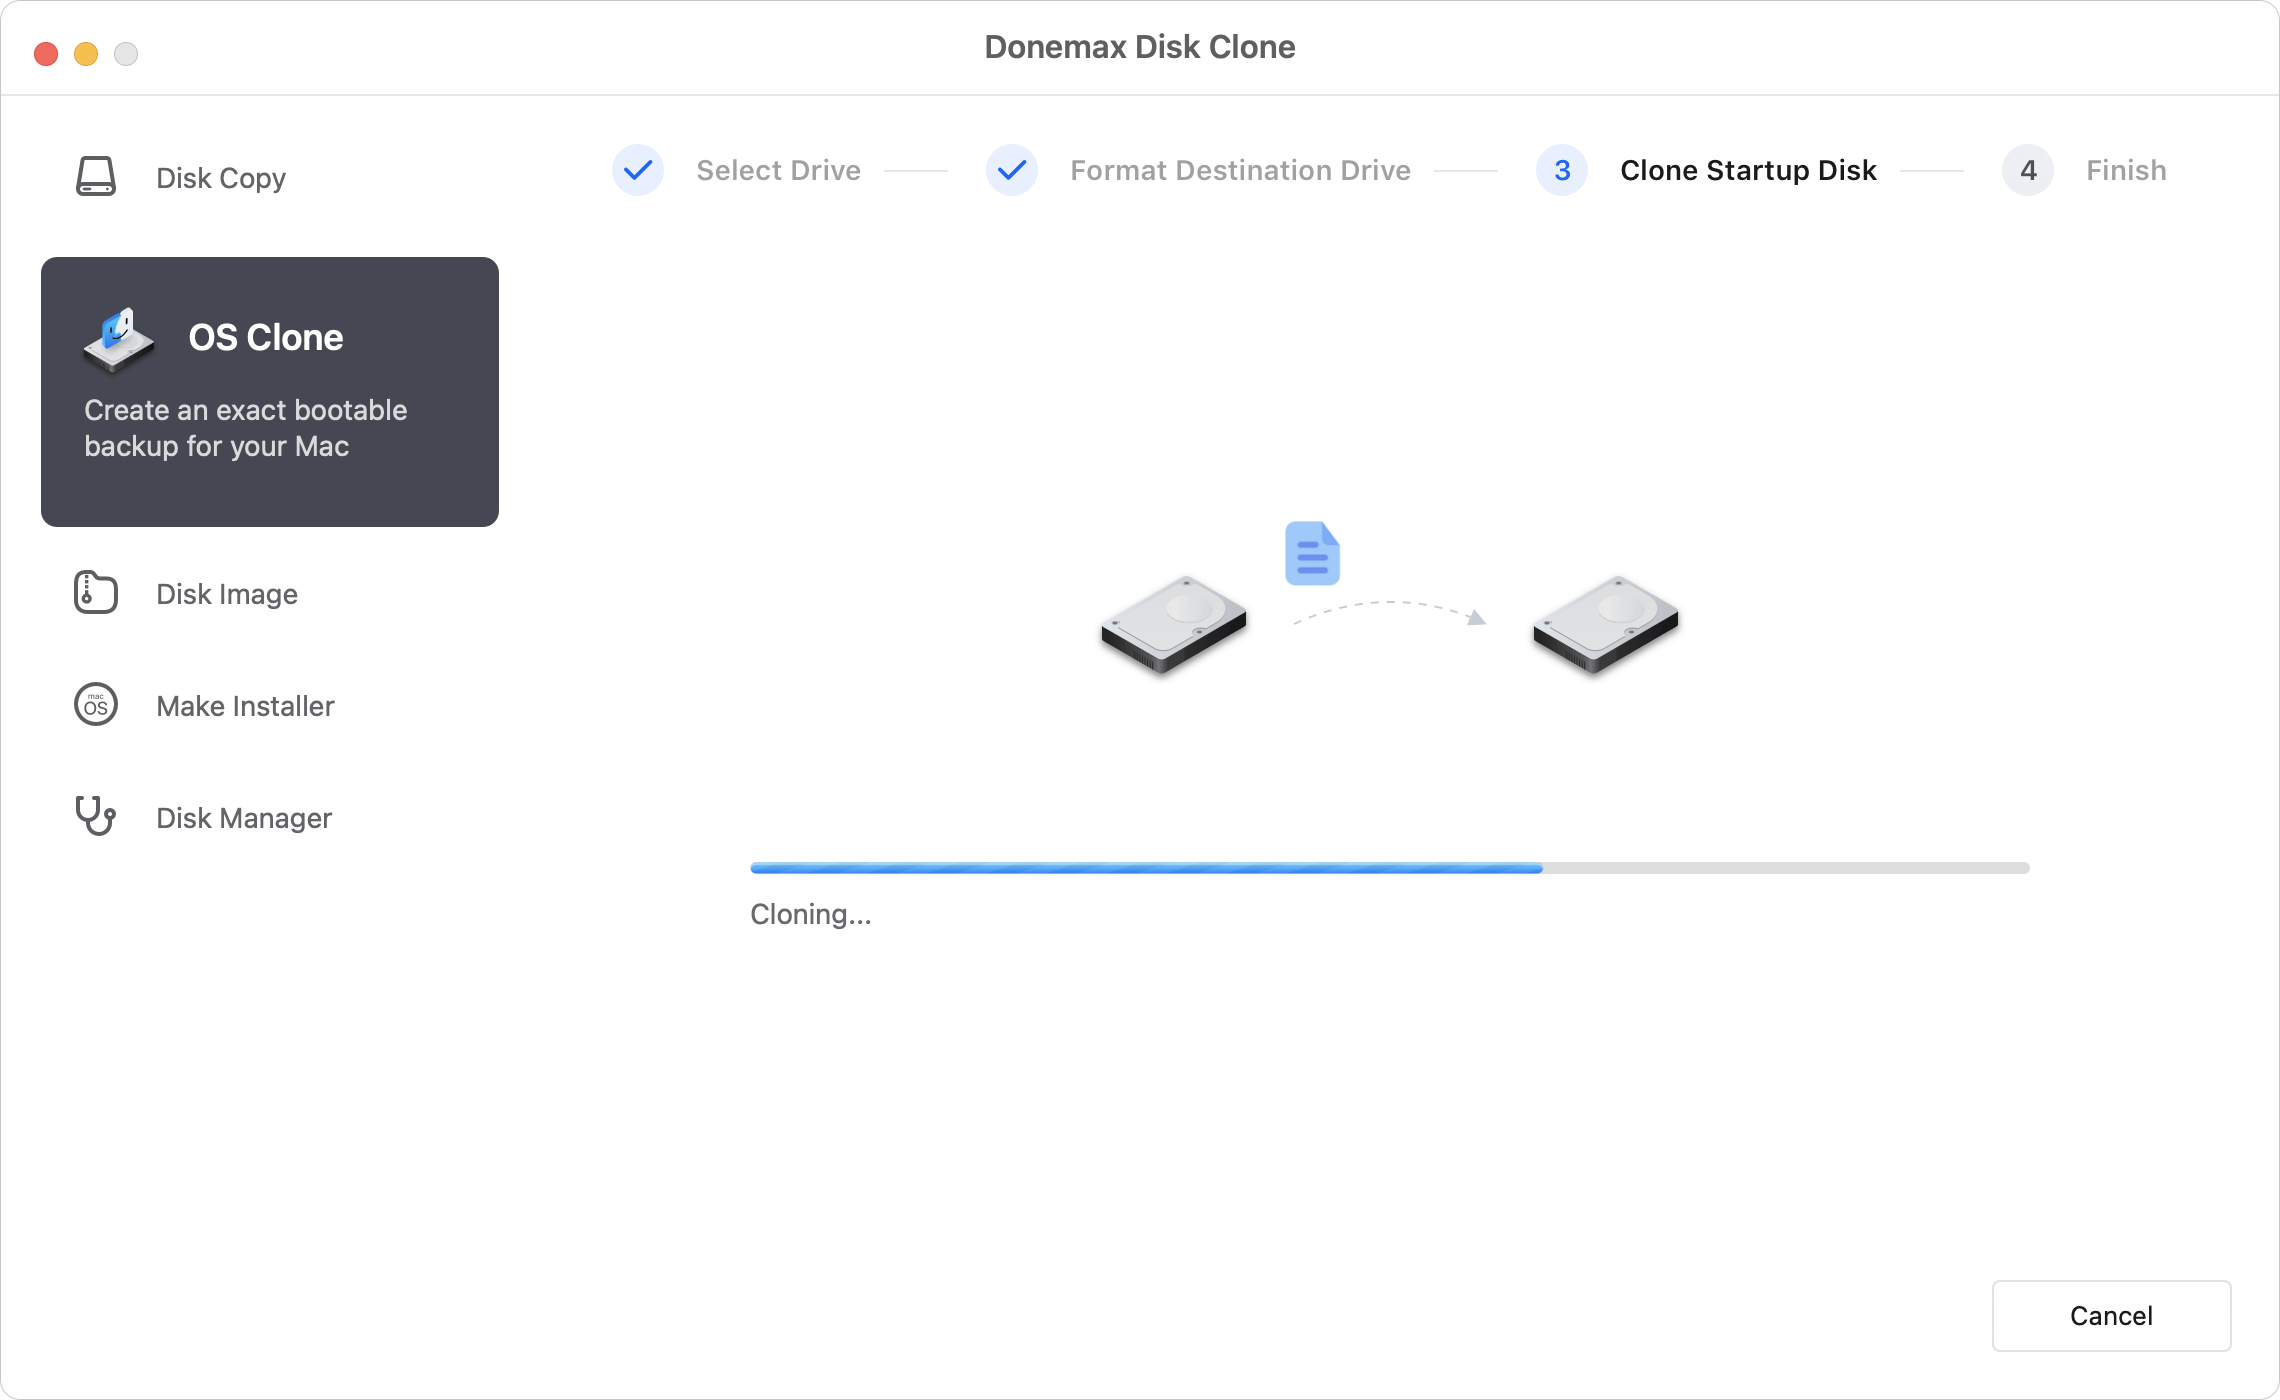
Step 2. Open Donemax Disk Clone for Mac, choose mode - OS Clone. Select the external SSD as the destination drive, click on Clone Now button.

Step 3. Donemax Disk Clone for Mac will clone all data from your Mac (macOS, settings, apps, files included) to the external SSD. When it completes, you can use the SSD as a boot drive on any Mac.
FAQs:
Donemax Disk Clone for Mac is a powerful disk cloning application. It works well on both Intel-based Macs and Apple silicon chip Macs. Follow the steps below to create a bootable clone for your Mac.
- Step 1. Prepare an external hard drive for disk cloning.
- Step 2. Open Donemax Disk Clone for Mac, select OS clone mode and select the external hard drive as the destination drive.
- Step 3. Click on Clone Now button to securely clone Mac startup disk to the external hard drive and make it be bootable.
Open Disk Utility, find the SSD and click on Erase button. Select APFS as the file system and click Erase again to format the SSD.
Data recovery software - such as Donemax Data Recovery for Mac can help you recover deleted, formatted or lost data on Mac or from external SSD.
Conclusion:
Moving information from a Mac to an SSD is not without its challenges. For starters, there's always the risk of anything bad happening to your data. A data transfer error might occur even if you are an experienced IT professional.
User data loss is a typical issue while cloning an operating system. No one wants to delete a crucial document accidentally. That's not good news, but you shouldn't lose hope if it does occur. Data lost on solid-state (SSD) or hard disk drives (HDD) can be recovered using specialized tools.
Related Articles
- Feb 25, 2024How to Make A Backup or Bootable Clone for M3-chip Mac?
- Aug 13, 2025SuperDuper! VS Carbon Copy Cloner for Mac Disk Cloning
- Jun 21, 2023Free Download EaseUS Disk Copy for Mac Alternative Software
- Jul 17, 2025Two Ways to Clone Mac to New Mac
- Sep 18, 2025Can I Restore Mac from External Hard Drive?
- Jun 25, 2023The Best Way to Clone Hard Drive on macOS Monterey

Contributing Writer
Maria
Maria is one of the senior writers & editors of Donemax who lives and works in Sydney, Australia. She loves PC, Mac and Internet Technology. She has 6 years of writing articles about data recovery on PC/Mac, disk cloning solution, data eraser and computer OS optimization, etc. She is also interested in testing various software and digital products.

Editor in chief
Gerhard Chou
In order to effectively solve the problems for our customers, every article and troubleshooting solution published on our website has been strictly tested and practiced. Our editors love researching and using computers and testing software, and are willing to help computer users with their problems