PAGE CONTENT:
As technology advances, we frequently switch between files on various devices and running systems. In some cases, Mac users may have trouble getting to files saved on Linux EXT4 partitions. A square peg won't fit in a round hole. That's how it feels. MacOS works fine with its file systems, like HFS+ and APFS, but not with EXT4, Linux's favorite file system. Don't worry, though!
It's possible to get into our EXT4 folders with the help of some third-party tools that make this possible. You've come to the right place if you've ever thought about how to get your Mac to work with Linux files. Now, let's get down to business and explain how to mount and read EXT4 partitions on your trusty Mac.

Tools for Mounting EXT4 Partitions on Mac:
People with Macs can use third-party tools to mount and read EXT4 partitions.
- One of these tools is "FUSE for macOS," a free and open-source software package that lets macOS work with many file systems, including EXT4.
- In addition, users need a file system driver that works with EXT4 folders.
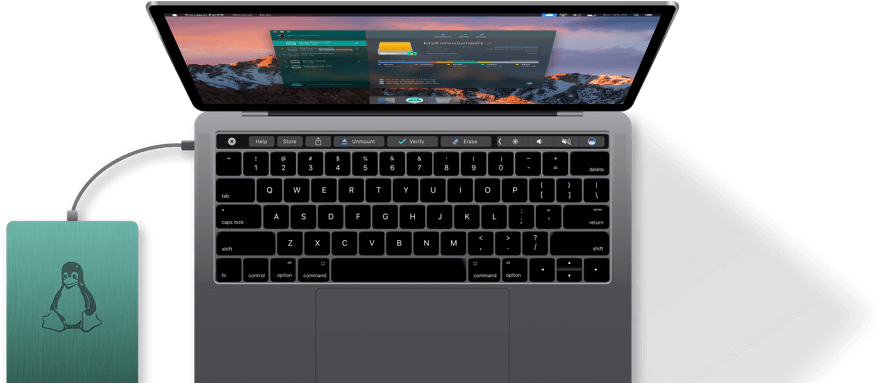
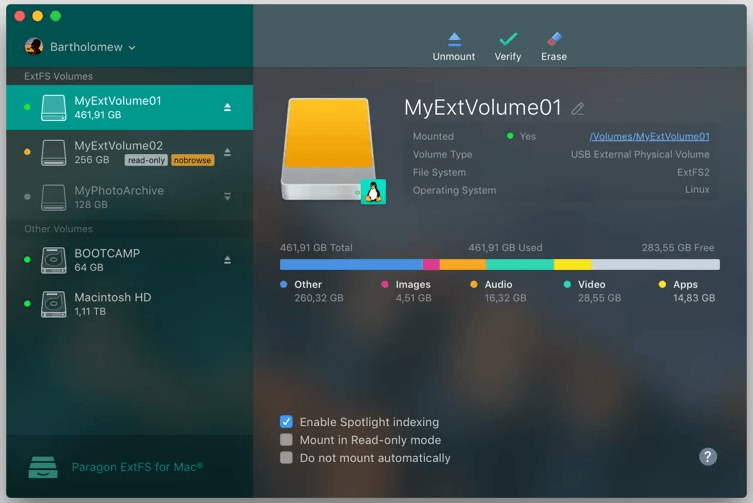
- "extFS for Mac" by Paragon Software is a good option because it works well with macOS and is easy to set up.
Step-by-Step Guide to EXT4 Partition Mounting and Reading on a Mac:
Step 1: Install FUSE for macOS:
First, install "FUSE for macOS" from the official website or another reliable source. FUSE, which stands for "Filesystem in Userspace," lets people who don't have root access make their file systems without changing the kernel code. After the program, restart your Mac to ensure everything works right.
Step 2: Install extFS for Mac:
Next, get Paragon Software's "extFS for Mac" and install it. The drivers in this program are what macOS needs to be able to see and use EXT4 partitions. To finish the application, follow the steps shown on the screen. Restart your Mac after installation so the changes take place.

Step 3: Connect the EXT4 Drive to Your Mac:
Use a USB or Thunderbolt port to connect the external hard drive or storage device with the EXT4 partition to your Mac. Before going further, ensure the drive is fully connected and turned on.
Step 4: Mount the EXT4 Partition:
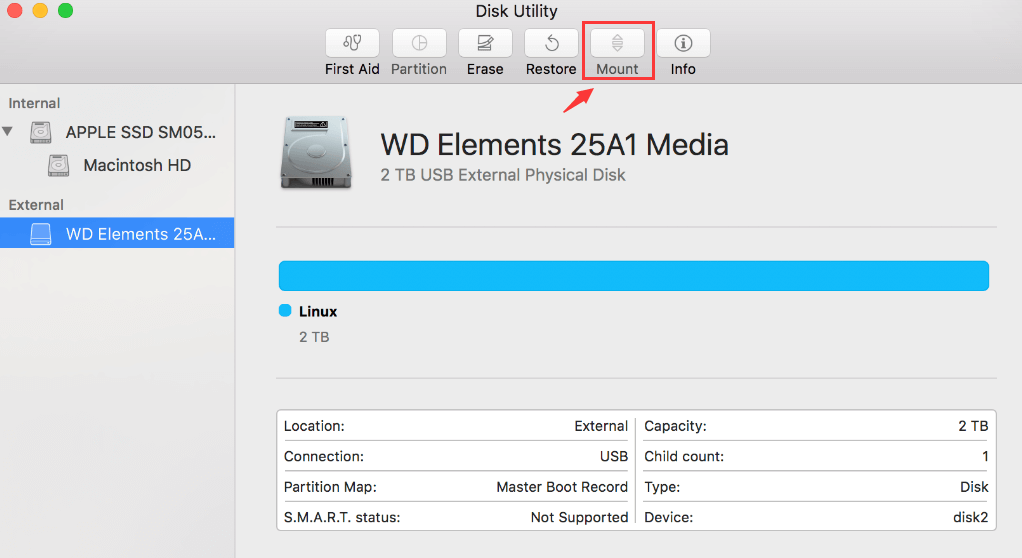
Once the EXT4 drive is linked, open the "Disk Utility" app on your Mac. To access it, go to "Applications" > "Utilities" or by putting "Disk Utility" into Spotlight (Cmd + Space).
You should see the connected EXT4 drive on the left side of Disk Utility. Pick out the EXT4 share that you want to mount.
You can click the "Mount" button in the toolbar or go to the menu bar and choose "File" > "Mount." Disk Utility will use the extFS driver that was loaded earlier to mount the EXT4 partition. If it works, the EXT4 partition will show up on your screen and Finder, letting you access its files.

Step 5: Read and Access EXT4 Files:
After mounting the EXT4 partition, you can use Finder or any other file manager app on your Mac to view its data. You can also move around in the directory system, open files, and do other things just like you would with any other drive or partition.
Remember that you can read and access files in the EXT4 folder, but you can't write to it by default. The extFS driver enforces this restriction to prevent data damage. If you need to write to the EXT4 partition, you might want to consider other options or enable write support at your own risk.
Step 6: Safely Eject the EXT4 Partition:
When you're done working with files on the EXT4 section, you must safely eject the drive to keep your data from getting lost or damaged. You can right-click on the EXT4 drive, select "Eject" from the menu or drag its icon to the Trash. Please wait until you see a message confirming that it is safe to disconnect the drive before you physically disconnect it from your Mac.
Note: If you want to mount and read-write a NTFS drive on your Mac, just download and install a NTFS for Mac tool on your Mac and use it to quickly enable writable for the NTFS drive.
How to Format EXT4 Drive on Mac?
If you can’t mount the EXT4 drive on your Mac, you can format it to Mac-compatible file system.
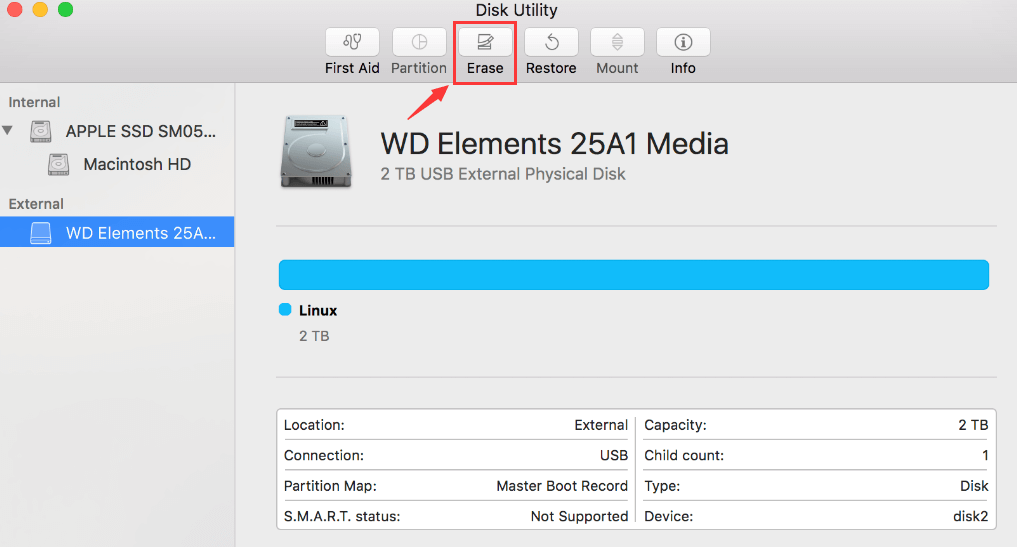
- Open Disk Utility on Mac (Go to Launchpad > Other > Disk Utility).
- Select the EXT4 drive and click Erase.
- Select a file system, such as APFS, ExFAT or Mac OS Extended.
- Click Erase again to format the EXT4 drive.
![mount EXT4 partition on Mac]()
If you have lost data due to erasing the EXT4 drive, just use a data recovery app to help you recover lost files:
Step 1. Download and install a reliable Mac data recovery application on your Mac. Donemax Data Recovery for Mac is a powerful data recovery application. Just download and install it on your Mac.
Step 2. Open this data recovery application and then select the erased drive to start data recovery.

Step 3. Click on Scan button to deeply scan the erased drive and find all recoverable files.

Step 4. Once the scan is completed, you can preview all recoverable files. Then select the wanted files and save them.

Conclusion:
Accessing files on Linux EXT4 folders from a Mac might seem hard initially, but it's straightforward if you have the right tools and know-how. Following the steps in this guide and using third-party tools like FUSE for macOS and extFS for Mac makes it easy for Mac users to mount and read EXT4 partitions. Whether you're a coder, a system administrator, or a regular user, maximizing cross-platform compatibility makes you more productive and speeds up your work in today's digital world.
Related Articles
- Jul 27, 2025WD Elements Not Mounting on Mac? Fix It Now
- Jan 17, 2024How to Format WD My Passport External HDD/SSD on Mac?
- Feb 18, 2025Fix Unknown USB Device (Device Descriptor Request Failed): A Comprehensive Guide
- Mar 12, 2024External Hard Drive Not Mounting on Mac mini, What to Do?
- Mar 13, 2025How to Format Seagate Game Drive: A Step-by-Step Guide
- Jun 24, 2024How to Check Samsung SSD Health?

Coco Lin
Coco has been a writer and a chief programmer at Donemax software since 2018. Over 10 years of experience of writing troubleshooting articles in the software industry, she is passionate about programming and loves to providing solutions to Windows and Mac users. Also she enjoys music and palying tennis in her free time.

Gerhard Chou
In order to effectively solve the problems for our customers, every article and troubleshooting solution published on our website has been strictly tested and practiced. Our editors love researching and using computers and testing software, and are willing to help computer users with their problems
