
Written byStevenUpdated on Sep 21, 2023
How to Partition Hard Drive on Mac?
Approved byGerhard Chou
Partitioning a hard disk from scratch is challenging for anyone who has attempted it. The Mac's partition manager is not as simple as the name suggests. It's not hard at all once you know what you're doing.
But the good news is that you can partition and unpartition without using outside resources. This article will show you how to partition and unpartition on a Mac without fuss.
PAGE CONTENT:
What Is A Partition?
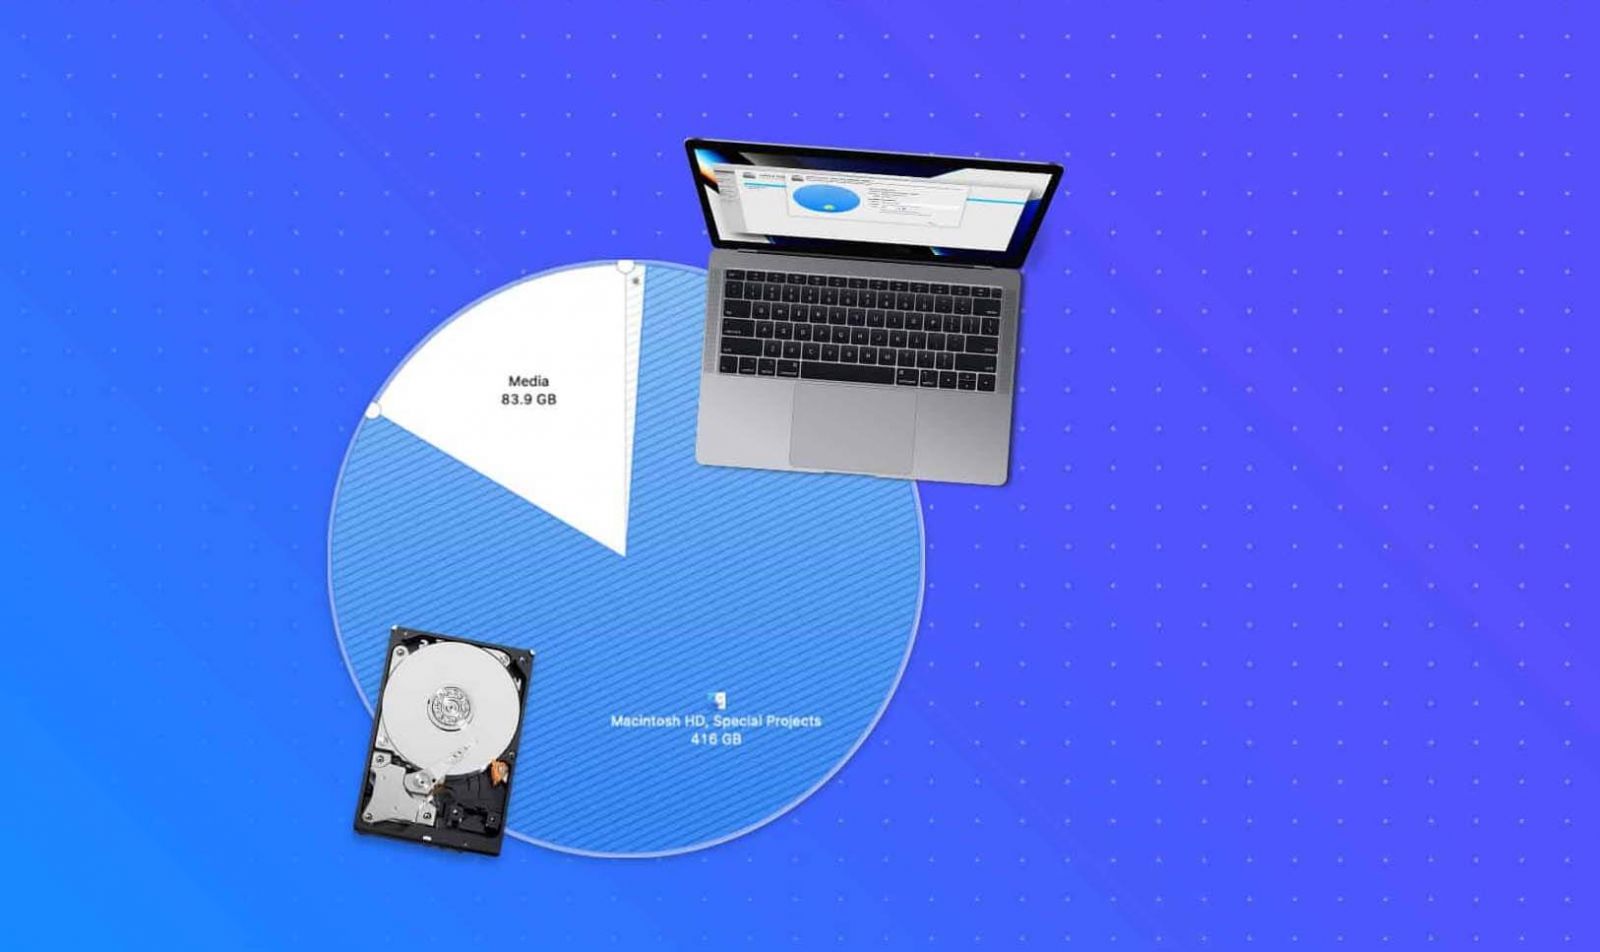
It's important to understand what a partition is and why you need one before we begin establishing partitions on your storage device. A computer's hard disk can be divided into multiple "partitions," each with its independent storage area. A single storage device can be partitioned to appear to the computer as two separate hard drives.
Making use of several partitions is beneficial for several reasons. The first and foremost benefit is a decreased probability of data loss in the event of an OS data corruption. Separating your user data and operating system from your media files (such as music, films, and images) is a good idea. You may wish to create numerous partitions if you need to move specific files from a PC to a Mac without using an external storage device.
What's the Point of Creating Disk Partitions?
Partitioning your Mac hard disk is a good idea for several reasons. The most important features are the ability to dual-boot multiple operating systems on a single Mac.
Copying the data on the other partition prevents you from worrying about data loss. It is time to learn how to create the partitions now that we understand why they are necessary.
🔖Partition Hard Drive on Mac with Disk Utility
The Disk Utility creates partitions when installing a new or multiple Mac OS. Disk Utility, as is common knowledge, can fix Macs and create partitions. For this purpose, we employ the Mac Partition Manager. You should completely back up your device's data before you begin the process. In case of data loss, you will still have a backup copy.
The procedure is nearly identical if you want to partition an external drive, except that you must first format the external drive.
- To open the Utilities, either type Command + Shift + U or navigate to the Utilities folder in the Applications folder. To access the Mac's internal drive, use Disk Utility.
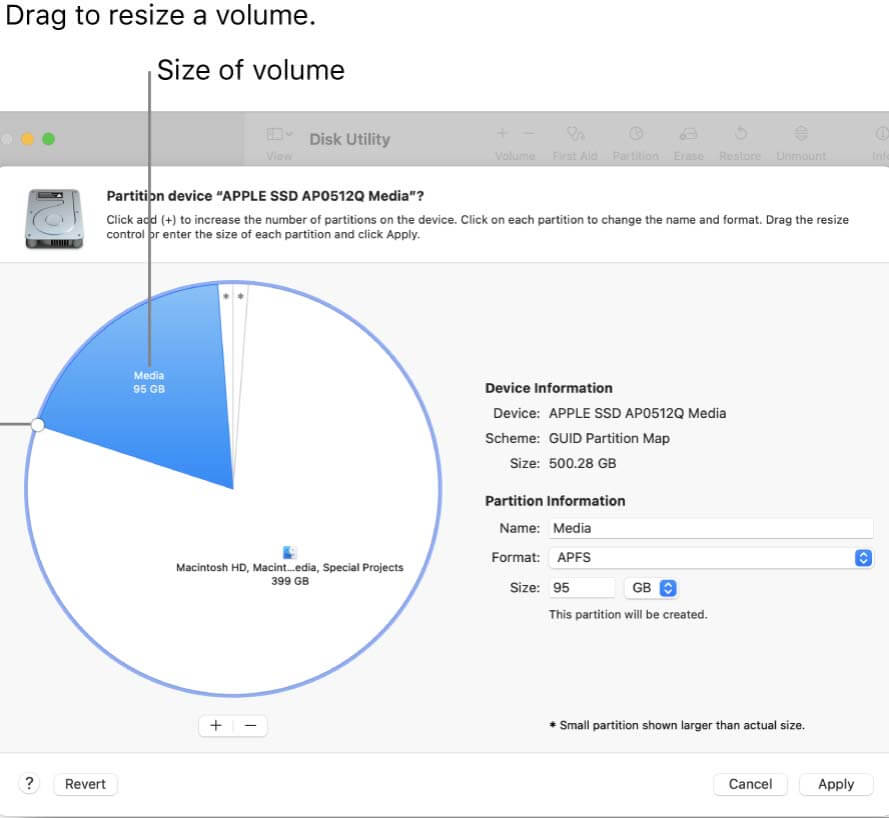
- This window has the "First Aid" and "Partition" buttons. To add a partition, select it and then click the "+" button.
- When you create a new partition, you can customize its storage limits to meet your needs.
- Just click the Apply button after you've given the new drive a name. Sometimes, you must confirm your choices by clicking a lock icon.
- After a partition has been formed, the drive can still be edited. When done, the partition will show up on the primary hard disk. When necessary, the partition size can be changed after the fact.
🔖How to partition an external drive?
The procedure is nearly identical if you want to partition an external drive, except that you must first format the external drive.
- Join the flash drive to the Mac.
- Launch the Disk Utility.
- Choose the removable drive on the left side of the screen.
- The formatting tool is Eraser.
- Enter the drive's name and choose the exFAT format.
- To delete, select the Delete button.
- Partition your external disk by clicking the Partition tab described in the preceding section.
- Then, you may use each partition separately to install Windows or save files.
🔖Create multiple partitions:
- To access the Primary Partition menu, right-click anywhere within the blue bar.
- To reduce the current volume, select Shrink Volume and type in the desired reduction.
- Just move on to the Next Step. When finished, a new section labeled Unallocated Space will appear.
- Please refer to the "Create a new partition" section above to complete.
🔖How to switch partitions?
- Select System Preferences from the Apple menu.
- Click the Disk to Start Up.
- Put in your TouchID or password, and then click the lock button.
- You can now choose which partition to boot from.
- Force a reboot.
- When you restart your Mac, it will boot up the selected drive. The disk selection option is also available during Macintosh startup. While on the Startup Manager page, select the partition by pressing and holding the Option key.
Recover Lost Data after Partitioning Hard Drive on Mac
Data loss due to partitioning hard drive is not rare to see. If you lose important files after partitioning Mac hard drive or creating a new disk volume, you can use a data recovery application to scan the Mac hard drive, then find the lost files.
Donemax Data Recovery for Mac is an easy-to-use Mac partition data recovery application which is able to recover all lost files from HDD/SSD and external storage device.
After installing this Mac data recovery software, you can run it to recover lost data after partitioning the Mac hard drive:
Step 1. Open Donemax Data Recovery for Mac on your Mac, then select then entire Mac hard drive to start data recovery.

Step 2. Click on Scan button. Donemax Data Recovery for Mac will deeply scan the Mac hard drive and find all deleted/erased files.

Step 3. All found files can be previewed after scan. Then select the wanted files and save them by clicking on Scan button.

Conclusion:
As seen here, a hard drive may be quickly and easily partitioned and re-partitioned. You should back up your files and delete any unnecessary ones before you begin. Having your data and content separated into distinct partitions can be useful.
Instead of partitioning your Mac's solid-state drive (SSD), you may wish to create a volume on it. This method is more efficient and prevents your hard disk from being partitioned.
Related Articles
- Jul 17, 2023What to Do If An USB Flash Drive Not Working on Mac?
- Jun 29, 2023How to Format A Hard Drive to NTFS on Mac?
- Jun 26, 2025Can Mac Support ExFAT/FAT32 and How to Use?
- Dec 18, 2024External Hard Drive Works on Windows, but Not Working on Mac: 7 Solutions to Fix It
- Oct 10, 2025Fix External Hard Drive Not Working on macOS Tahoe
- Sep 23, 2025What to Do If An USB Drive Not Detected on Mac? [macOS Tahoe, Apple silicon Supported]

Contributing Writer
Steven
Steven has been a senior writer & editor of Donemax software since 2020. He's a super nerd and can't imagine the life without a computer. Over 6 years of experience of writing technical solutions and software tesing, he is passionate about providing solutions and tips for Windows and Mac users.

Editor in chief
Gerhard Chou
In order to effectively solve the problems for our customers, every article and troubleshooting solution published on our website has been strictly tested and practiced. Our editors love researching and using computers and testing software, and are willing to help computer users with their problems