Donemax Disk Clone for Windows User Guide
Donemax Disk Clone for Windows can easily clone a partition or disk to another and make the data on both the source and destination drive completely the same. Also, the software provide sector level clone to make sure all the sectors on the drive be cloned fully. Please refer to the guide to clone your partition or disk.
 Try It Free
Support Windows 11/10/8/7/Vista
Try It Free
Support Windows 11/10/8/7/Vista
 Buy Now
30-day money-back guarantee
Buy Now
30-day money-back guarantee
Clone Your Hard Drive ▶
Donemax Disk Clone provides two modes to upgrade your hard disk to a larger one or SSD: Disk Clone and Partition Clone.
Video Overview
- 0:00 Intro
- 0:15 Why Need to Clone HDD to SSD
- 0:40 Preparations
- 1:18 Steps to clone HDD to SSD
- 1:25 Step 1. Select Disk Clone
- 1:32 Step 2. Select source disk & destination disk
- 1:53 Step 3. Edit disk layout
- 2:10 Step 4. Start cloning
Installation and Activation
How to Install the Software?
Download the software from the official website and run the installer (.exe). Follow the on-screen instructions to complete the installation.
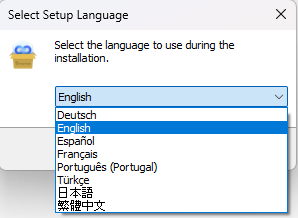
Step 1. Select the language to use.
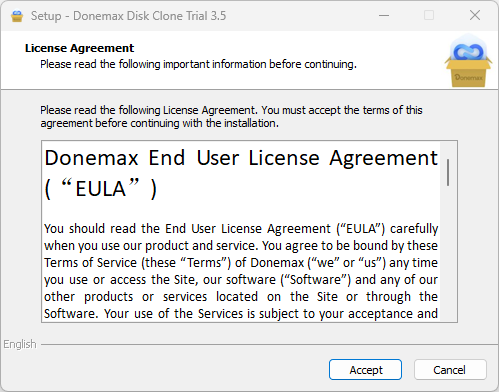
Step 2. Read the License Agreement and click Accept to continue.
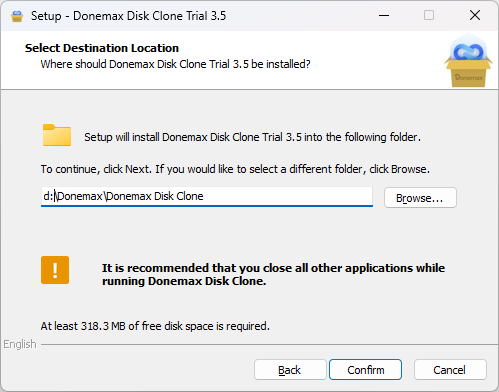
Step 3. Choose the destination folder to install the software. Click Confirm.
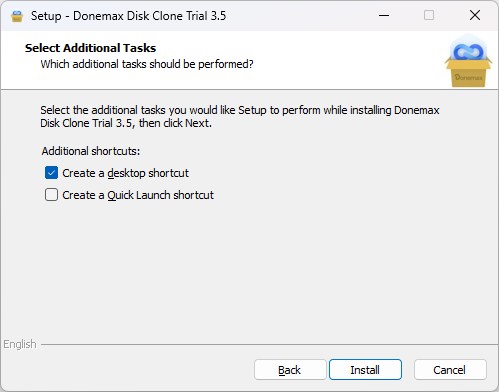
Step 4. You can choose to create (or not create) a desktop shortcut for easy access. Click the Install button.
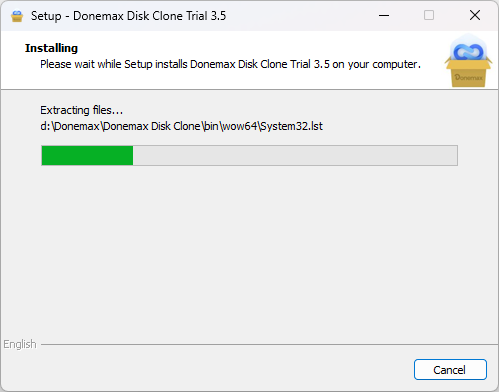
Step 5. The software will start to install. Please wait for a few seconds.
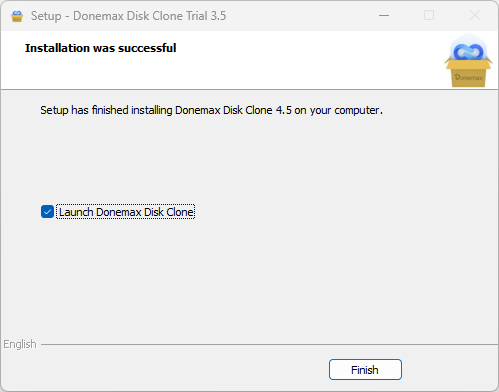
Step 6. The installation is complete. Click the Finish button to exit the installer.
How to Activate the Software?
After installation, launch the software and enter your license key to activate it. If you don't have a license key, you can purchase one from the official website.
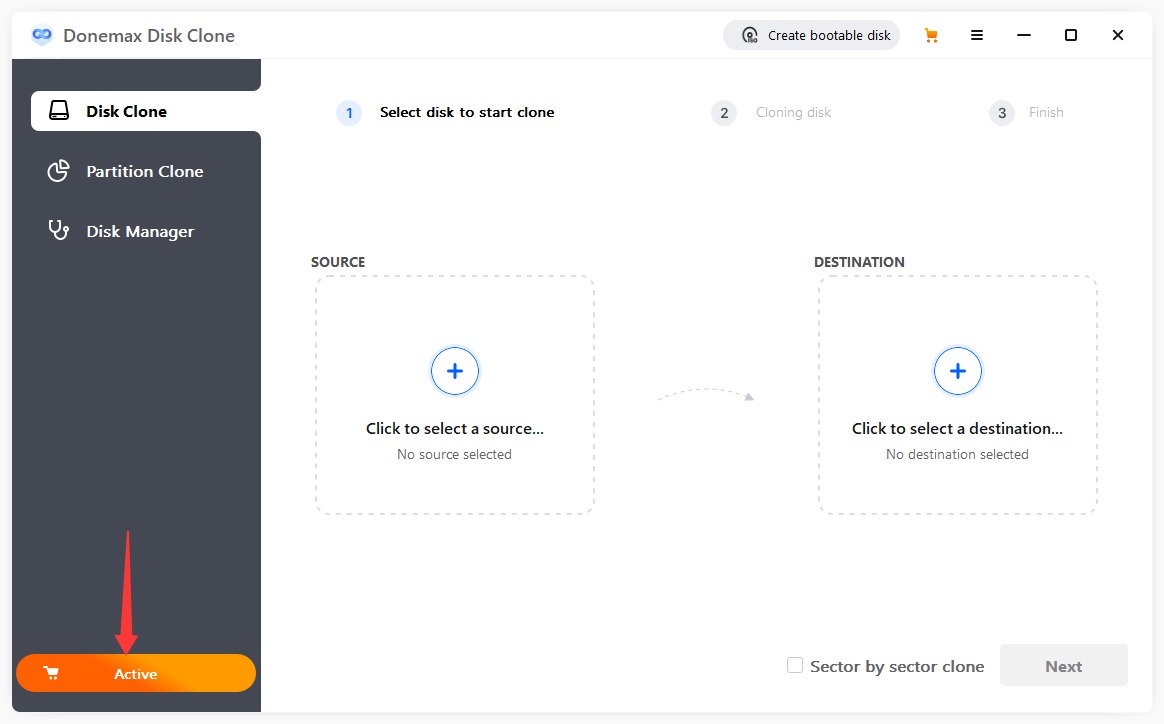
Step 1. Click the Activate button at the bottom left corner of the software.
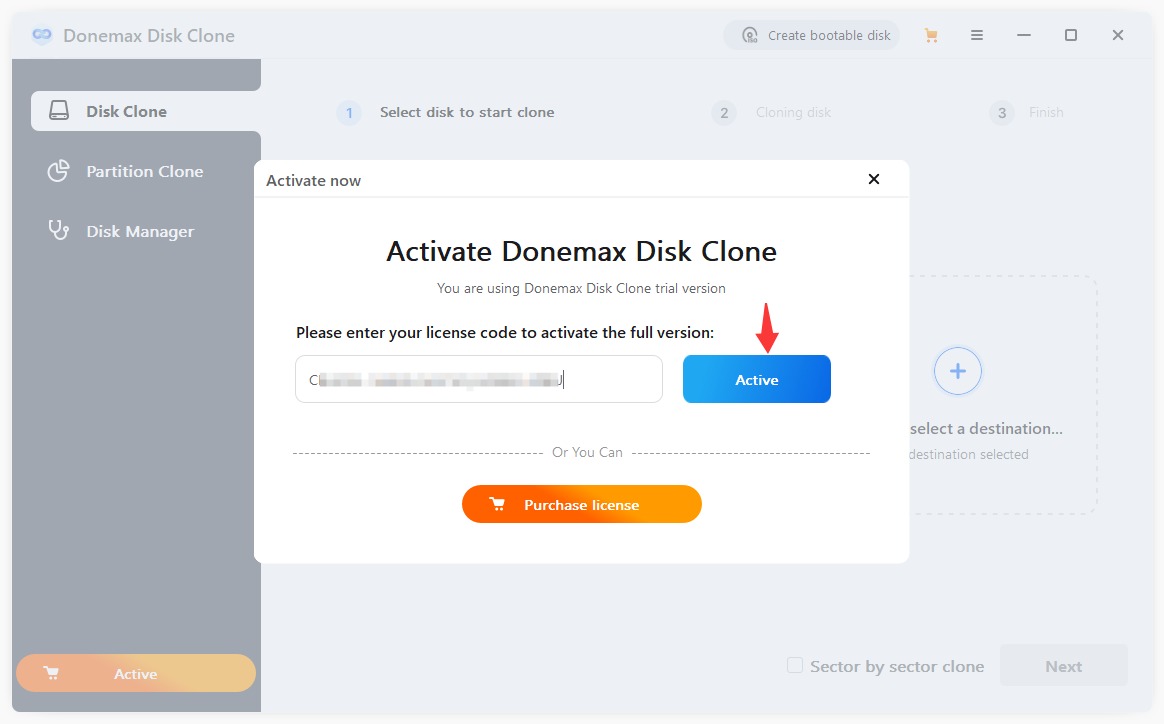
Step 2. Enter your license key when prompted. Click the Activate button.
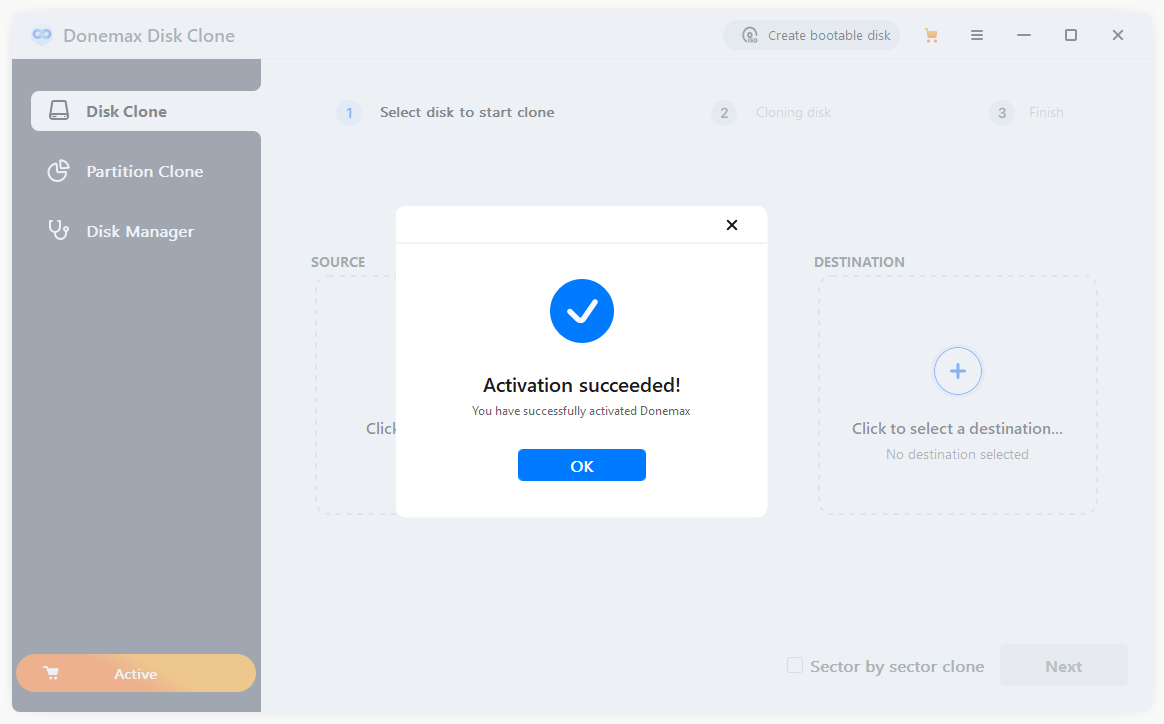
Step 3. Once it's activated, you will see the Activation Succeeded information. Then click the OK button and you can use all the features of the software.
Mode 1. Disk Clone.
Disk Clone will help you clone the entire disk to the destination disk completely and make the data on both 2 disks the same. It's also conmmonly used to move Windows OS to another disk without reinstalling Windows OS and programs.
Steps to Clone A Hard Disk
Step 1. Select the source and destination disk. Check the box before "Sector by sector clone" at the bottom if you want to clone the disk in sector level and make an extact copy.
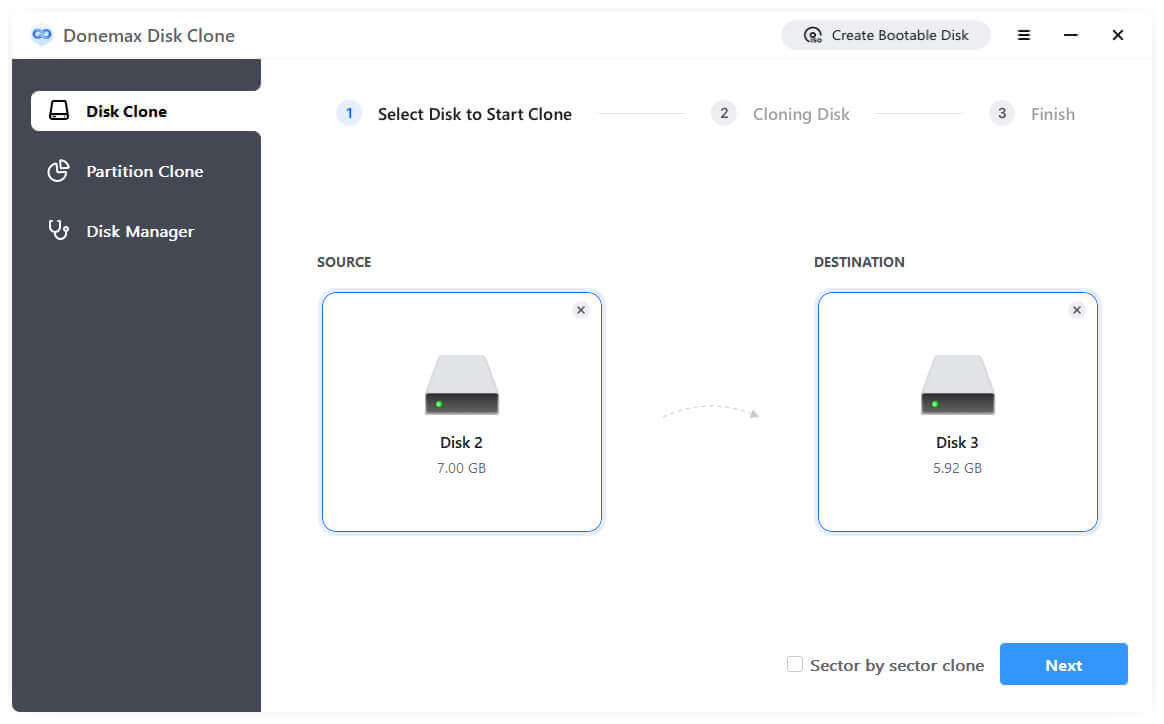
- The destination disk size should be equal or larger than the source if you want to do sector level copy.
- You can clone a larger disk such as 1TB to a smaller one like 500GB if the smaller one is big enough to hold all the data on the source disk. And do NOT select "Sector by sector clone"
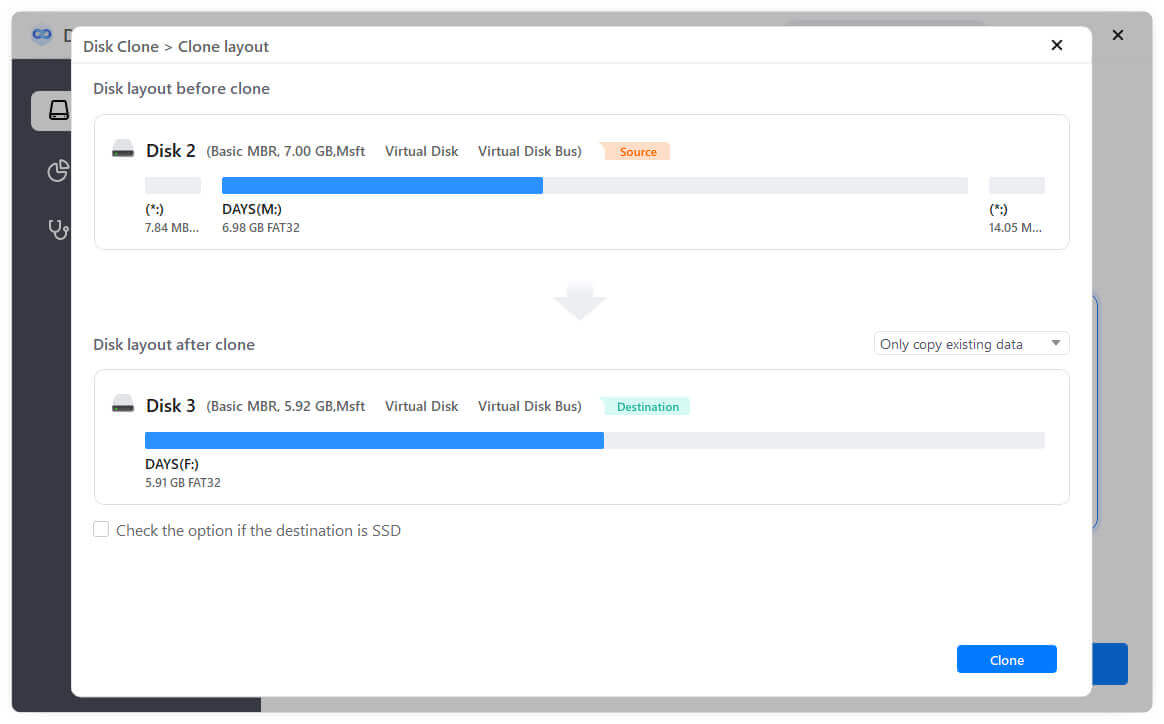
Step 2. Check and edit the layout of the destination disk. Tick the option Check the option if the target is SSD if you clone the disk to an SSD.
- "Only clone existing data" - only copy existing data on the source disk to the destination.
- "Autofit the disk" - automatically adapts to the size of destination disk to make the disk at its best.
- "Copy as the source" - do not change anything on destination disk and the layout is the same as the source.
- "Edit disk layout" - allows you to manually resize or move partitions on destination disk.
- Tick Check the option if the destination disk is SSD to optimize the SSD. This option may reduce the disk access time and improve its performance.
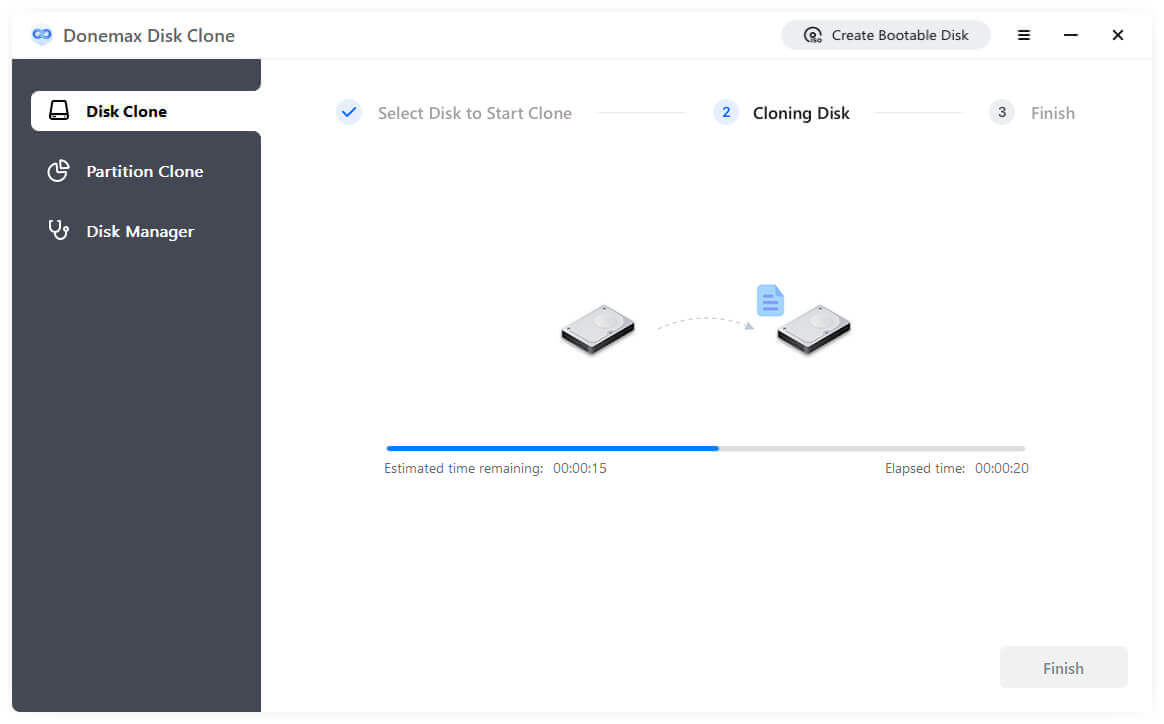
Step 3. Click Clone to start disk cloning. Once the clone is done, please check the cloned data on the destination disk. For system disk cloning, you can try to boot from the cloned disk to check if it can boot up.
Mode 2. Partition Clone.
Partition Clone is able to copy a selected partition to an existing partition or unallocated space. Then you will have a same partition on the destination disk as a backup.
Steps to Clone A Partition
Step 1. Swich to Partition Clone and select the source and destination partition. If you want to clone the partition in sector level, please tick the option before "Sector by sector clone".
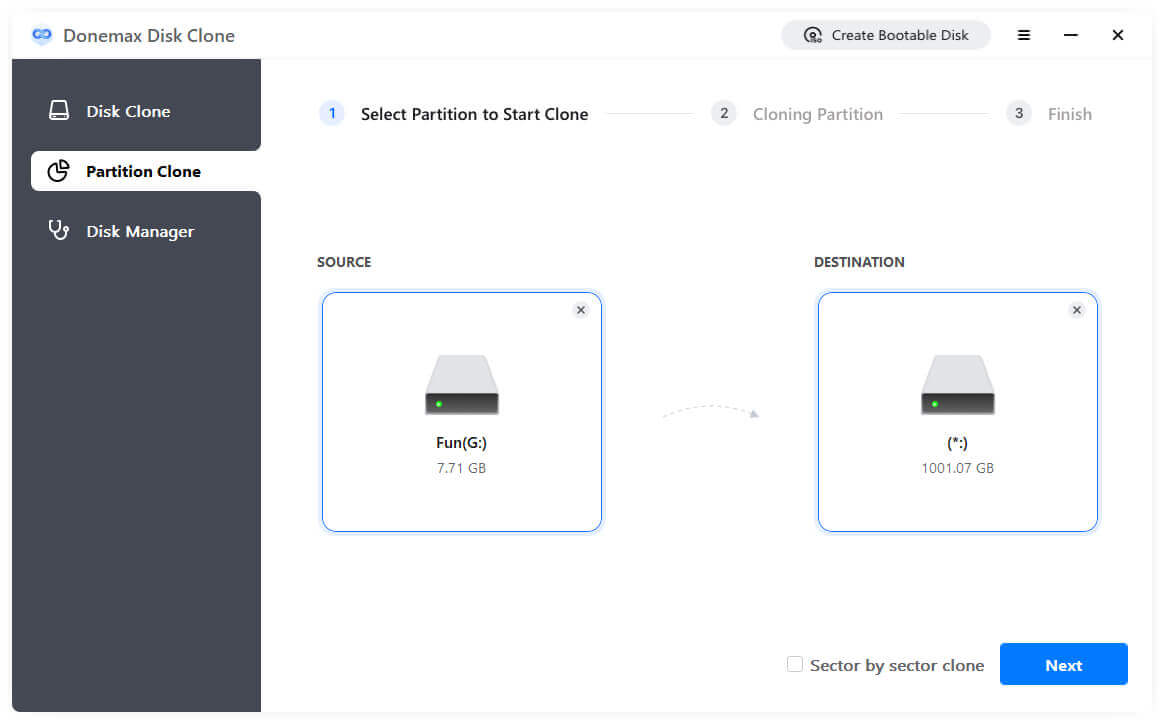
The destination partition size should be equal or larger than the source if you tick "Sector-by-sector clone". Otherwise please don't check this option if the destionation partition is smaller than the source.
Step 2. Click the Next button to continue. Then check the layout of the destination drive. You can also change the size of the destination partition. If the destination disk is SSD, please ensure to enable the option Check the option if the target is SSD.
- "Only clone existing data" - only copy existing files on the source partition.
- "Autofit the disk" - resize the layout of the partition on destination disk according to its size to make the disk at the best status.
- "Copy as the source" - do not change anything on the target partition and the layout is same as the source.
- "Edit disk layout" - allows you to manually resize/move partitions on the destination disk.
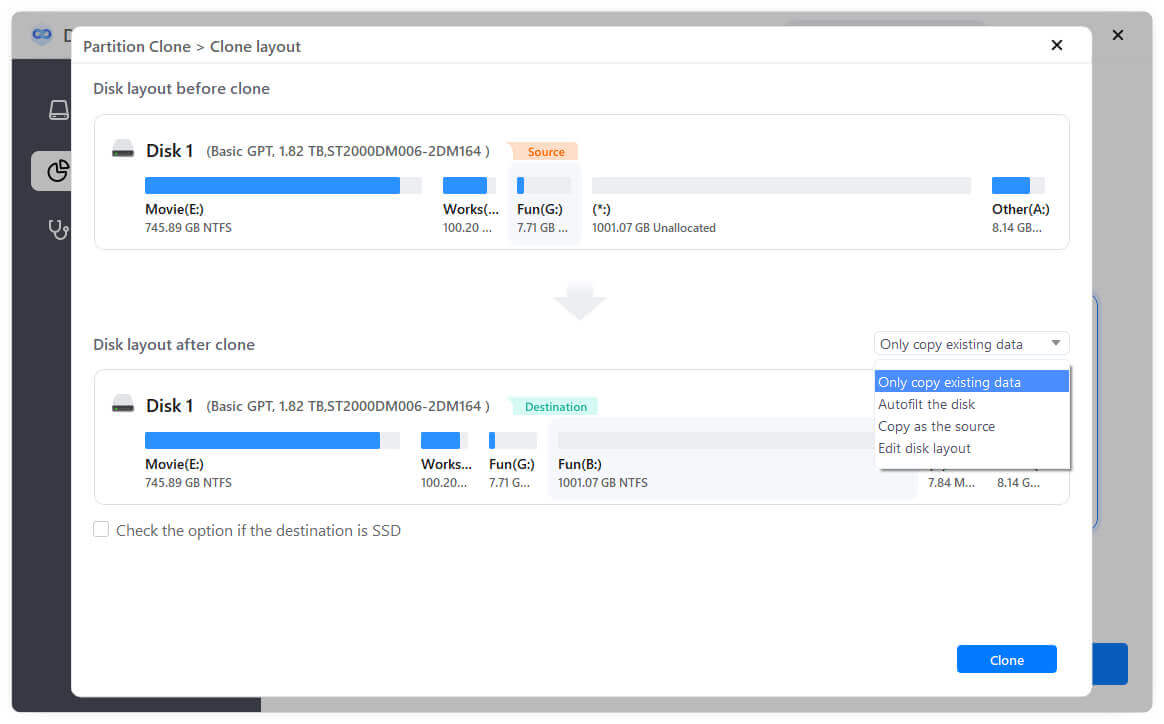
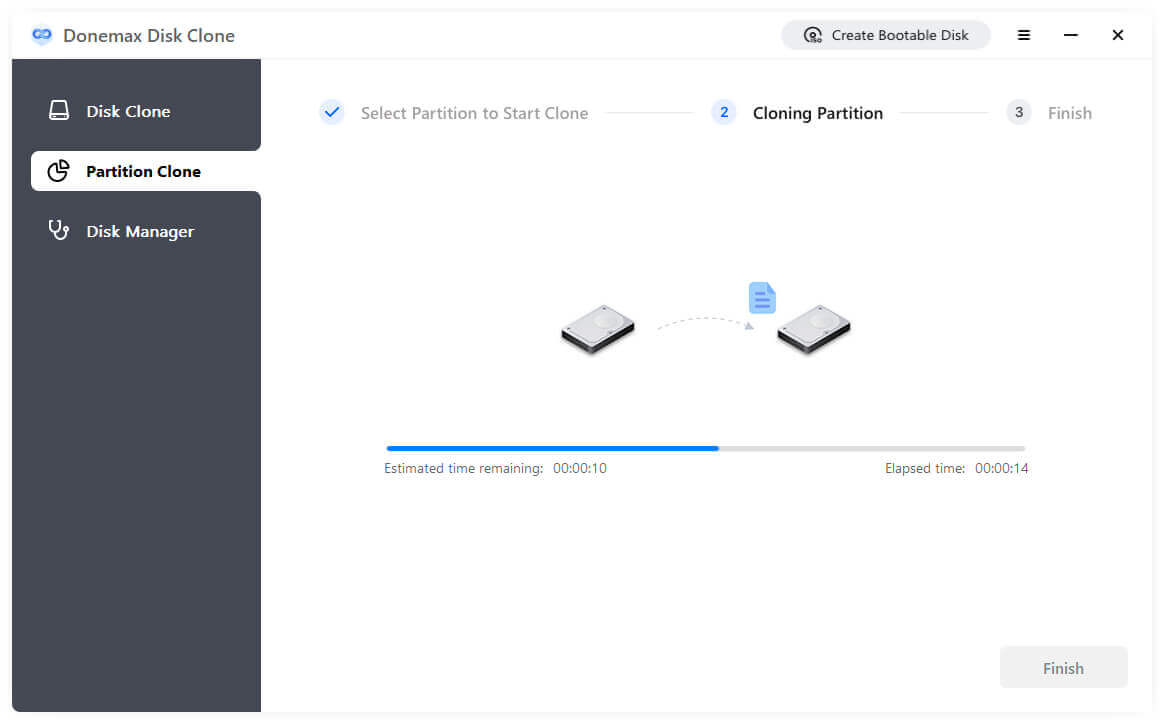
Step 3. Click the Clone button to proceed. After cloning, you can check the data on the destination partition.
📒 Note:
- 1. When cloning a partition/disk, please make sure the space of the destination partition/disk is equal or larger than the used space of the source partition/disk.
- 2. The cloning process will overwrite the destination drive, so please ensure the destination drive is empty or don't have important data.

Need some help?
Please feel free to contact our support team if you can't find your answer.