Written byCoco LinUpdated on Jul 31, 2023
Can't Delete Files on Mac, How to Fix It?
Approved byGerhard Chou
PAGE CONTENT:
Have you ever tried to delete a file but were met with the error "The item > can't be moved to the Trash because it can't be deleted"? The file may be in use or locked, or you may lack the necessary permissions to make changes, all of which might cause this message.
No matter the root of the issue, there is always a solution. Here, we'll discuss strategies for removing stubborn files on a Mac that won't go away when sent to the Trash.
Reasons to Forcibly Delete A Mac File
Sometimes when using a Mac, you'll encounter a file that won't go away no matter how many times you try to get rid of it. You've tried everything, including restarting your Mac many times, to get rid of that pesky file, but to no avail. The data is still present on your hard drive.
Technical difficulties prohibit the item from being removed when this occurs. Understanding the many factors preventing a file from being erased on a Mac is important before attempting a force deletion. Some possible outcomes are listed here.
- Item is locked.
- Another program or process is now utilizing this file.
- The file must be kept and cannot be deleted.
- Inaccessible due to a corrupt or destroyed file.
- It's annoying enough when you are using the file but even more annoying when you aren't, and it still says it's locked or in use.
Force Quit and Delete Files on Mac
Is there a message indicating why you are unable to remove the file? Common error messages include the following:
You cannot delete the item, so it cannot be sent to the Trash.
Due to the item's (name's) current use, the operation cannot be done now.
To delete a file after receiving one of the errors above messages, you must first force quit the application that is utilizing it. Since you probably won't know which program is using up the file, you might as well close them all. Here's how to delete the file and force-quit the app(s).
✦ First, hit the following combination of keys: (Option) (Command) (ESC). Alternatively, you can select Force Quit from the Apple menu in the top left corner. (This is analogous to the computer key combination Control-Alt-Delete.)
✦ Second, choose the program in the Force Quit window and press the button.
It's as simple as repeating those two procedures until no background processes remain open. The Finder can be terminated if it stops responding: When the Force Quit dialog appears, choose Finder and click Relaunch.
File in Use Error, Quickly Fix It
When a program depends on a file, deleting it is not an option. If you're getting a "file in use" message on your Mac, an application uses it somehow.
That may be as easy as rearranging your open windows if only a few programs run simultaneously. Another option is to use the "Force Quit" window, which displays a list of all currently running programs:
✦ 1. Select "Apple" from your Mac's top menu. That is in the upper left-hand corner of your screen.
✦ 2. Go to the menu and pick "Force Quit."
Now you can look at what programs are currently active on your Mac.
If you suspect a certain program caused the "File in use" issue, you can simply exit that program. Another option is to use the "Force Quit" pop-up, choose the app, and click the "Force Quit" button.
Fix The File Is the Locked message
A file cannot be moved to the Bin if it is locked. Here's how to get into a locked file and move it to the Trash:
- To open a file's properties, follow these.
- Select "Get Info" from the context menu.
- A new window will open; double-click the General tab to display its contents.
- Locate the "Locked" checkbox and clear it.
- If it doesn't work, try the Terminal app on your Mac.
- The Terminal can be accessed through the following path:
The following command should be typed in:
nouchg /path/to/file chflags
When prompted for the file's name to delete, type "7 file." - You can now access the locked file. You can now choose to "Move to Bin" the selected file.
How to Recover Permanently Deleted Files on Mac?
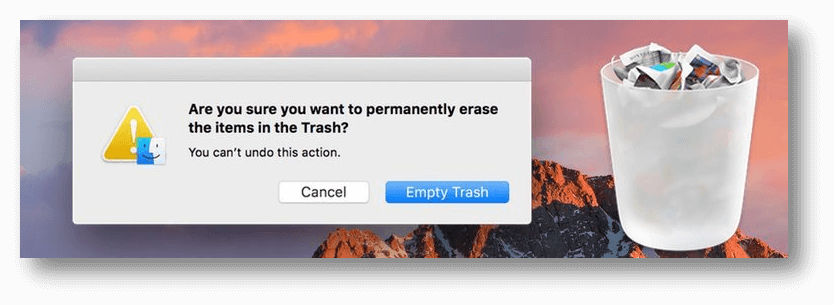
No matter how you delete the files on Mac and empty trash bin, the files are not lost forever. If you delete your files or documents by mistake, you can download a data recovery application to help you get the deleted files back.
Step 1. Download Donemax Data Recovery for Mac, a powerful data recovery application. Run it from Launchpad.
Step 2. Donemax Data Recovery for Mac will list all hard drives, select the hard drive where you delete your files.

Step 3. Click on Scan button. This Mac data recovery software will deeply scan the hard drive and find all recoverable files including the deleted files.

Step 4. Once the scan is completed, check the recoverable files using Preview feature. Then select the wanted files and save them to a safe location.

Other Ways to Fix ‘Can Not Delete A File on Mac’
- 1. If the disk volume or external hard drive is NTFS drive, you can’t delete files from it. You can download a NTFS for Mac tool to help you enable writable for the NTFS drive. Then you can delete files from the disk volume or external hard drive.
- 2. If you want to permanently delete a stubborn file on your Mac, just try data erasure software - such as Donemax Data Eraser for Mac, click Add button to add files/folders to the erasure list. Then click on Erase Now button to securely and permanently erase the selected files/folders.
- 3. If you can not delete files from an external USB device, right-click it, choose Get Info. Then check if it is a read-only drive and you can change it to read-write. Then you can delete files from the USB device.
Conclusion:
When files on a Mac refuse to erase, it can be unpleasant, especially when you can't figure out why. Thankfully, a few options are available to delete files that won't budge. When everything else fails, the Terminal can resolve the issue. Be careful when executing this action since you may unintentionally remove some important files or directories. If you keep these things in mind, you should be able to get rid of any file on your Mac, no matter how hard it is to erase.
Related Articles
- Jan 22, 2025How to Fix SD Card Not Showing Files? [7 Methods]
- Jul 15, 2025Fix Corrupted exFAT File System: Full Guide for Windows and macOS
- Jul 15, 2024How to Fix SD Card Not Mounting on Mac?
- Feb 17, 2025External Hard Drive Won't Show Full Capacity: How to Fix It?
- Apr 07, 2025[6 Fixes] Fix Hard Drive Partition Shows 0 Bytes Error on Windows 11/10/8/7
- Dec 12, 2024How to Fix USB Drive Won't Mount on Mac?

Contributing Writer
Coco Lin
Coco has been a writer and a chief programmer at Donemax software since 2018. Over 10 years of experience of writing troubleshooting articles in the software industry, she is passionate about programming and loves to providing solutions to Windows and Mac users. Also she enjoys music and palying tennis in her free time.

Editor in chief
Gerhard Chou
In order to effectively solve the problems for our customers, every article and troubleshooting solution published on our website has been strictly tested and practiced. Our editors love researching and using computers and testing software, and are willing to help computer users with their problems
Hot Donemax Products

Clone hard drive with advanced clone technology or create bootable clone for Windows/Mac OS.

Completely and easily recover deleted, formatted, hidden or lost files from hard drive and external storage device.

Certified data erasure software - permanently erase data before selling or donating your disk or any digital device.