Written byStevenUpdated on May 10, 2025
Fix This Document is Either Deleted or Not Currently Accessible on Mac
Approved byGerhard Chou
PAGE CONTENT:
Mac users occasionally encounter errors when trying to open documents, and one of the most frustrating messages is "This document is either deleted or not currently accessible." This error can occur when opening files from Finder, external drives, iCloud, or third-party applications like Microsoft Office, Adobe Acrobat, or Google Drive.
Understanding the root causes and applying the correct fixes can help restore access to important files, whether they were accidentally deleted, moved, or affected by system issues.
This guide provides step-by-step troubleshooting methods to help resolve the error and recover lost files on macOS.
Common Causes of the Error: This Document is Either Deleted or Not Currently Accessible
Before diving into fixes, it's essential to understand why Mac cannot access your document. Here are the most common reasons:
1. File Deletion or Movement
- The document may have been accidentally deleted or moved to another folder.
- A system cleanup or third-party software might have removed it.
2. Permission Issues
- macOS enforces strict file permissions, preventing access to certain files.
- If you're trying to open a file from another user's account, it may be restricted.
3. Cloud Sync Issues (iCloud, Google Drive, OneDrive, Dropbox)
- If your document is stored in the cloud, it might not have fully synced to your Mac.
- If the file was removed from the cloud, it won’t be accessible locally.
4. External Drive Disconnection or Corruption
- If the file is on an external drive, the drive may have been disconnected improperly.
- Corrupted external drives can prevent macOS from accessing files.
5. Corrupted File System or macOS Issues
- Disk errors can cause files to become unreadable or disappear from Finder.
- Software or macOS glitches after an update might prevent access.
Quick Fixes for This Document is Either Deleted or Not Currently Accessible
Before proceeding with advanced solutions, try these simple fixes:
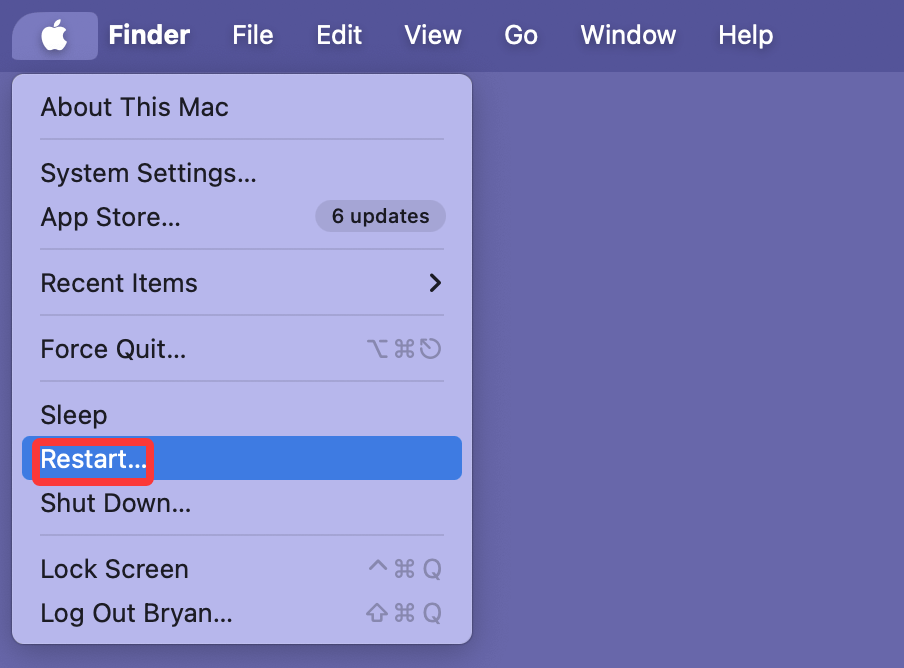
1. Restart Your Mac
A restart refreshes macOS and may resolve temporary system glitches.
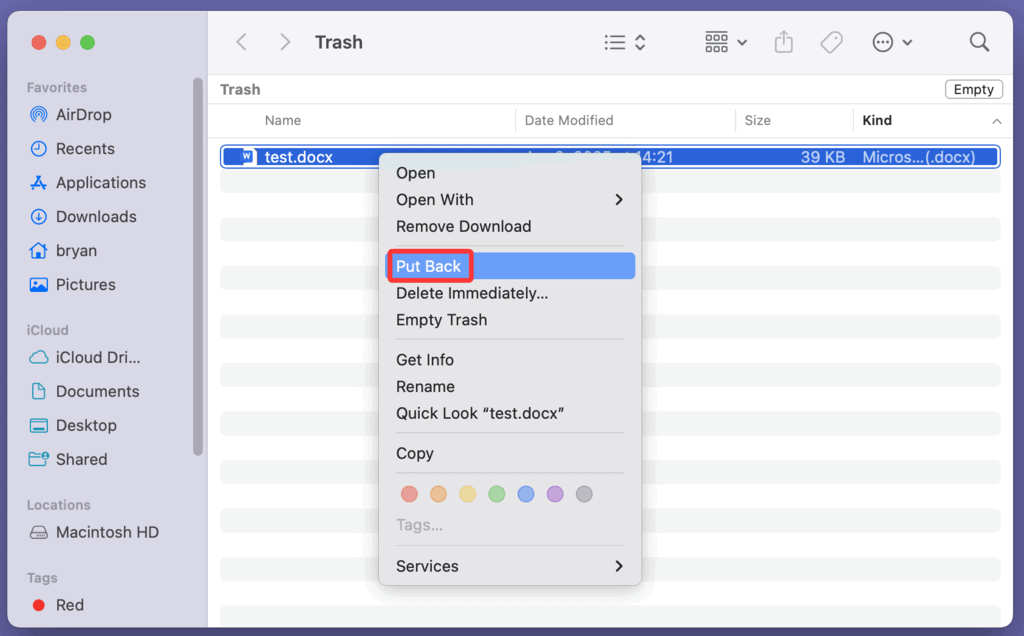
2. Check the Trash
- Locate the missing document by opening the trash bin.
- To return it to its original spot, right-click and choose Put Back if it was located.
![Check the Trash]()
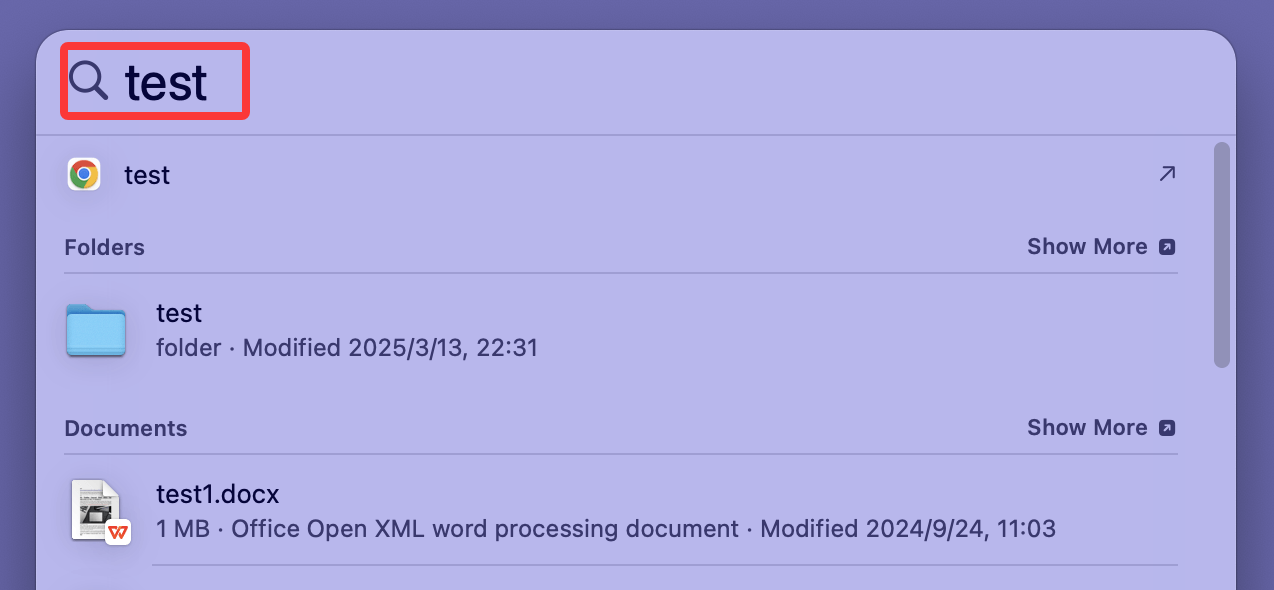
3. Search for the File
- Press Command + Space and type the file name in Spotlight Search.
- If it appears, note the location and open it from Finder.
![Search for the File]()
4. Reconnect External Storage Devices
- If the file was on a USB, SSD, or external HDD, disconnect and reconnect the device.
- Open Finder > Locations and check if the drive appears.
![Reconnect External Storage Devices]()
Solutions to Fix This Document is Either Deleted or Not Currently Accessible on Mac
If the document is still inaccessible, use these advanced solutions:
Solution 1. Verify File Permissions
If macOS denies access to the document, you may need to modify file permissions.
Steps to Check & Change File Permissions:
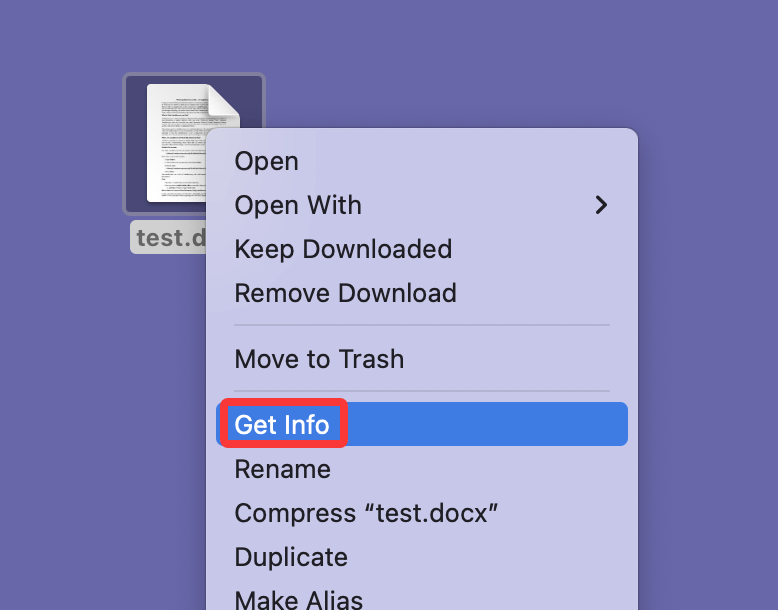
- Choose Get Info with a right-click on the file.
![Choose Get Info with a right-click on the file]()
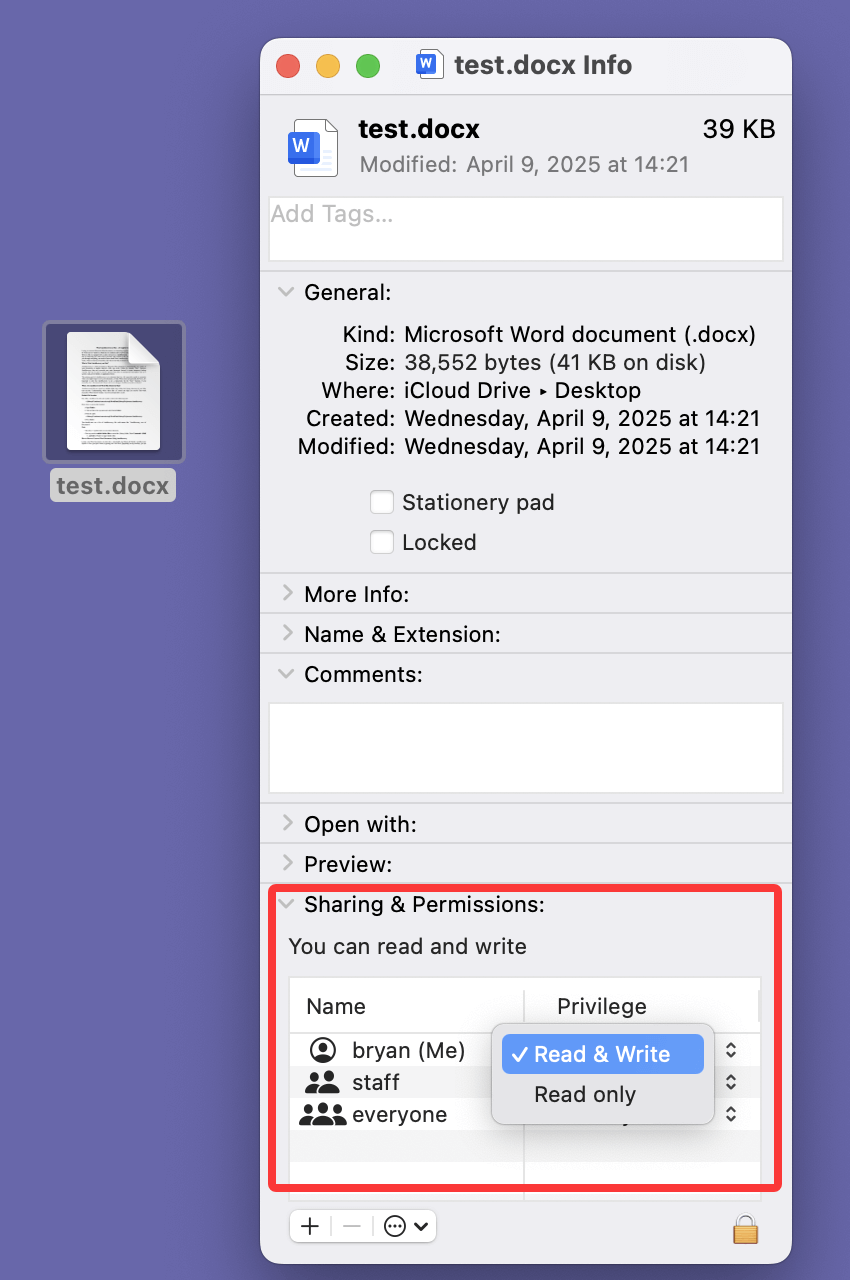
- Go to Sharing & Permissions and scroll down.
- Ensure your user account has Read & Write access.
- If not, enter your password and click the lock icon in the bottom-right corner.
- Change permissions by selecting Read & Write.
![Change permissions by selecting Read & Write]()
Using Terminal to Fix Permissions:
If the above method doesn't work, use Terminal:
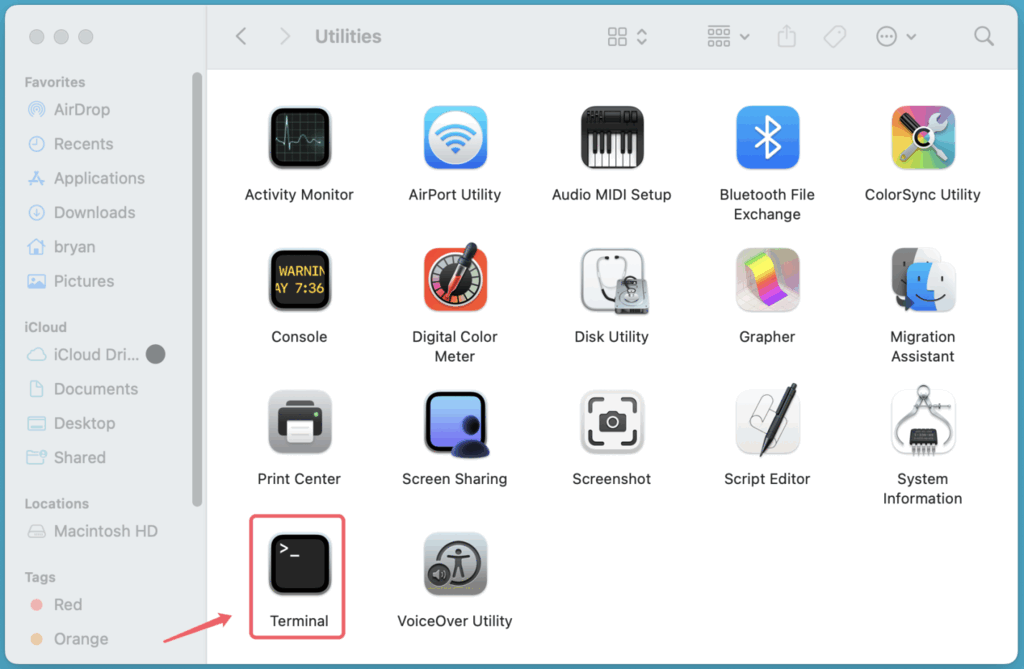
- Open Terminal from Applications > Utilities.
![Using Terminal to Fix Permissions]()
- Type the following command and press Enter:
ls -l ~/Documents/filename.ext
(Replace filename.ext with your actual file name.)
- If the file owner isn't your user, change it:
sudo chown yourusername ~/Documents/filename.ext
- Grant proper permissions:
sudo chmod 755 ~/Documents/filename.ext
- Try opening the file again.
Solution 2. Restore from a Backup
If the document was deleted or overwritten, restoring from a backup is the best option.
Using Time Machine Backup:
- Connect your Time Machine drive.
- Open the folder where the file was stored.
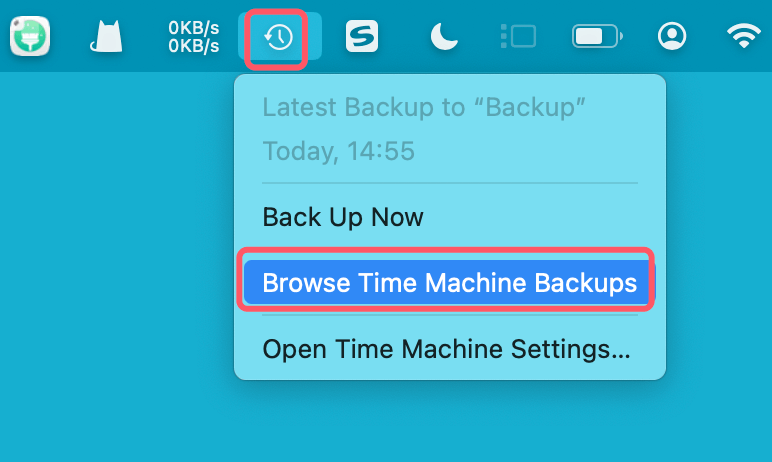
- Choose Enter Time Machine or Browse Time Machine Backups after clicking Time Machine in the menu bar.
![Choose Enter Time Machine or Browse Time Machine Backups]()
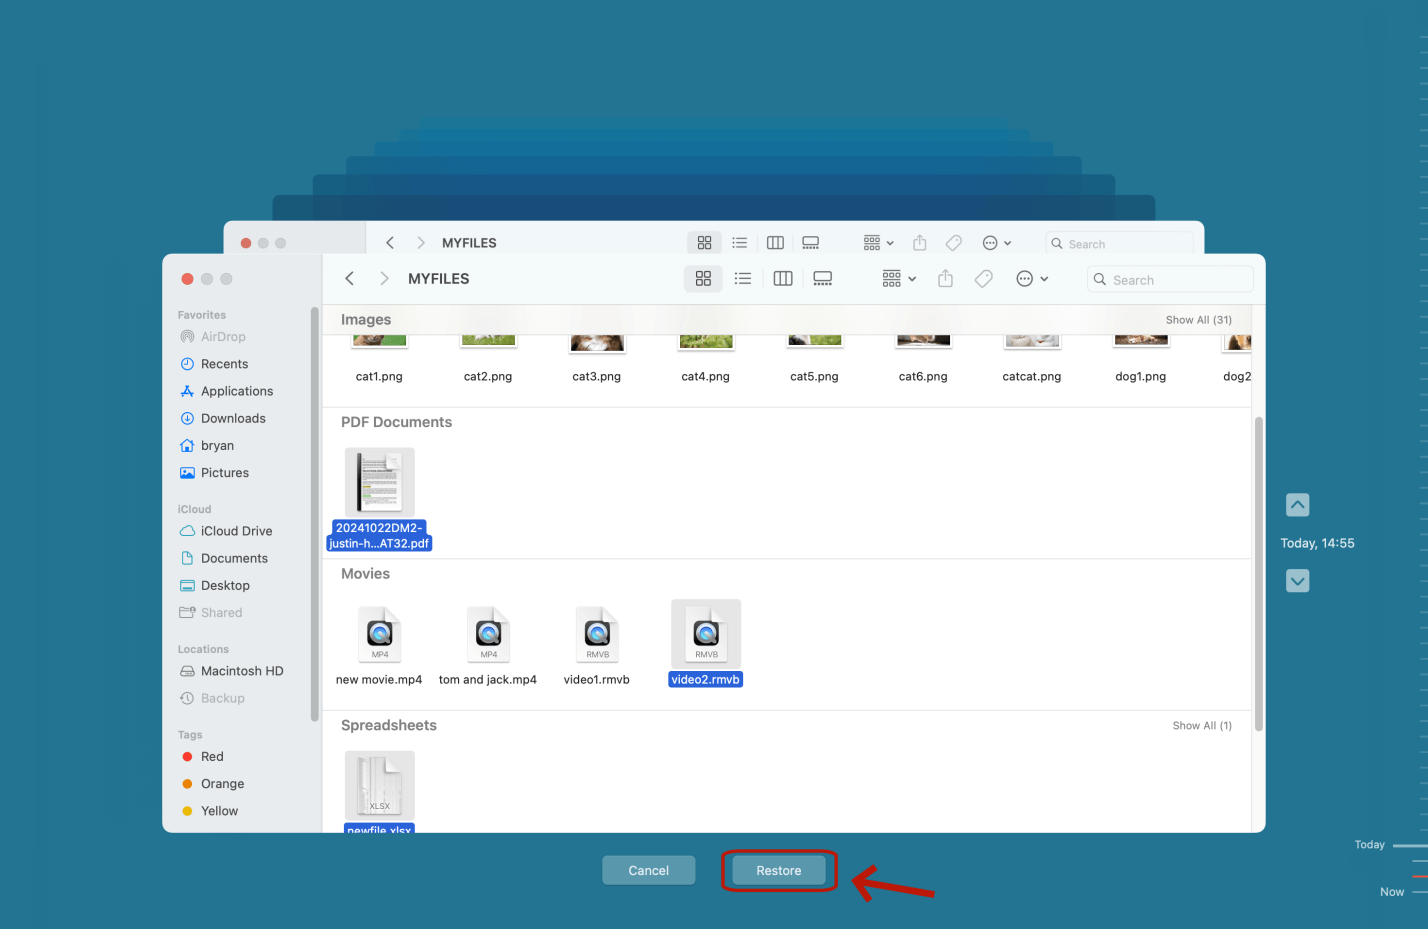
- Locate an earlier iteration of the file and select Restore.
![Locate an earlier iteration of the file and select Restore]()
Recovering Files from iCloud:
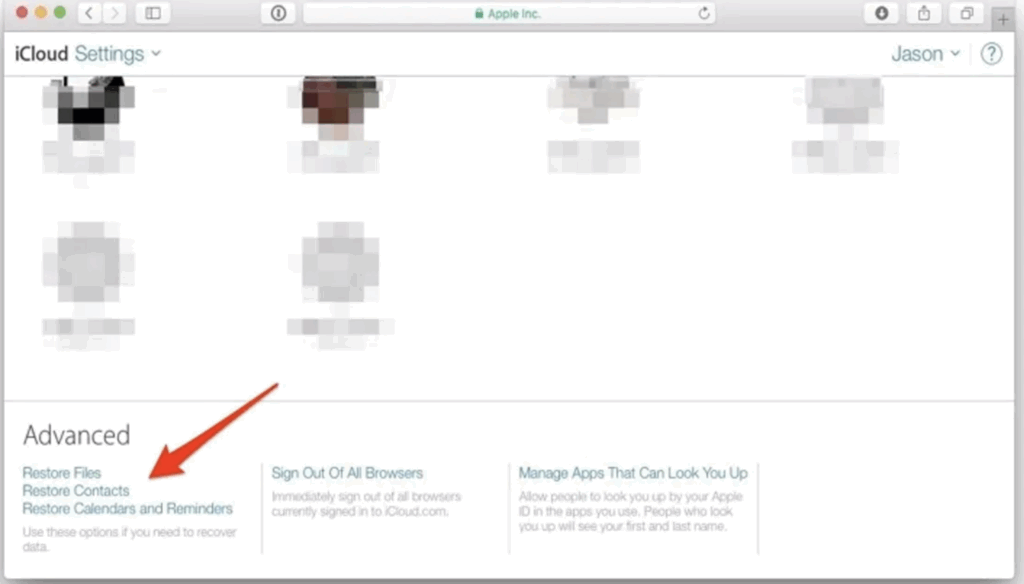
- Visit iCloud.com and sign in.
- Go to iCloud Drive and check if the document is available.
- If missing, check Settings > Advanced > Restore Files.
![Recovering Files from iCloud]()
Google Drive, Dropbox, or OneDrive:
Visit the cloud storage site and check the Trash or Deleted Files section.
Solution 3. Repair Disk Errors with Disk Utility or Other Tools
If the file is stored on a disk that is experiencing errors, macOS may have trouble locating or accessing it. Disk corruption can occur due to:
- Sudden power loss while working on a file.
- Improper ejection of external drives (USB, SSD, HDD).
- Bad sectors or physical damage to a storage device.
- macOS file system errors caused by software crashes.
To fix disk-related problems, use Disk Utility - a built-in macOS tool designed to diagnose and repair disk errors.
Running First Aid in Disk Utility
First Aid scans for disk errors and attempts to fix them automatically.
Steps to Run First Aid on Internal or External Drives
- Open Disk Utility
- Go to Disk Utility from Utilities via Applications.
- Press Command + Space, type "Disk Utility," and hit Enter.
- Select the Drive or Partition
- In the left panel, find the affected drive (e.g., Macintosh HD, an external SSD, or USB drive).
- If using an external drive, make sure it’s connected properly.
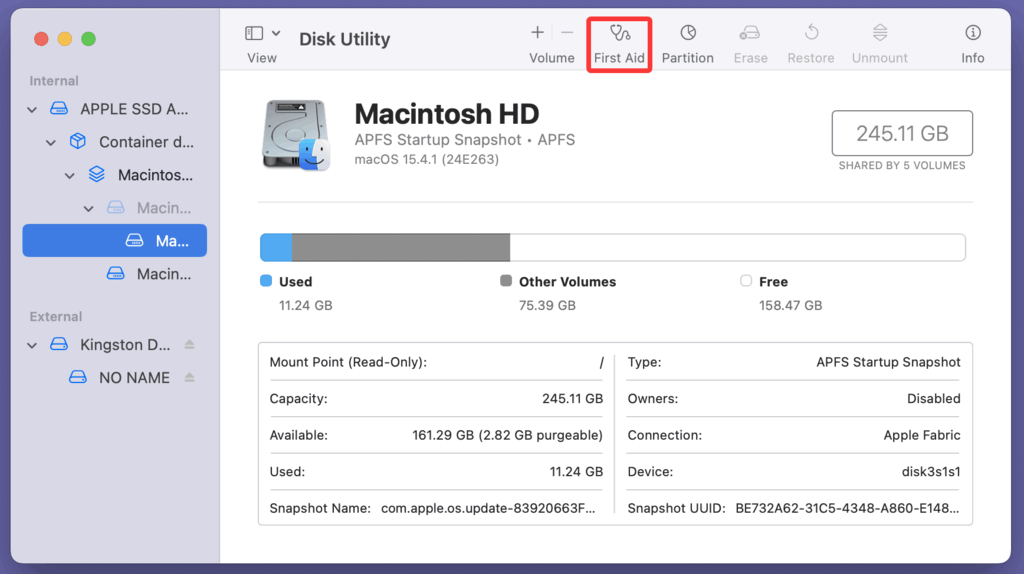
- Run First Aid
- Click the First Aid button at the top.
![Click the First Aid button at the top]()
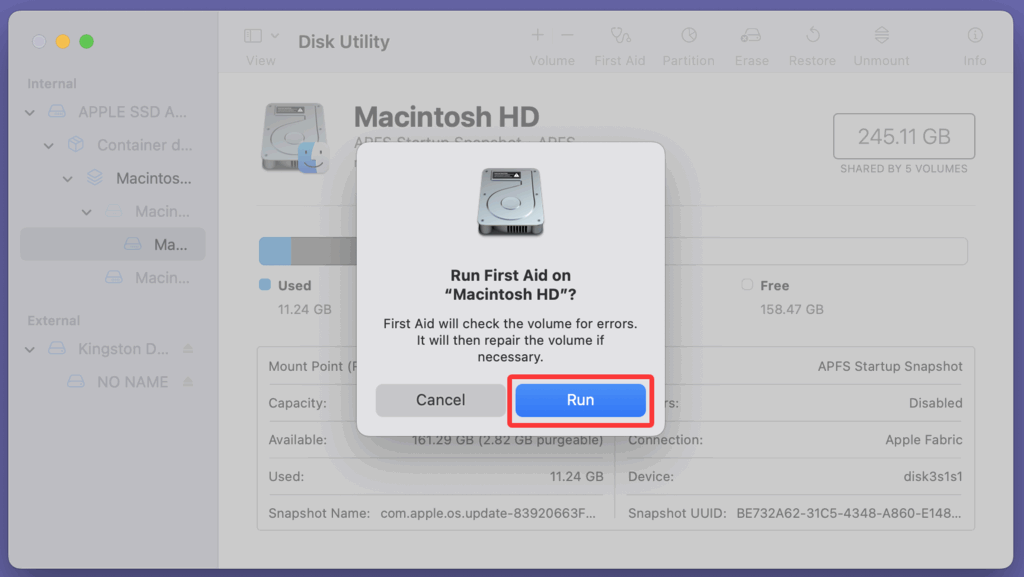
- Click Run when prompted.
![Click Run when prompted]()
- Click the First Aid button at the top.
- Wait for the Scan to Complete
- If no errors are found, you’ll see a message like "The volume appears to be OK."
- If errors are detected, Disk Utility will attempt to fix them automatically.
- Restart Your Mac
- After running First Aid, restart your Mac and try accessing the document again.
Running First Aid in macOS Recovery Mode
If you can't run First Aid on your startup disk while macOS is running, try doing it from macOS Recovery Mode:
Steps to Use First Aid in Recovery Mode:
- Restart your Mac and enter Recovery Mode
For Intel Macs:
- Turn off your Mac.
- After turning it back on, press and hold Command (⌘) + R until the Apple logo shows up.
For Apple Silicon (M-chip) Macs:
- Turn off your Mac.
- Hold down the Power button until the message "Loading Startup Options" appears.
- Choose Options > Continue to Recovery Mode.
- Open Disk Utility
Once in macOS Utilities, click Disk Utility, then Continue.
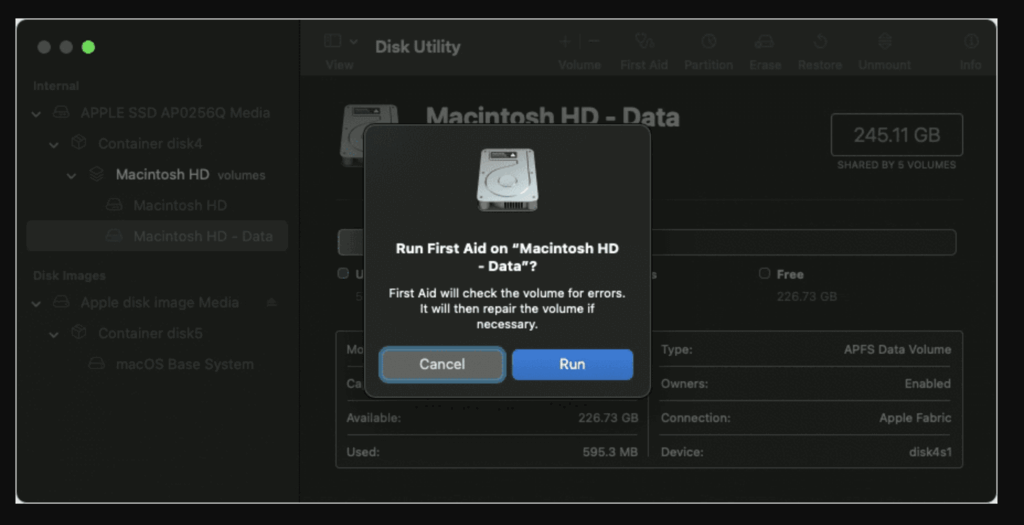
- Run First Aid on Macintosh HD
- Select Macintosh HD (your system drive).
- Click First Aid > Run.
![Run First Aid on Macintosh HD]()
- Restart Your Mac
If Disk Utility successfully repairs your drive, restart your Mac and try opening the file again.
Checking for a Failing Hard Drive Using S.M.A.R.T. Status
If you suspect a failing hard drive, you can check its S.M.A.R.T. (Self-Monitoring, Analysis, and Reporting Technology) status in Disk Utility.
Steps to Check S.M.A.R.T. Status:
- Open Disk Utility from Utilities via Applications.
- Select Macintosh HD or an external drive.
- At the bottom, look for S.M.A.R.T. status:
- Verified → Your disk is healthy.
- Failing → The drive is likely damaged, and you should back up your data immediately.
- Not Supported → Some external SSDs or USB drives may not support S.M.A.R.T. checks.
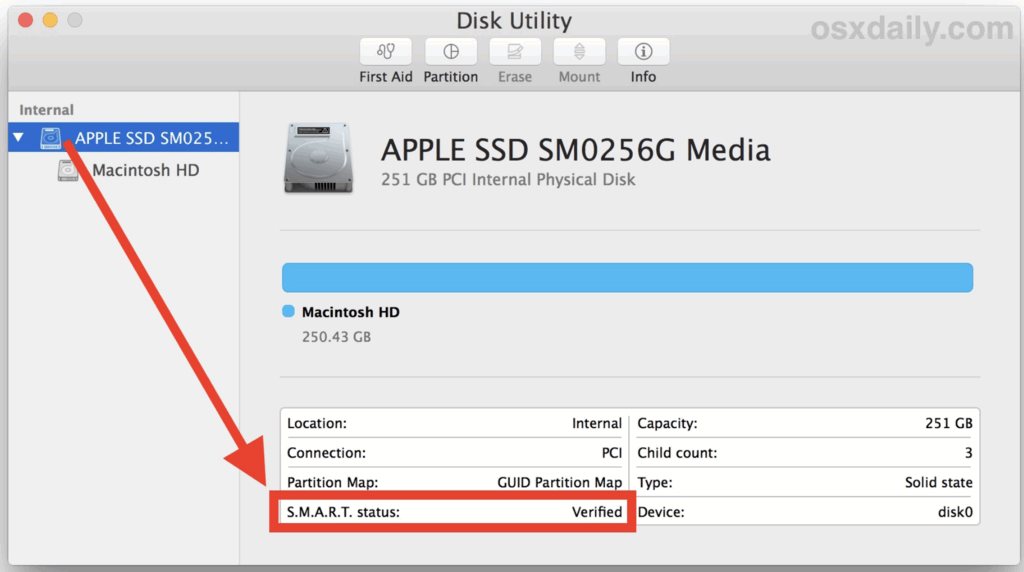
If S.M.A.R.T. status shows "Failing," back up your data and replace the drive.
Using fsck (File System Consistency Check) in Terminal
If Disk Utility fails to fix your drive, you can run fsck (a command-line tool for checking and repairing file system errors).
Steps to Run fsck on Your Startup Disk:
- Boot into Single User Mode
- Restart your Mac and hold Command (⌘) + S immediately.
- You'll see a black screen with white text (command-line mode).
- Run the fsck Command
- Type:
/sbin/fsck -fy
- Press Enter to start the file system check.
- Type:
- Check the Results
- If you see "The volume Macintosh HD appears to be OK," the disk is healthy.
- If you see "File system was modified," run the command again until you get an OK message.
- Restart Your Mac
- Type:
reboot
- Press Enter to restart your Mac normally.
- Type:
If fsck fails multiple times, your disk might be severely corrupted, and you may need to erase and reinstall macOS.
When to Consider Disk Replacement
If you repeatedly experience:
- Frequent file access errors
- Slow performance and unresponsive apps
- Clicking noises (from HDDs)
Your internal drive or external SSD/HDD may be failing. Consider:
- Replacing your internal SSD/HDD if your Mac is slowing down.
- Using an external SSD for storage if your internal drive has bad sectors.
Professional Data Recovery:
If the drive is failing and you can't access critical files, consider professional data recovery services like:
- DriveSavers (https://www.drivesaversdatarecovery.com/)
- Ontrack Data Recovery (https://www.ontrack.com/)
Check iCloud & Cloud Sync Status
Cloud services sometimes fail to sync files properly.
Steps to Ensure Syncing:
- Open System Settings > Apple ID > iCloud and ensure iCloud Drive is enabled.
- If using Google Drive, Dropbox, or OneDrive, open the app and check sync status.
- If the document is stored online, download it again.
Recover Deleted or Corrupted Files with Data Recovery Software
If the document was deleted permanently, you might need data recovery software. Donemax Data Recovery for Mac is a powerful Mac data recovery tool. It can recover permanently deleted files or corrupted files on Mac.
Step 1. Download and install Donemax Data Recovery for Mac on your Mac.
Step 2. Open Donemax Data Recovery for Mac and select the drive where you lose your files.

Step 3. Click on Scan button to deeply scan the drive and find all recoverable files.

Step 4. Once the scan is completed, you can preview all recoverable files. Then select the wanted files, click on Recover button to save them.

Prevent the Issue in the Future
To avoid this problem in the future, follow these best practices:
1. Regular Backups
- Use Time Machine to create automatic backups.
- Enable cloud backups with iCloud, Google Drive, or Dropbox.
2. Keep macOS and Applications Updated
- Regularly update macOS via System Settings > General > Software Update.
- Update applications from the Mac App Store or official websites.
3. Avoid Sudden Ejection of External Drives
Always eject drives properly using Finder > Eject before unplugging.
4. Enable Proper File Permissions and User Access Settings
Avoid modifying system folders or changing user permissions unnecessarily.
Conclusion
The "This document is either deleted or not currently accessible" error on Mac can be caused by file deletion, permission issues, cloud sync problems, or disk corruption.
By following the solutions in this guide, you can:
- Check for accidental deletion (Trash, Spotlight, backups).
- Fix permissions and recover files using Terminal.
- Repair storage drives using Disk Utility.
- Restore deleted documents from iCloud, Google Drive, or recovery software.
If the problem persists, consider consulting Apple Support or using professional recovery services.
Donemax Data Recovery for Mac
Donemax Data Recovery for Mac is one of the best Mac data recovery software. It is easy-to-use and can help in recovering deleted, formatted, inaccessible or lost data from Mac HDD/SSD, external disk, USB drive, SD card, camera or other storage devices.
Related Articles
- Mar 01, 20259 Solutions to Fix SD Card Not Detected on Windows 11/10/8/7
- Apr 30, 2025Fix Frozen Mac: Comprehensive Troubleshooting Guide
- May 23, 2025Fix a Corrupted Hard Drive Using CMD
- Nov 13, 2024Deleted App Still Shows Up on Top Menu Bar of Mac: How to Fix It
- Nov 27, 2025Fixes for PowerShell Has Stopped Working Error on Windows
- Apr 10, 2025Fix Micro SD Card Not Detected: Causes and Solutions

Contributing Writer
Steven
Steven has been a senior writer & editor of Donemax software since 2020. He's a super nerd and can't imagine the life without a computer. Over 6 years of experience of writing technical solutions and software tesing, he is passionate about providing solutions and tips for Windows and Mac users.

Editor in chief
Gerhard Chou
In order to effectively solve the problems for our customers, every article and troubleshooting solution published on our website has been strictly tested and practiced. Our editors love researching and using computers and testing software, and are willing to help computer users with their problems
Hot Donemax Products

Clone hard drive with advanced clone technology or create bootable clone for Windows/Mac OS.

Completely and easily recover deleted, formatted, hidden or lost files from hard drive and external storage device.

Certified data erasure software - permanently erase data before selling or donating your disk or any digital device.