The best iTunes alternative - reliable and easy-to-use iOS data transfer & data management software.
There are many essential photos, videos, documents, etc., in our commonly used iPhone. If you want to back up photos, videos, etc., from your iPhone to Windows 11, the quickest and easiest way is to plug in your phone and perform an automatic import.
USB Cable to Transfer Photos and Videos from iPhone to Windows
If you plug your iPhone into Windows 11 with a USB cable, Windows 11 can connect to it like a digital camera, reading its "DCIM" folder. It can copy photos and videos from your iPhone.
First, plug your iPhone into the data cable, then plug the other end into a USB port on Windows 11.
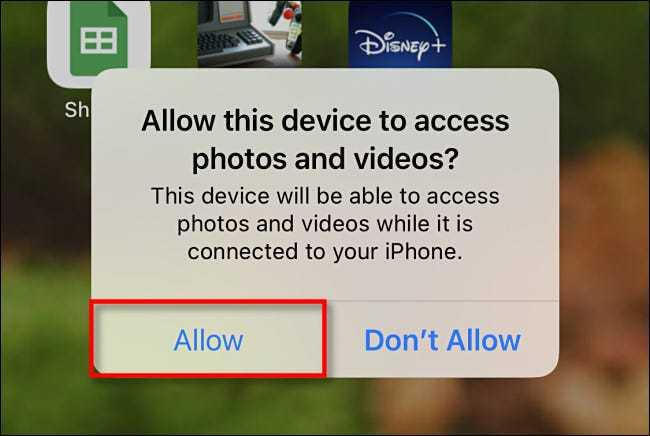
When you plug in your iPhone, the phone will ask you to allow the PC to access photos and videos on the device. Select "Allow." This will make the iPhone's "DCIM" image and video folders available to Windows 11.
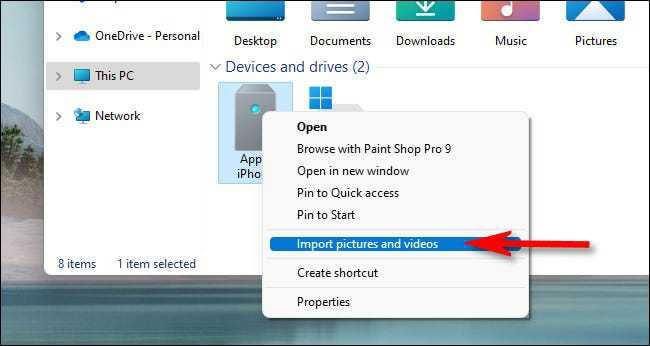
Back on Windows 11, open File Explorer and navigate to "This PC". If the iPhone is correctly recognized by your PC (and allowed to connect), it will show up as a removable drive in the Devices and Drives section.

Right-click the iPhone's icon in File Explorer and select "Import Pictures and Videos" in the menu that appears.
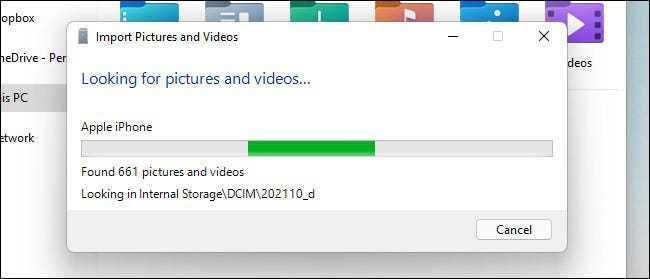
The Import Pictures and Videos window will appear. Windows will scan the Pictures folder on your iPhone for photos and videos that you can copy to your PC.
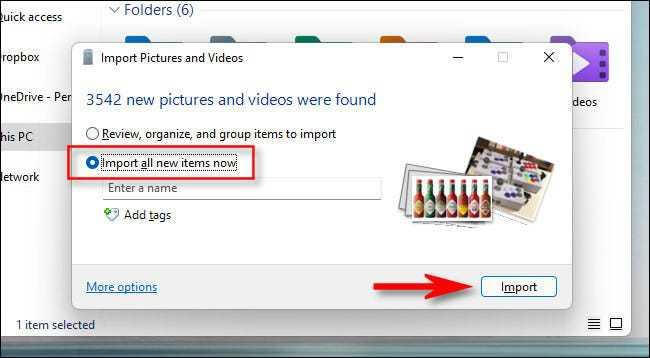
After Windows finds any new photos and videos that haven't been imported before, it will show you how many it can import.
If you want to try using Windows 11 to organize your photos, you can select the "View, organize, and group items to import" option. However, we recommend a simple import: select "Import all new items now" and click the "Import" button.
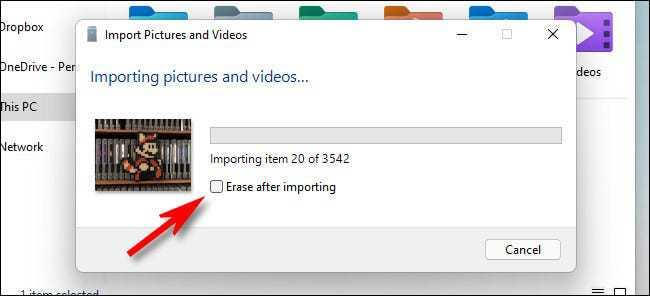
Windows copies photos and videos to a new time-stamped folder in your Pictures folder during the import process by default. Check "Erase After Import" if you want to erase all photos and videos from your iPhone after importing.
Warning: If you check "Erase After Import" during the import process, Windows will delete all photos and videos imported from your iPhone after the import is complete. If you want to keep a copy of your imported photos and videos on your phone, uncheck the "Delete after import" box.
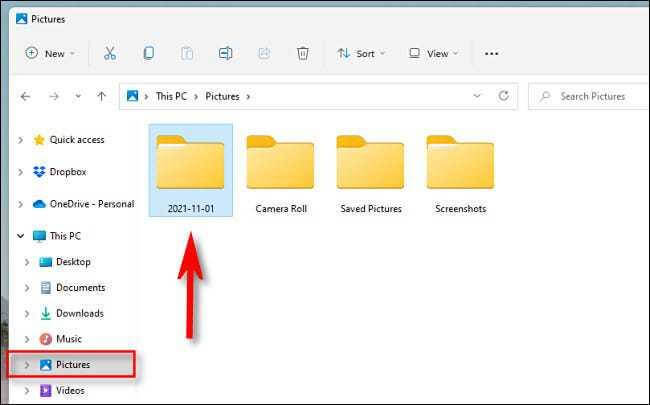
Open a file explorer window once the import is complete and navigate to your pictures folder. You'll find a dated folder with all the photos and videos you just imported inside that folder. Double click on the folder, and you will see the images inside.
After the import, there are some files with the suffix AAE in the import folder. These are particular files used by Apple to store photo editing information, and they will not affect your photos and videos. You use to delete them.
DMtrans - Professional iPhone Photos Transfer Assistant
Why is this software recommended? First of all, the software is full-featured to help you manage iPhone data with full functionality. For example, you can transfer data from a PC/Mac or another iOS device to your new iPhone. Also, you can move your old iPhone data to your new iPhone. DMtrans can also delete some files from your old iPhone to free up space on the device.
The iPhone data transfer software is fully compatible with iPhone 13 or iOS devices with iOS 14 or older. You can use this software to transfer or manage photos, videos, audios, voicemails, podcasts, books, messages, contacts, and more.
Guide to transfer/manage iPhone data with this software
You can manage iPhone data with this software on a PC/Mac with different options. The primary function of this software is to transfer iPhone data between devices. To help you understand and use the software easily, we will show you how to transfer iPhone data.
Specific steps:
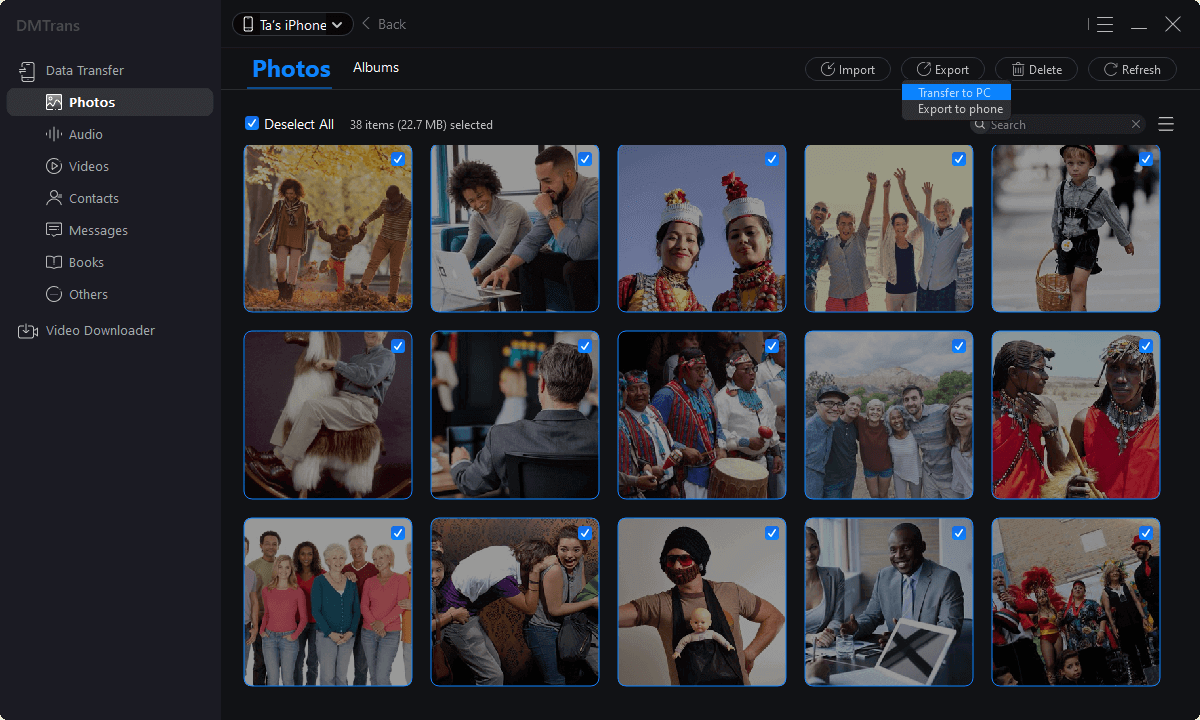
1. Connect your iPhone to your PC/Mac. Run the software and select a category, such as Photos, to continue.

2. Select a photo or other file in the list and click Export. Then you can choose to transfer to your PC/Mac or another iOS device.
3. The software will transfer the selected files to the selected device. After the transfer is complete, you can directly check the data.
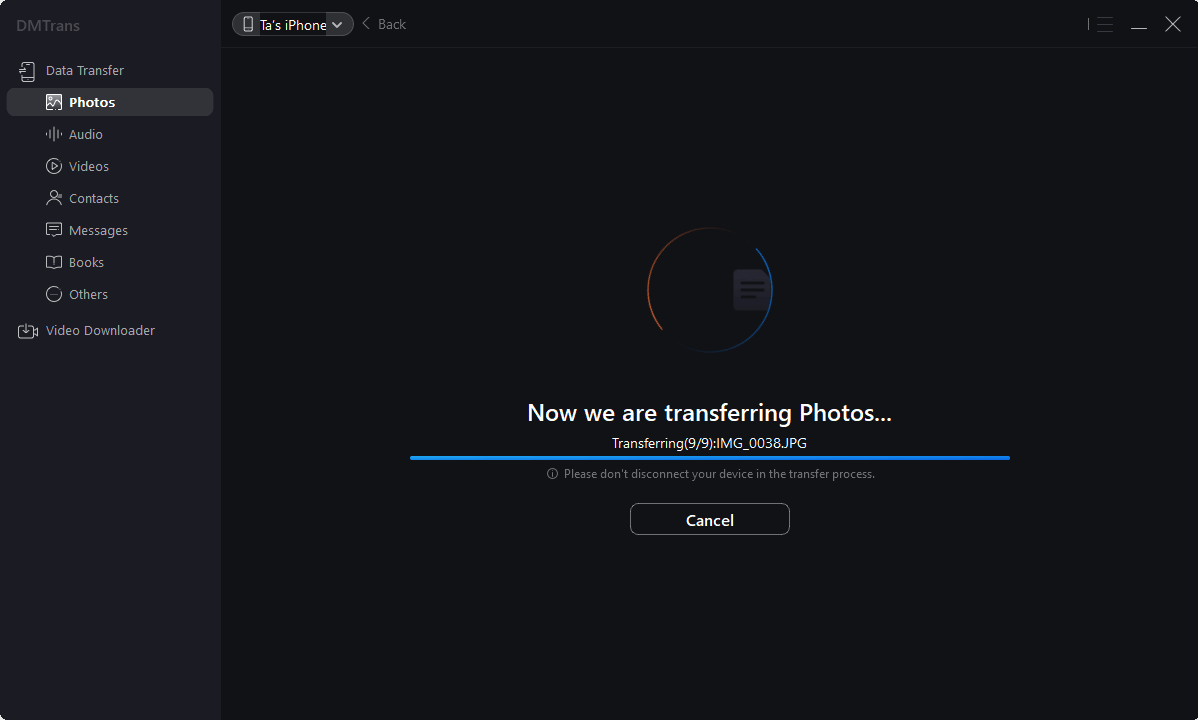
The software will only transfer the data to another device without deleting the files on the original device. So you can transfer files safely. If anything goes wrong during the process, you won't lose data on your iPhone.