Summary:
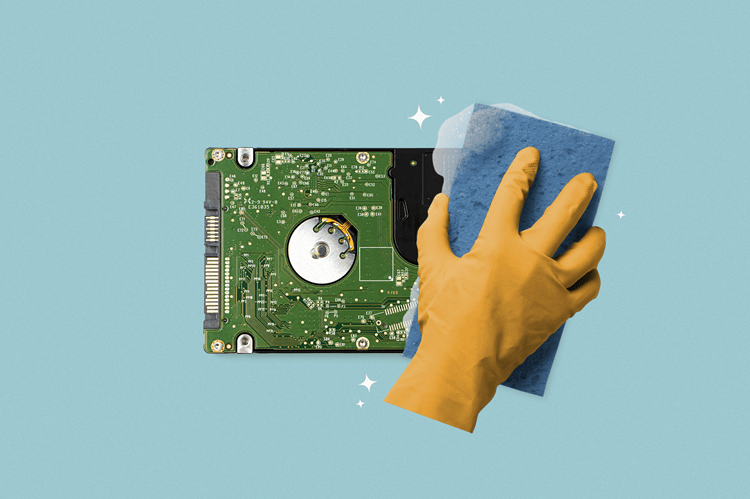
Deletion or formatting can not remove data permanently because that data recovery software is able to easily recover deleted or formatted data. Safewiper is a data erasure program which is able to securely and permanently erase data from PC, Mac, external drive, USB flash drive, memory card, etc, making data recovery be impossible. Now, download the safewiper for Windows or Mac to help you destroy data before you sell, donate or dispose of old computers or digital devices.
PAGE CONTENT:
![safewiper]()
Part 1: What is safewiper data erasure program?
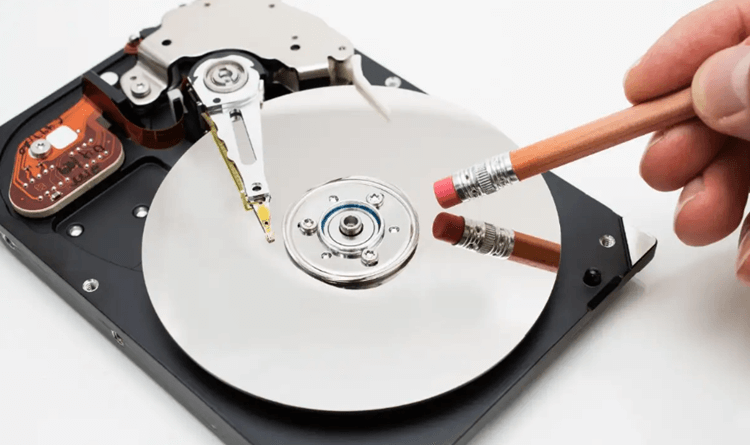
First of all, you should know that the deleted or formatted data on your hard drive is not lost forever. Any data recovery software or manual data recovery service is able to quickly recover deleted, formatted or lost data. To avoid data recovery, you should use data erasure software to help you wipe your sensitive data off.
Safewiper (also called Safe Eraser, Secure Eraser), a famous data erasure program, can help both Windows OS and macOS users to help to securely erase data from PC, Mac, HDD, SSD or other digital storage device. It offers certified data erasure standards including U.S. Army AR380-19, DoD 5220.22-M ECE, Peter Gutmann's algorithm - erasing from 1 pass to 35 passes.
Safewiper offers three flexible data erasure modes and some useful tools:
- Erase Files: permanently erase certain files and folders.
- Erase Hard Drive: wipe all data from a hard drive.
- Erase Free Space: erase already deleted/lost data on a hard drive.
- Disk Tools: format and rename a hard drive.
- Uninstaller: uninstall useless programs and delete all leftovers.
- Internet Cleaner: clean up all browsers’ cookies, passwords, histories, caches, etc.
![safewiper]()
Advantages:
- 100% safe data erasure programs, no damage to HDD, SSD or external storage device.
- Flexible data erasure modes and very easy-to-use.
- Once the data is erased, the data is gone forever, can’t be recovered by any method.
- Erase data from various drives, computers and devices.
- Supports to wipe all types of data.
- Free trial versions from Windows and Mac OS.
Download safewiper here:
Part 2: How to use safewiper to wipe a hard drive?
Before you sell or donate your computer/digital device, you’d better permanently wipe all sensitive data off to prevent potential data recovery. To wipe sensitive data, just download and install safewiper on your Windows PC or a Mac. It is very easy-to-use, here we will show how to use safewiper to wipe a hard drive.
Wipe a hard drive on Windows using safewiper for Windows
Please note that once the hard drive has been wiped by safewiper, all data (existing data, deleted/lost data included) on the hard drive is lost forever, can’t be recovered by any method. So, you’d better make a backup for the hard drive which will be erased. Then follow the guide below to wipe it.
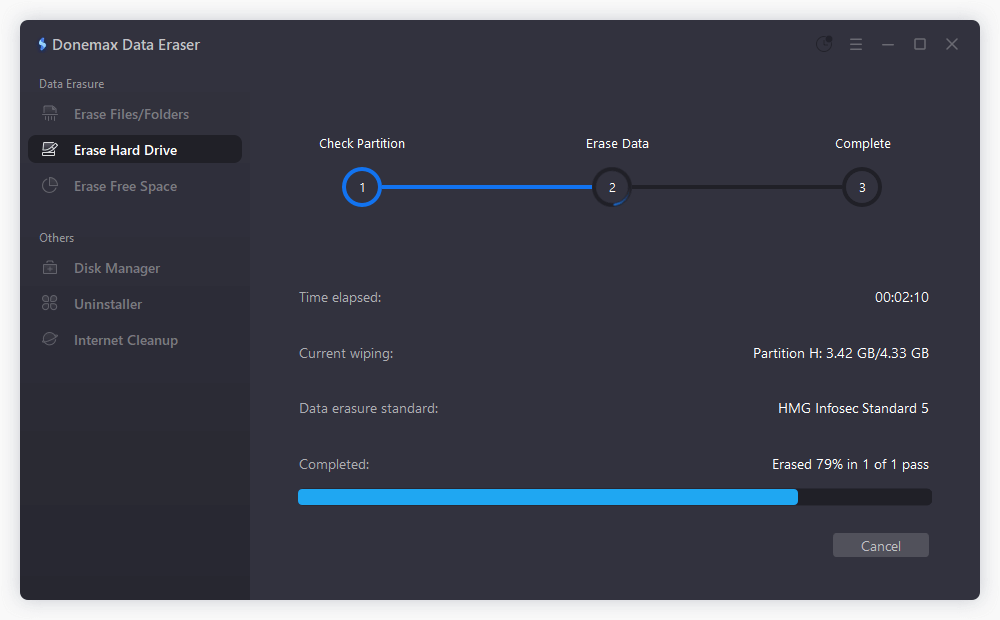
Step 1. Open safewiper on Windows PC and make sure the target hard drive is connected the same PC.
![safewiper for windows]()
Step 2. Choose Erase Hard Drive mode. Select the hard drive you want to wipe. Then click on Erase Now button.
![safewiper for windows]()
Once the process gets finished, all data on the hard drive is lost forever.
Wipe a hard drive on Mac using safewiper for Mac
Safewiper also offers Mac version so that Mac users can wipe data with it. It can help you securely erase data from Mac-based hard drives, HDDs, SSDs, external drives, USB drives, memory cards, etc. Download and install safewiper on your Mac.
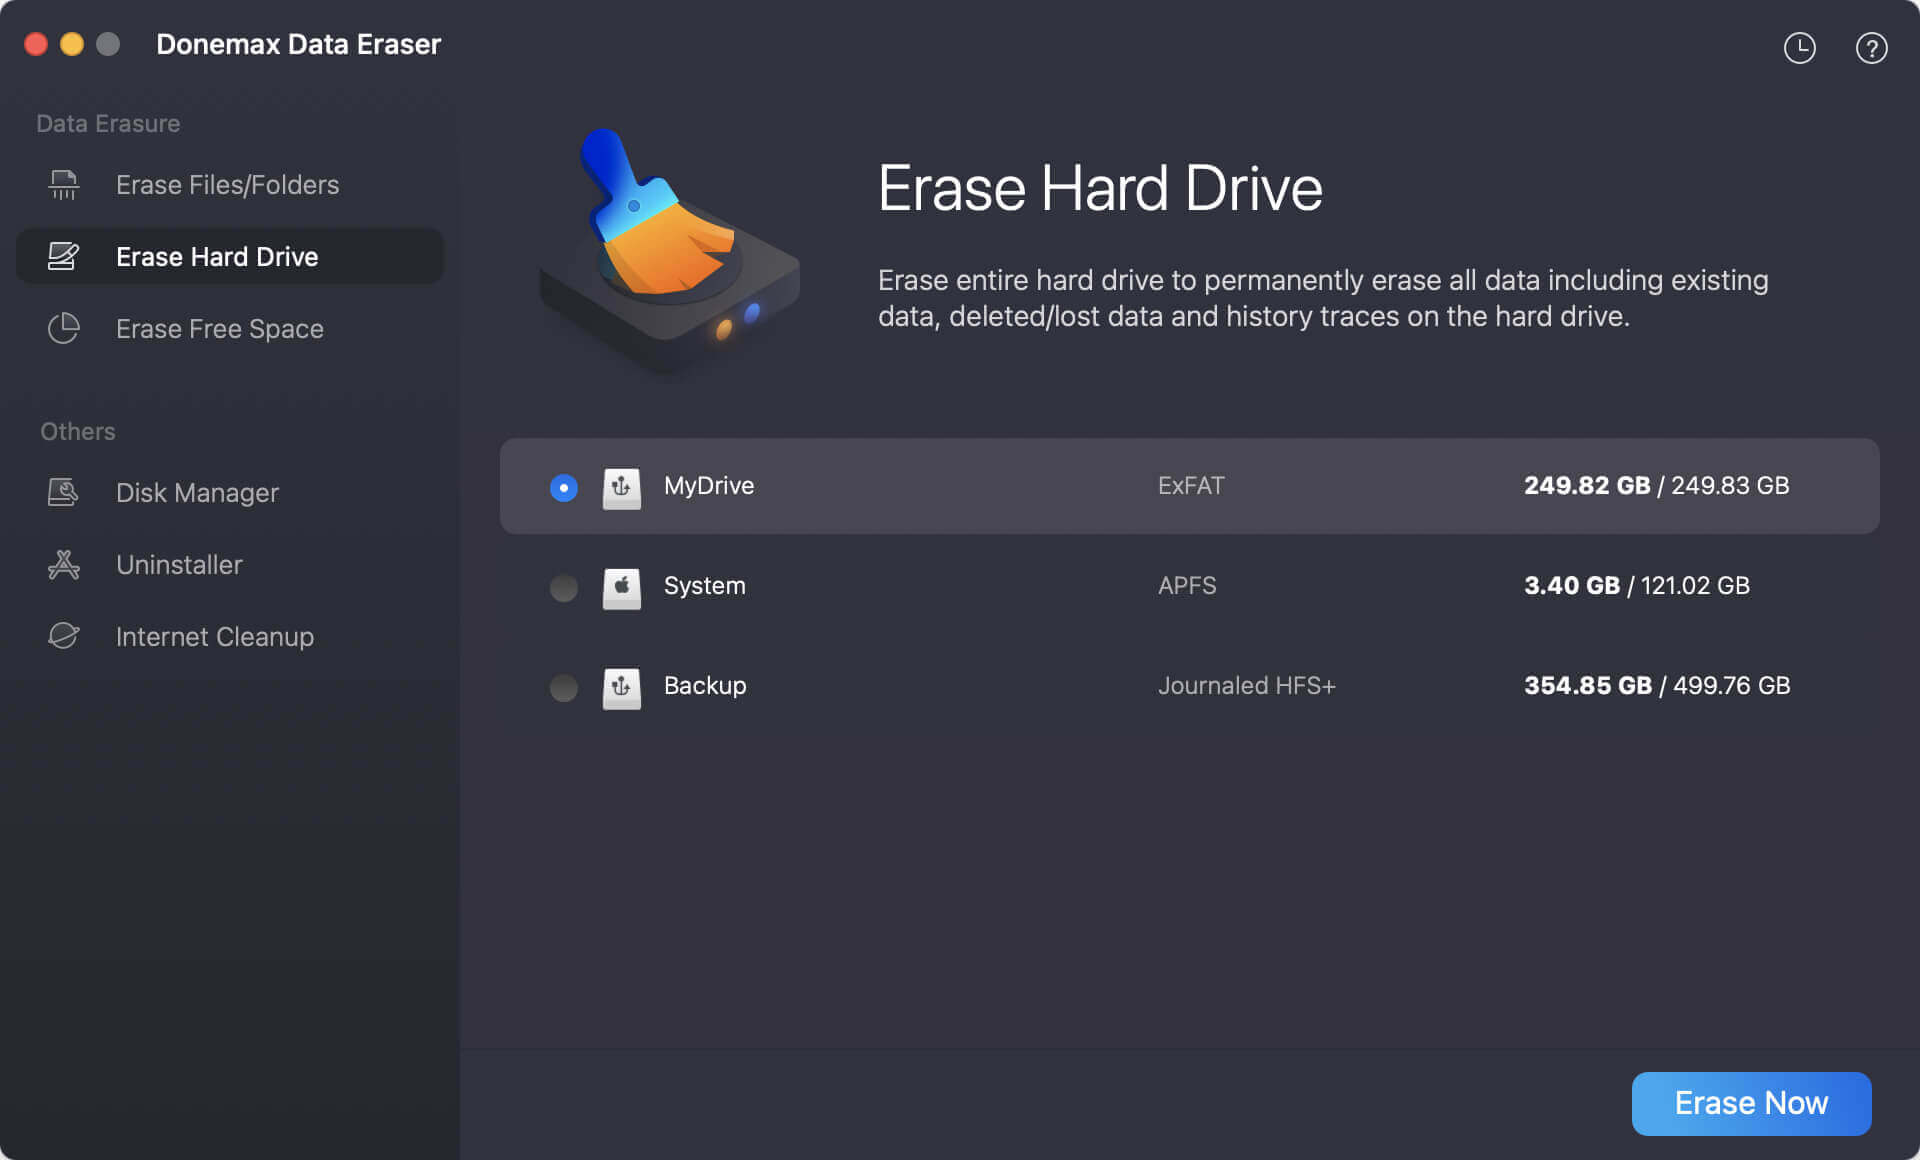
Step 1. Open safewiper from Launchpad and choose mode Erase Hard Drive.
![safewiper for Mac]()
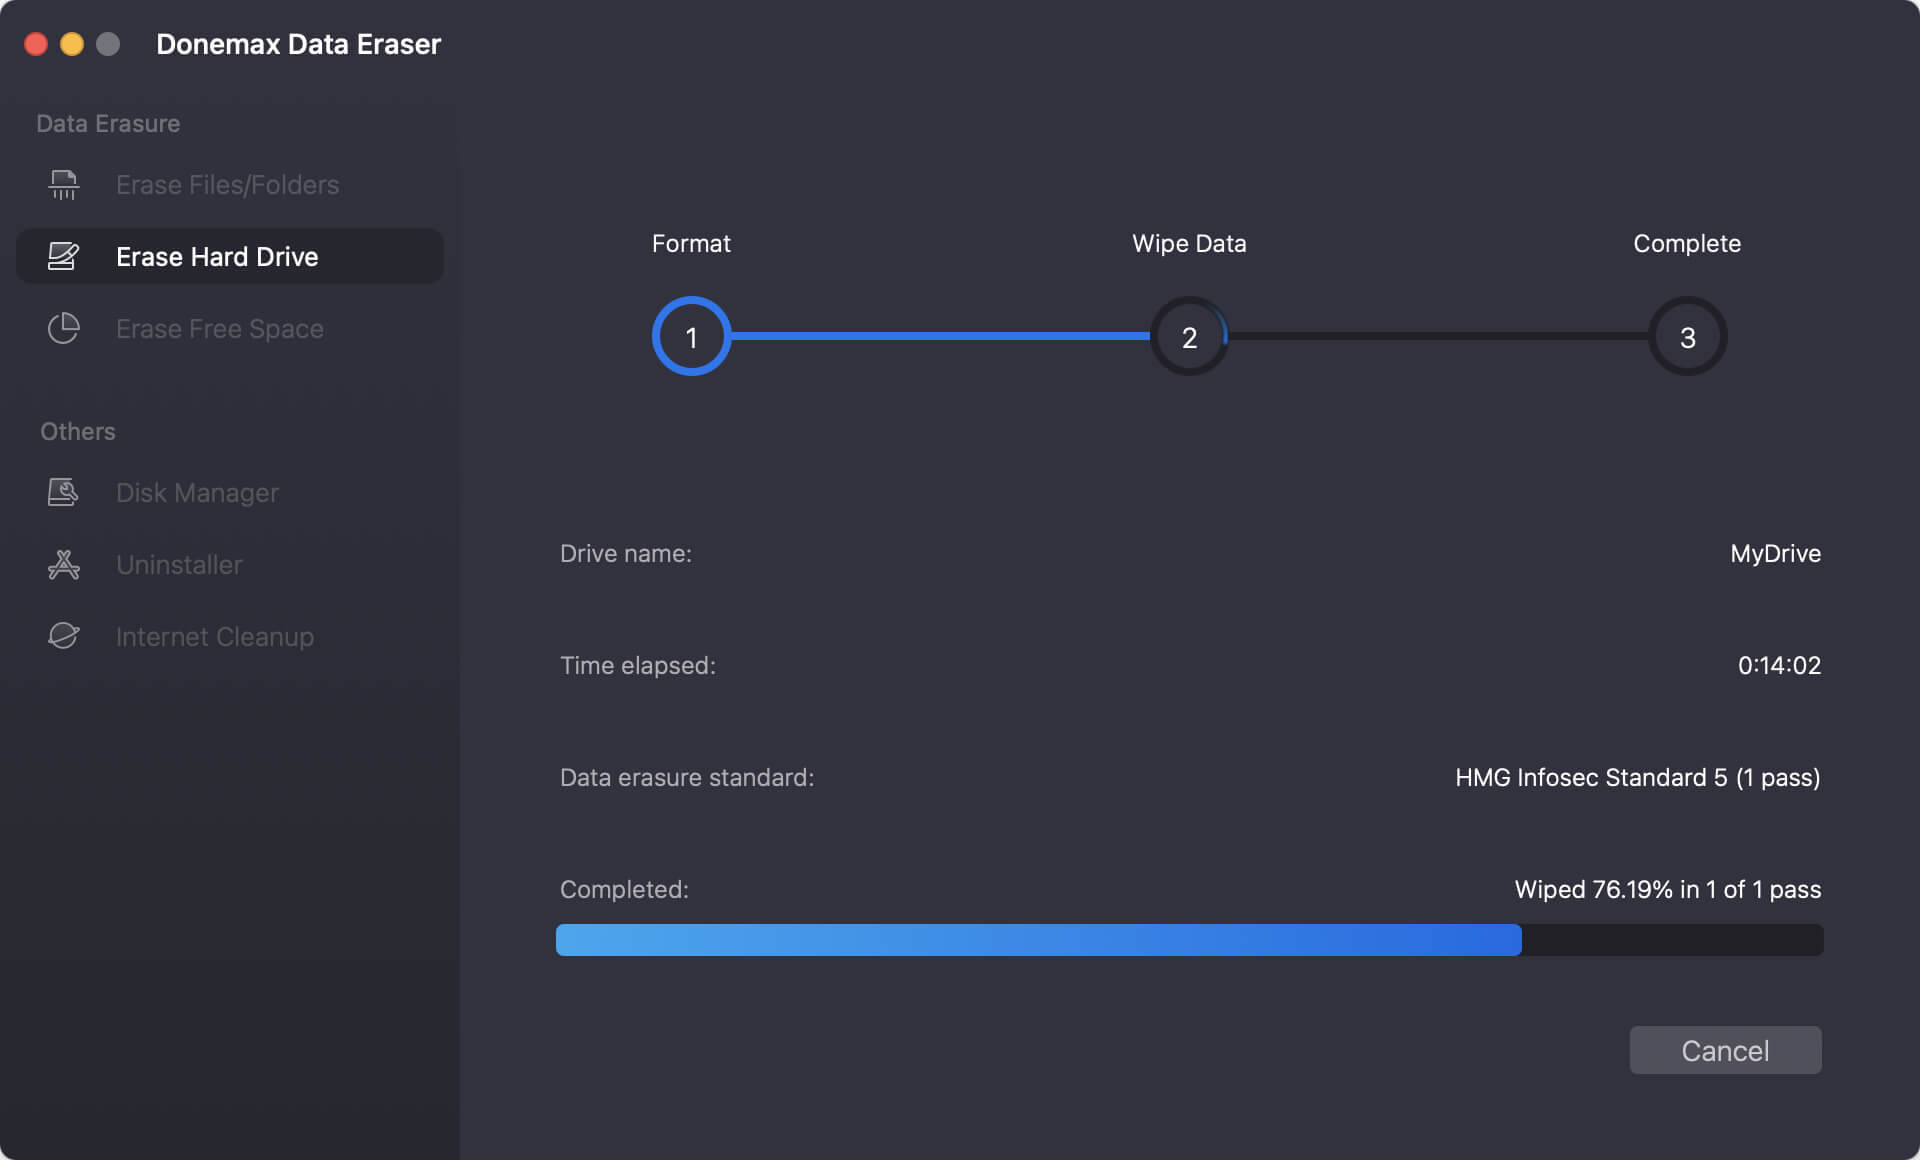
Step 2. Select the target hard drive and click on Erase Now button.
![safewiper for Mac]()
Once the process gets finished, the data on the hard drive is gone forever. If you want to erase data on Mac startup disk, just delete all unwanted files, empty trash bin. Then select Erase Free Space mode to securely and permanently wipe all deleted/lost data on the Mac.
Safewiper data erasure FAQs:
No, the erased data is gone forever, can’t be recovered by any data recovery software or manual data recovery service.
No, even the 35 passes will not shorten the service of the SSD. After erasure, you still can use the SSD as a new drive.
No, the erased data is not gone forever, data recovery software can recover most of lost documents which are erased by Disk Utility.
Safewiper can help you securely shred files and folders from any hard drive or external storage device:
- Open safewiper, choose data erasure mode - Erase Files.
- Click Add to add files and folders.
- Click on Erase Now button to securely erase the selected files and folders.
If the files have been deleted, just try
Erase Free Space to erase the deleted/lost files on the hard drive.
Final Words:
If you don’t how to permanently erase your data from a hard drive to prevent data recovery, just download and install safewiper on your computer. Then run it to securely and permanently shred files, wipe hard drive or erase deleted traces. Once the data is erased by safewiper, the data will be lost forever, can’t be recovered by any method. That’s why you need safewiper before selling or donating your computer or giving a Mac away.