
Written byChristinaUpdated on Jun 11, 2024
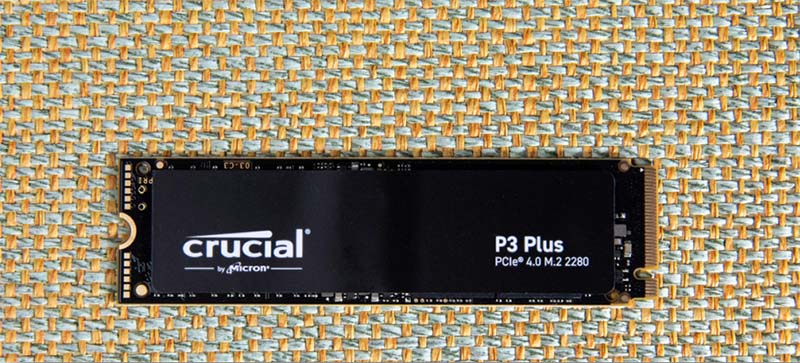
How to Clone Hard Drive to Crucial P3 NVMe Plus SSD?
Approved byGerhard Chou
PAGE CONTENT:
In the constantly changing world of technology, it's not hard to boost your computer. You're in the right place if you've heard that getting a Crucial P3 NVMe Plus SSD will speed up and improve your PC's performance. Imagine that your computer could run faster, respond faster, and easily handle jobs. It is possible with a simple process called cloning.
This guide will break down the steps in a way that makes them easy for everyone to understand, even if they don't know much about computers. So, buckle up because we're about to start a guide that will quickly improve your system and make the switch to the advanced features of the Crucial P3 NVMe Plus SSD.
Gathering Necessary Tools
You will want a few tools to effectively clone your hard drive onto the Crucial P3 NVMe Plus solid-state drive (SSD).
✦ Crucial NVMe SSD Software: Crucial offers specialist software for cloning your hard disk to its NVMe solid-state drives (SSDs). You can download it from the official Crucial website.
✦ NVMe to USB Adapter or Enclosure: Because the Crucial P3 NVMe Plus SSD utilizes an NVMe interface, you will want an NVMe to USB adapter or enclosure to connect the SSD to your computer to begin the cloning process.
✦ Screwdriver and Mounting Hardware: If you intend to install the Crucial P3 NVMe Plus SSD on your computer's internal components, you will require a screwdriver and any necessary mounting hardware.
Step-by-Step Guide to Cloning Your Hard Drive to Crucial P3 NVMe Plus SSD
Here are the steps to clone your hard drive to the Crucial P3 NVMe Plus SSD. Make sure you have a backup and all the tools you need ready.
Step 1: Connect the Crucial P3 NVMe Plus SSD.
If you have an external NVMe to USB adapter or enclosure, connect the Crucial P3 NVMe Plus SSD to your computer using the USB connection. Make sure the link is stable.
Step 2: Download and Install Crucial NVMe SSD Software.
Visit the official Crucial website to download the NVMe SSD program that works with your operating system. Then, install the software on your machine.
Step 3: Launch the Cloning Software.
Launch the software for the Crucial NVMe SSD. This screen will help you with the cloning process. You can make a copy of your hard drive on the Crucial P3 NVMe Plus SSD.
Step 4: Choose Source and Target Drives.
Your current hard drive will be the source, and the Crucial P3 NVMe Plus SSD will be the target. The software prompts you to choose which drive to use. Make sure you pick the suitable drives so you don't lose any info.
Step 5: Adjust Partition Sizes (Optional).
The software might let you change the size of partitions if the Crucial P3 NVMe Plus SSD has more space than your current hard drive. You can divide up the space however you like.
Step 6: Start the Cloning Process.
Once all the settings are set, start the cloning process. It will start copying files from your hard drive to the Crucial P3 NVMe Plus SSD. Depending on the amount of information, this process could take a while.
Step 7: Verify Cloning Completion.
If the cloning process is finished, the program will let you know. Check whether your data was successfully moved to the Crucial P3 NVMe Plus SSD.
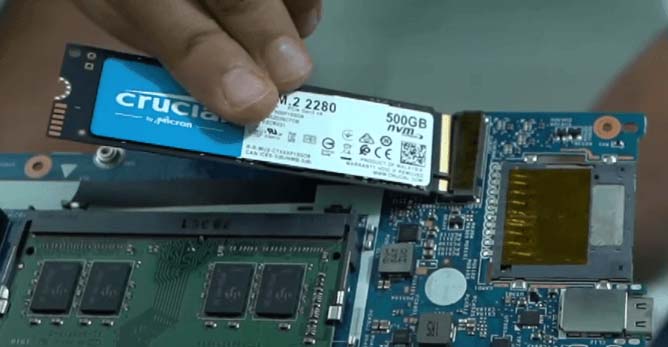
Step 8: Install the Crucial P3 NVMe Plus SSD.
If using an external case, turn off your computer, remove the old hard drive, and put the Crucial P3 NVMe Plus SSD inside the enclosure. When you need to, use the screwdriver and mounting gear.
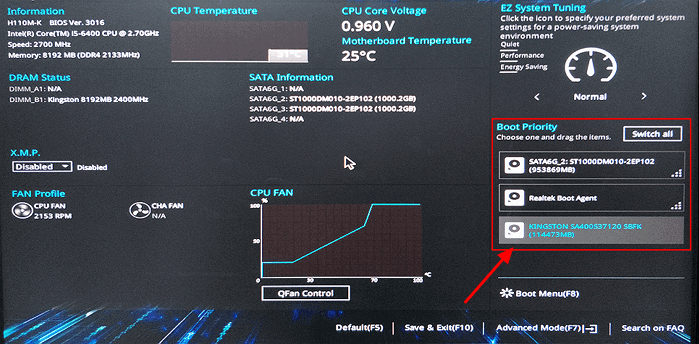
Step 9: Boot from the Crucial P3 NVMe Plus SSD.
Turn on your machine and go to the BIOS or UEFI settings. Set the Crucial P3 NVMe Plus SSD as the primary boot drive. Save your changes and log out to ensure your system starts from the new SSD.
Step 10: Verify System Operation.
Check that your files and programs remain after your system starts from the Crucial P3 NVMe Plus SSD. Enjoy how much faster and better your system works now that it's been updated.
How to Clone Hard Drive to Crucial P3 NVMe Plus SSD with Disk Clone Software?
If you can’t get the official Crucial NVMe SSD software, just try third-party disk cloning program - such as Donemax Disk Clone to help you clone everything from your computer hard drive to the Crucial P3 NVMe Plus SSD.
Step 1. Download and install Donemax Disk Clone on your computer.
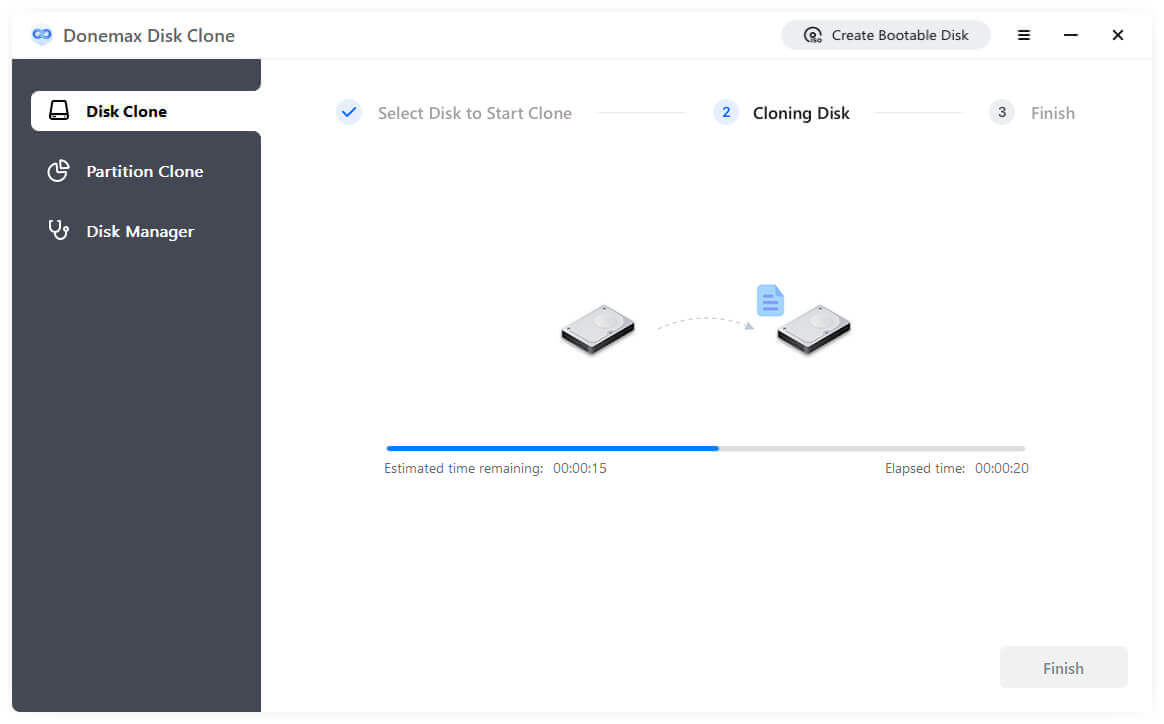
Step 2. Open Donemax Disk Clone, choose Disk Clone mode. Then select the hard drive as the source disk, select the Crucial P3 NVMe Plus SSD as the destination disk. Click Next.

Step 3. Choose the clone settings, then tick Check the option if the destination is SSD, then click on Clone button.

Step 4. Clone all data including Windows OS, programs, user files, settings from the hard drive to the Crucial P3 NVMe Plus SSD.
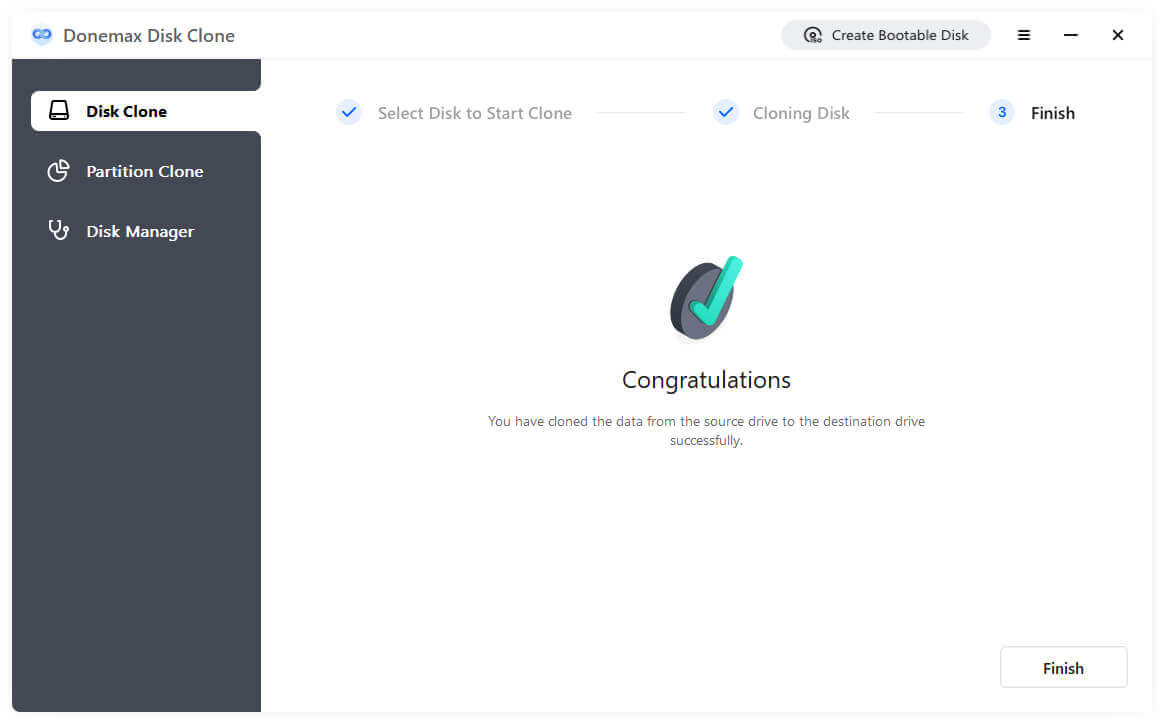
Step 5. Once the clone is completed, you can check the cloned data on the Crucial P3 NVMe Plus SSD and set it as the new boot drive in BIOS.
Conclusion:
Getting a Crucial P3 NVMe Plus SSD is a great way to speed up your computer, and cloning your hard drive makes the process easy, so you don't have to worry about restarting everything. Remember to read this whole guide before you start enjoying the speed and response of your brand-new system. Take your time, back up your data, and carefully follow each step to ensure the cloning process goes well.
Donemax Disk Clone is a reliable SSD clone software. It can securely and quickly clone all data from old hard drive to the new Crucial P3 NVMe Plus SSD. Then you can boot the drive in BIOS and set the Crucial P3 NVMe Plus SSD as the new boot drive.
FAQs About Cloning Hard Drive to Crucial P3 NVMe Plus SSD
1. Any tool can clone hard drive to Crucial P3 NVMe Plus SSD?
Here is the list of top 5 clone tool can help you clone a hard drive to a new Crucial P3 NVMe Plus SSD:
- Donemax Disk Clone
- Acronis True Image
- AweClone
- EaseUS Disk Copy
- AOMEI Partition Assistant
2. How to clone Windows hard drive to Crucial P3 NVMe Plus SSD?
- Download and install Donemax Disk Clone, open it, choose Disk Clone mode.
- Select the old hard drive as source disk, select Crucial P3 NVMe Plus SSD as the destination disk.
- Click Next.
- Preview clone layout. Tick Check the option if the destination is SSD.
- Click on Clone button to clone all data from the hard drive to the Crucial P3 NVMe Plus SSD.
3. How to set the Crucial P3 NVMe Plus SSD as the new boot drive?
Make sure you’ve cloned Windows OS to the Crucial P3 NVMe Plus SSD and the Crucial P3 NVMe Plus SSD is installed on your computer:
- Restart your computer, then press Del or F2 or F8 to access to BIOS.
- Find the Boot option, then change the boot order, select the Crucial P3 NVMe Plus SSD as the boot drive.
- Save the changes, exit BIOS, restart the computer.
Related Articles
- Jun 05, 2023How to Create A Bootable Clone Backup for Windows?
- Jun 09, 2023How to Clone A Samsung SSD Hard Drive in Windows
- Apr 18, 2024Best 5 ADATA Clone Software
- Mar 04, 2024How to Clone Windows OS to A Smaller SSD?
- Apr 14, 2024How to Clone NTFS Hard Drive?
- Jun 04, 2025How to Clone FAT32 Drive to exFAT Drive?

Contributing Writer
Christina
Christina is the senior editor of Donemax software who has worked in the company for 4+ years. She mainly writes the guides and solutions about data erasure, data transferring, data recovery and disk cloning to help users get the most out of their Windows and Mac. She likes to travel, enjoy country music and play games in her spare time.

Editor in chief
Gerhard Chou
In order to effectively solve the problems for our customers, every article and troubleshooting solution published on our website has been strictly tested and practiced. Our editors love researching and using computers and testing software, and are willing to help computer users with their problems