
Written byStevenUpdated on Jun 03, 2025
Clone Hard Drive to Sabrent Rocket SSD: A Full Guide
Approved byGerhard Chou
Before we start: Download the professional and secure disk clone application Donemax Disk Clone. It can clone hard drive to SSD smoothly. It's a simple and reliable solutions to replace or update the hard drive to SSD.
PAGE CONTENT:
Upgrading your computer's storage to an SSD (Solid-State Drive) is one of the best ways to improve system performance. Among the best options available on the market today, the Sabrent Rocket SSD stands out with its high-speed NVMe capabilities, durability, and excellent performance.
Whether you're looking to speed up your system, increase storage space, or replace an old HDD, cloning your hard drive to a Sabrent Rocket SSD is a reliable solution. In this article, we will guide you through the process of cloning your hard drive to the Sabrent Rocket SSD, ensuring a smooth and successful upgrade.
Why Cloning Hard Drive to Sabrent Rocket SSD?
If your computer is running slowly or you're out of storage space, upgrading to an SSD can significantly improve your system's overall performance. While upgrading to an SSD might sound complicated, cloning your current hard drive to a new SSD is a straightforward process that doesn't require any technical expertise. Cloning transfers all the data, including your operating system, files, and installed programs, from your old hard drive to your new SSD.
The Sabrent Rocket SSD is known for its lightning-fast NVMe interface, providing read speeds up to 7,000 MB/s and write speeds up to 5,300 MB/s (depending on the model). This makes it an excellent choice for those looking to get the most out of their storage upgrade. This article will provide a detailed, step-by-step guide to help you clone your hard drive to a Sabrent Rocket SSD.
What You Need before Cloning Hard Drive to Sabrent Rocket SSD?
Before you start cloning, you'll need a few essential items to complete the process:
- Sabrent Rocket SSD: The heart of your upgrade. Make sure you purchase the appropriate model for your system (SATA or NVMe) and check the available storage capacity (e.g., 500GB, 1TB, 2TB) to meet your needs.
- Cloning Software: There are several cloning tools available, both free and paid. Some popular options include:
- Each of these tools has user-friendly interfaces and support for SSDs like the Sabrent Rocket.
- SSD Enclosure or Adapter: If you're cloning from a laptop or want to clone your hard drive externally, an SSD enclosure or adapter will allow you to connect the SSD to your computer via USB.
- Backup: Although cloning should preserve all data, it's always a good idea to back up important files before proceeding, especially if you're not using a dedicated cloning tool that includes error recovery features.
- System Compatibility: Ensure that your motherboard or laptop supports the SSD interface you're using (SATA or NVMe). If your computer only has SATA ports, you'll need a SATA-based SSD (such as the Sabrent Rocket Q). For faster performance, ensure your system supports NVMe drives if you opt for a high-performance SSD.
Prepare the Sabrent Rocket SSD
Once you have all the necessary tools and components, it's time to prepare your new Sabrent Rocket SSD.
- Install the SSD: If you're upgrading a desktop, install the SSD directly onto the motherboard using the appropriate NVMe or SATA port. For laptops, you may need to open the back panel and replace the existing drive with the new SSD. Make sure to consult your laptop's manual to identify the location of the storage slot.
- Initial Formatting and Partitioning: When you install the new SSD, it might not be formatted or recognized by your operating system. To format the SSD:
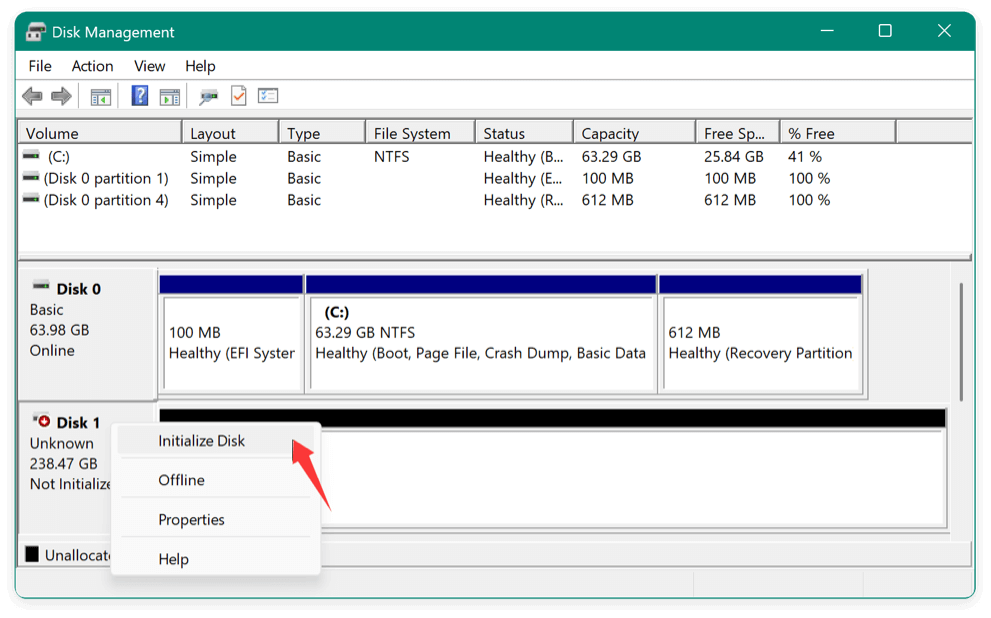
- In Windows, by right-clicking the Start button and choosing Disk Management, you may launch Disk Management.
- Locate the unallocated space of the Sabrent Rocket SSD, right-click, and choose Initialize Disk.
![clone hard drive to Sabrent Rocket SSD]()
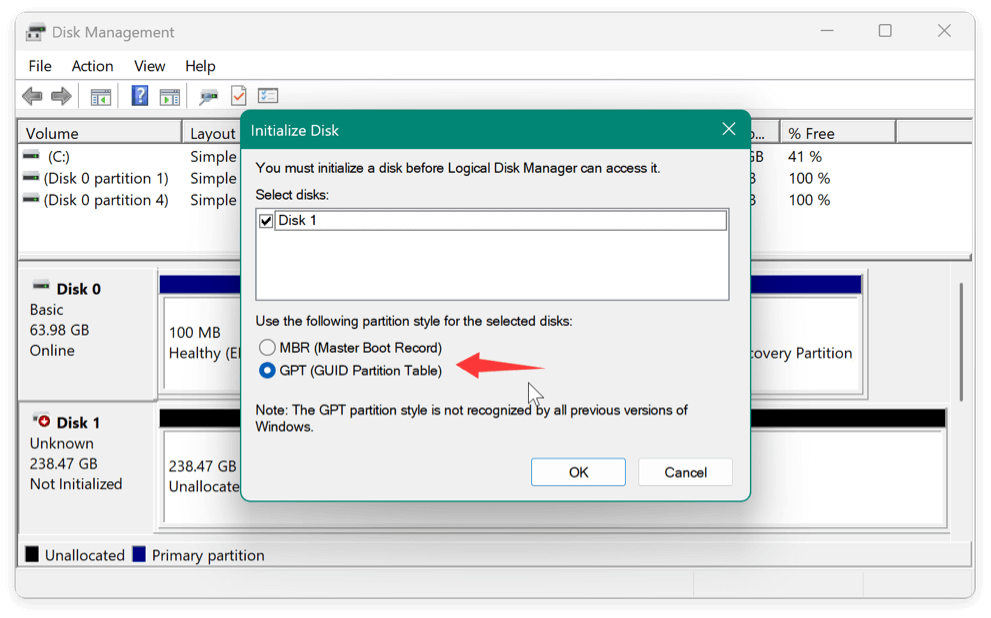
- Choose GPT (GUID Partition Table) for modern systems, as it is compatible with UEFI.
![clone hard drive to Sabrent Rocket SSD]()
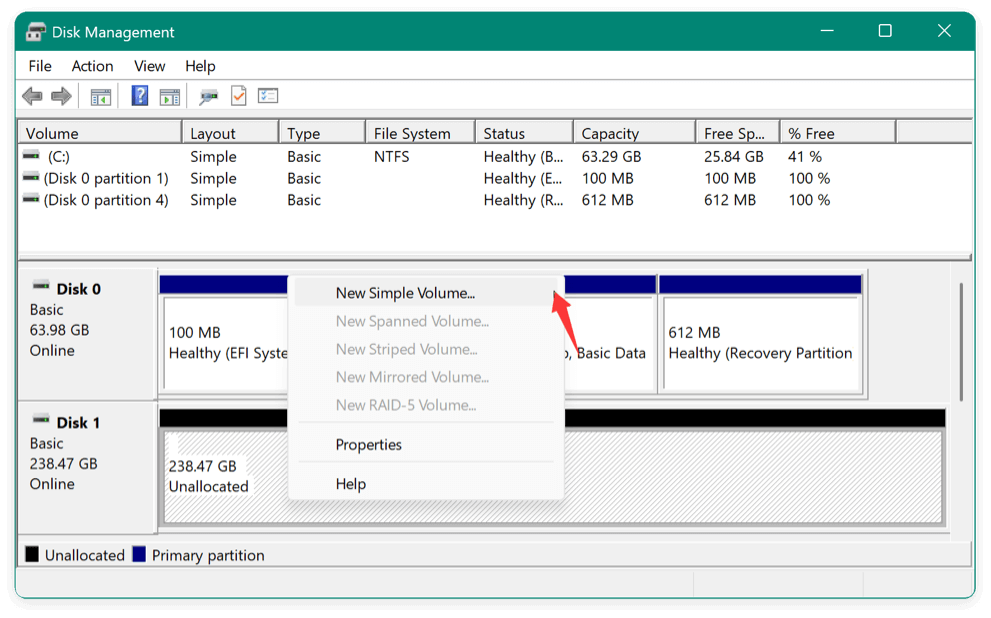
- To create a partition, assign a letter, and format the unallocated space after initialization, right-click on it once more and choose New Simple Volume.
![clone hard drive to Sabrent Rocket SSD]()
- Ensure Correct Detection: Once formatted, make sure the SSD is detected by the system and appears as a usable disk in Disk Management. If not, you might need to install the appropriate drivers for your motherboard or check the connections.
Choose the Right Cloning Software
To successfully clone your hard drive, you'll need reliable cloning software. Here's a comparison of some of the top tools:
- Donemax Disk Clone: Known for its simple interface and ease of use, Donemax Disk Clone is perfect for beginners. Its cloning feature allows you to resize partitions on the destination SSD, which can be handy if you're upgrading to a larger drive. It can also make bootable clone for system disk. Donemax Disk Clone also includes tools for creating bootable recovery media, so you can restore your system if something goes wrong.
- Macrium Reflect: One of the most trusted cloning tools, offering both free and premium versions. It supports sector-by-sector cloning, which ensures that the data is transferred exactly as it was on the source drive.
- Acronis True Image: This paid tool offers a range of features, including data backup, disk cloning, and security features like ransomware protection. Acronis is often bundled with SSD purchases, making it an attractive option for Sabrent Rocket SSD users.
- Clonezilla: A free, open-source tool that is very powerful but requires some technical knowledge. It is a great option for advanced users who want more control over the cloning process.
For this guide, we will use Donemax Disk Clone due to its balance of functionality, ease of use, and free availability.
Step-by-Step Guide to Clone Hard Drive to Sabrent Rocket SSD
1. Install and Launch Donemax Disk Clone
First, download and install Donemax Disk Clone on your computer.
Donemax Disk Clone
- Professional disk cloning tool to clone hard drive to SSD.
- Support disk copy for HDD, SSD, SD card, USB flash drive, etc.
- Guarantee the cloned system drive is full and bootable.
2. Select the Source Hard Drive and Destination (Sabrent Rocket SSD)
Once installed, launch the software and navigate to Disk Clone mode. Identify the source drive (your old hard drive) that you want to clone. It will usually be labeled as the C: drive if it's your primary system drive.
Next, select the Sabrent Rocket SSD as the destination drive. Make sure that the SSD has enough space to hold all the data from your source drive.
Ensure that you select the Sector-by-sector clone option if you want a full, exact clone. If your SSD is smaller than the source drive, you may need to shrink or exclude certain partitions to fit everything.

4. Preview and Edit Disk Layout
Donemax Disk Clone will prompt you to preview and edit the disk layout (if necessary). Also, you can set the other clone options. For example:
- "Only clone existing data" - only copy existing data on the source hard drive.
- "Autofit the disk" - automatically adapts to the size of destination drive to make the disk at its best.
- "Copy as the source" - do not change anything on destination disk and the layout is the same as the source.
- "Edit disk layout" - allows you to manually resize or move partitions on destination disk.
- Tick Check the option if the destination disk is SSD to optimize the SSD.

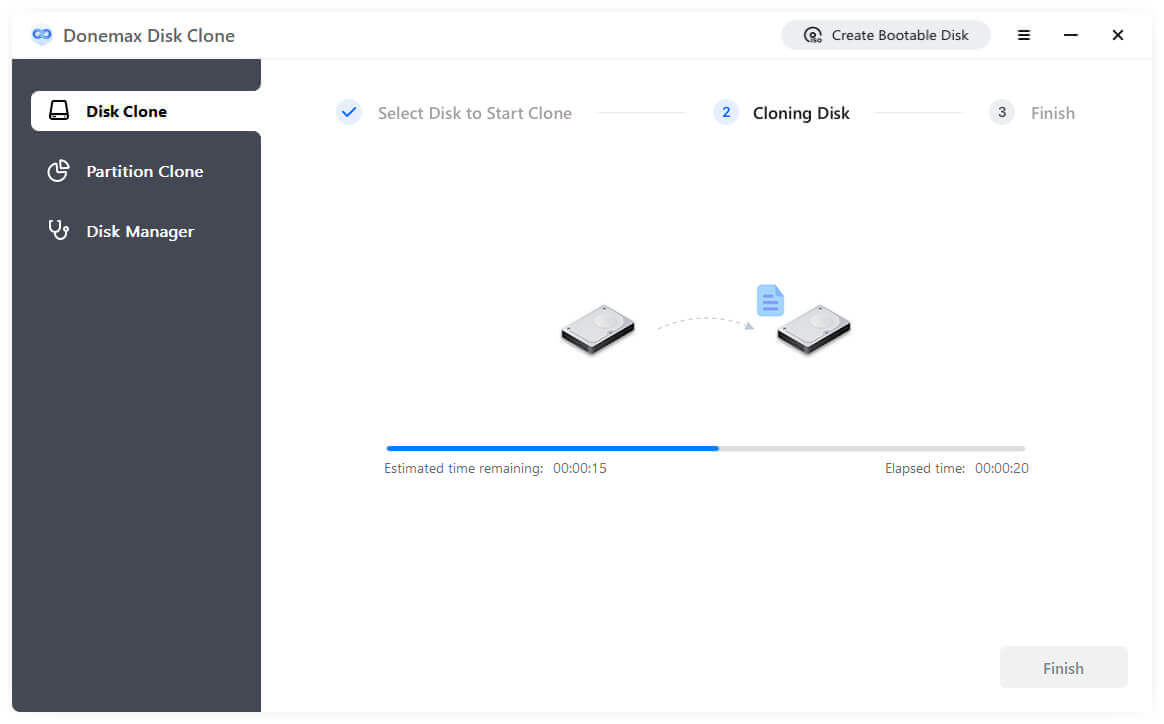
5. Start the Cloning Process
Once you've set your options, click Clone button to begin the cloning process. The software will copy the entire contents of your old hard drive to the new SSD.
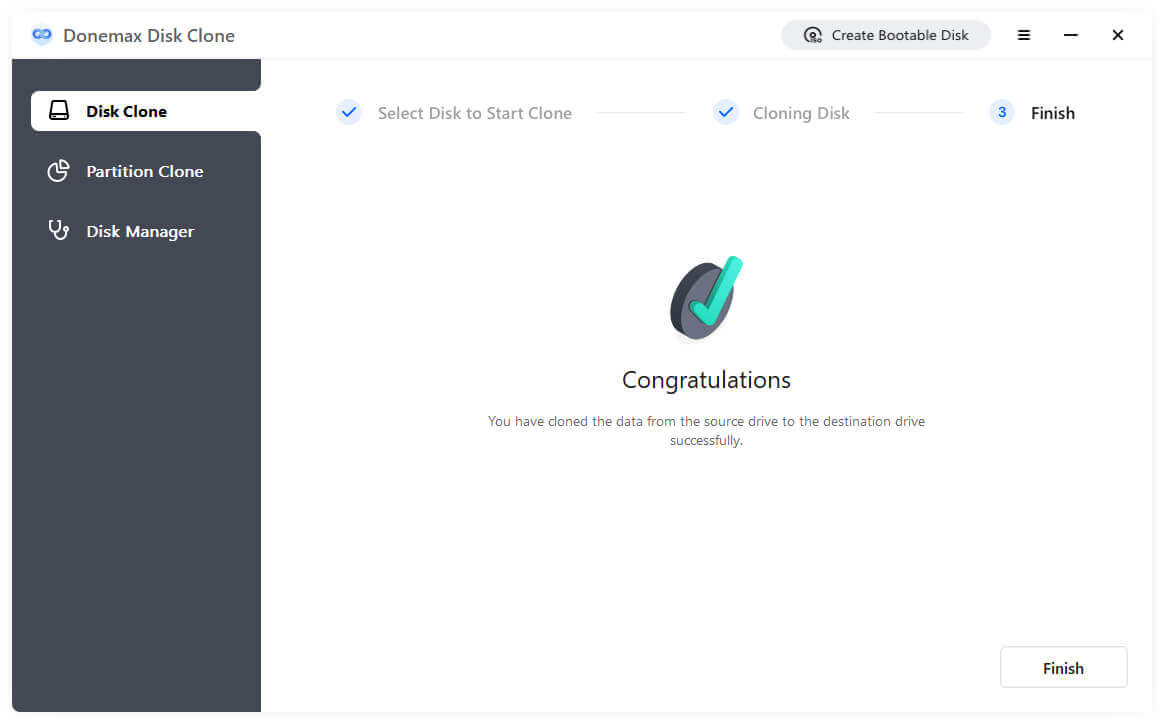
Depending on the extent of your data, this process may take some time. You'll be informed when the cloning is finished.
6. Disconnect the SSD (if external)
After the disk cloning process is finished, you can then disconnect the Sabrent Rocket SSD. If you were using an external enclosure, safely eject the SSD and remove it from the system.
Boot from the Sabrent Rocket SSD (Optional)
When cloning a system hard drive to Sabrent Rocket SSD, it's necessary to check if the cloned SSD is bootable. Once the cloning process is finished, it's time to test the new SSD.
- Change Boot Order: Reboot your computer and enter the BIOS/UEFI setup by pressing the appropriate key (usually F2, F12, DEL, or ESC) during startup.
- Set the SSD as the Primary Boot Device: In the boot settings menu, change the boot priority to your newly cloned Sabrent Rocket SSD. Save the changes and exit BIOS/UEFI.
- Boot into Windows: Your computer should now boot from the SSD, and everything should function as it did with the old hard drive.
If you encounter issues during boot, such as the system not detecting the SSD, check the boot order again and ensure that all connections are secure.
Optimize the Sabrent SSD After Cloning
Once the cloning process is complete and your system is running from the SSD, you can optimize it further:
- Enable TRIM: TRIM helps the SSD manage unused space more efficiently, improving its longevity and performance. In Windows, TRIM is usually enabled by default.
- Partition Alignment: If needed, ensure your partitions are properly aligned to improve SSD performance. Tools like AS SSD Benchmark or CrystalDiskInfo can help with alignment checks.
- Check for Firmware Updates: Visit the Sabrent website to download and install the latest firmware for your SSD to ensure maximum performance and stability.
- Benchmark Performance: Run a benchmark test (e.g., using CrystalDiskMark) to measure the read and write speeds of your new SSD. You should see a significant improvement over your old hard drive.
Troubleshooting Common Issues while Cloning Hard Drive to Sabrent Rocket SSD
During the cloning process, you may run into some issues. Here are some common ones and how to resolve them:
- ⚠️ SSD Not Detected: Make sure the SSD is properly connected and recognized in Disk Management. If not, check the cables or update your drivers.
- ⚠️ Cloning Fails or Takes Too Long: Ensure that the SSD has enough space to accommodate all the data from the source drive. Consider using a faster cloning tool or trying the process again.
- ⚠️ Windows Won't Boot: If Windows doesn't boot after cloning, ensure that the SSD is set as the primary boot device in BIOS/UEFI. You may also need to repair the bootloader.
- ⚠️ Partition Size Mismatch: Use Donemax Disk Clone's resize option during cloning to ensure that partitions fit correctly on the new SSD.
Conclusion
Cloning your hard drive to a Sabrent Rocket SSD is a great way to improve your system's speed, performance, and reliability. With the step-by-step guide above, you should be able to clone your data easily and boot up from the new SSD without issues. Just make sure you have the right disk cloning tools, follow each step carefully, and troubleshoot any problems that arise.
By upgrading to a high-performance SSD like the Sabrent Rocket, you'll enjoy faster boot times, quicker file access, and overall smoother system performance. So go ahead and clone your hard drive to a Sabrent Rocket SSD today and experience the difference in speed!
Donemax Disk Clone
An award-winning disk cloning program to help Windows users and Mac users clone HDD/SSD/external device. It also can create full bootable clone backup for Windows PCs and Macs.
Related Articles
- Apr 18, 2024Upgrade Disk of Advent Laptop to SSD
- Apr 18, 2024Best 5 ADATA Clone Software
- Sep 20, 2023How to Clone A Hard Drive on Laptop?
- Jun 09, 2026Create Bootable Clone Backups with Donemax Disk Clone: The Complete, Simple Guide
- Jun 07, 2023How to Change the Boot Drive on Windows 10 or Windows 11?
- Apr 21, 2024How to Upgrade HDD/SSD to Large Disk Without Data Loss?

Contributing Writer
Steven
Steven has been a senior writer & editor of Donemax software since 2020. He's a super nerd and can't imagine the life without a computer. Over 6 years of experience of writing technical solutions and software tesing, he is passionate about providing solutions and tips for Windows and Mac users.

Editor in chief
Gerhard Chou
In order to effectively solve the problems for our customers, every article and troubleshooting solution published on our website has been strictly tested and practiced. Our editors love researching and using computers and testing software, and are willing to help computer users with their problems