The best iTunes alternative - reliable and easy-to-use iOS data transfer & data management software.
Many fruit fans who use iPhones face a problem. The iPhone has been used for a long time, and the memory is insufficient. The iPhone has a lot of data, mainly photos, and they can't bear to delete each one. The cloud storage of iCloud is only accessible for 5GB of space. To keep many images, you can only transfer images to the PC. It is crucial to choose a fast and convenient transfer method. Below I will introduce three ways to use Windows' built-in tools or applications to solve transfer problems. I hope it can help friends in need
Method 1: Use File Explorer or Windows Explorer
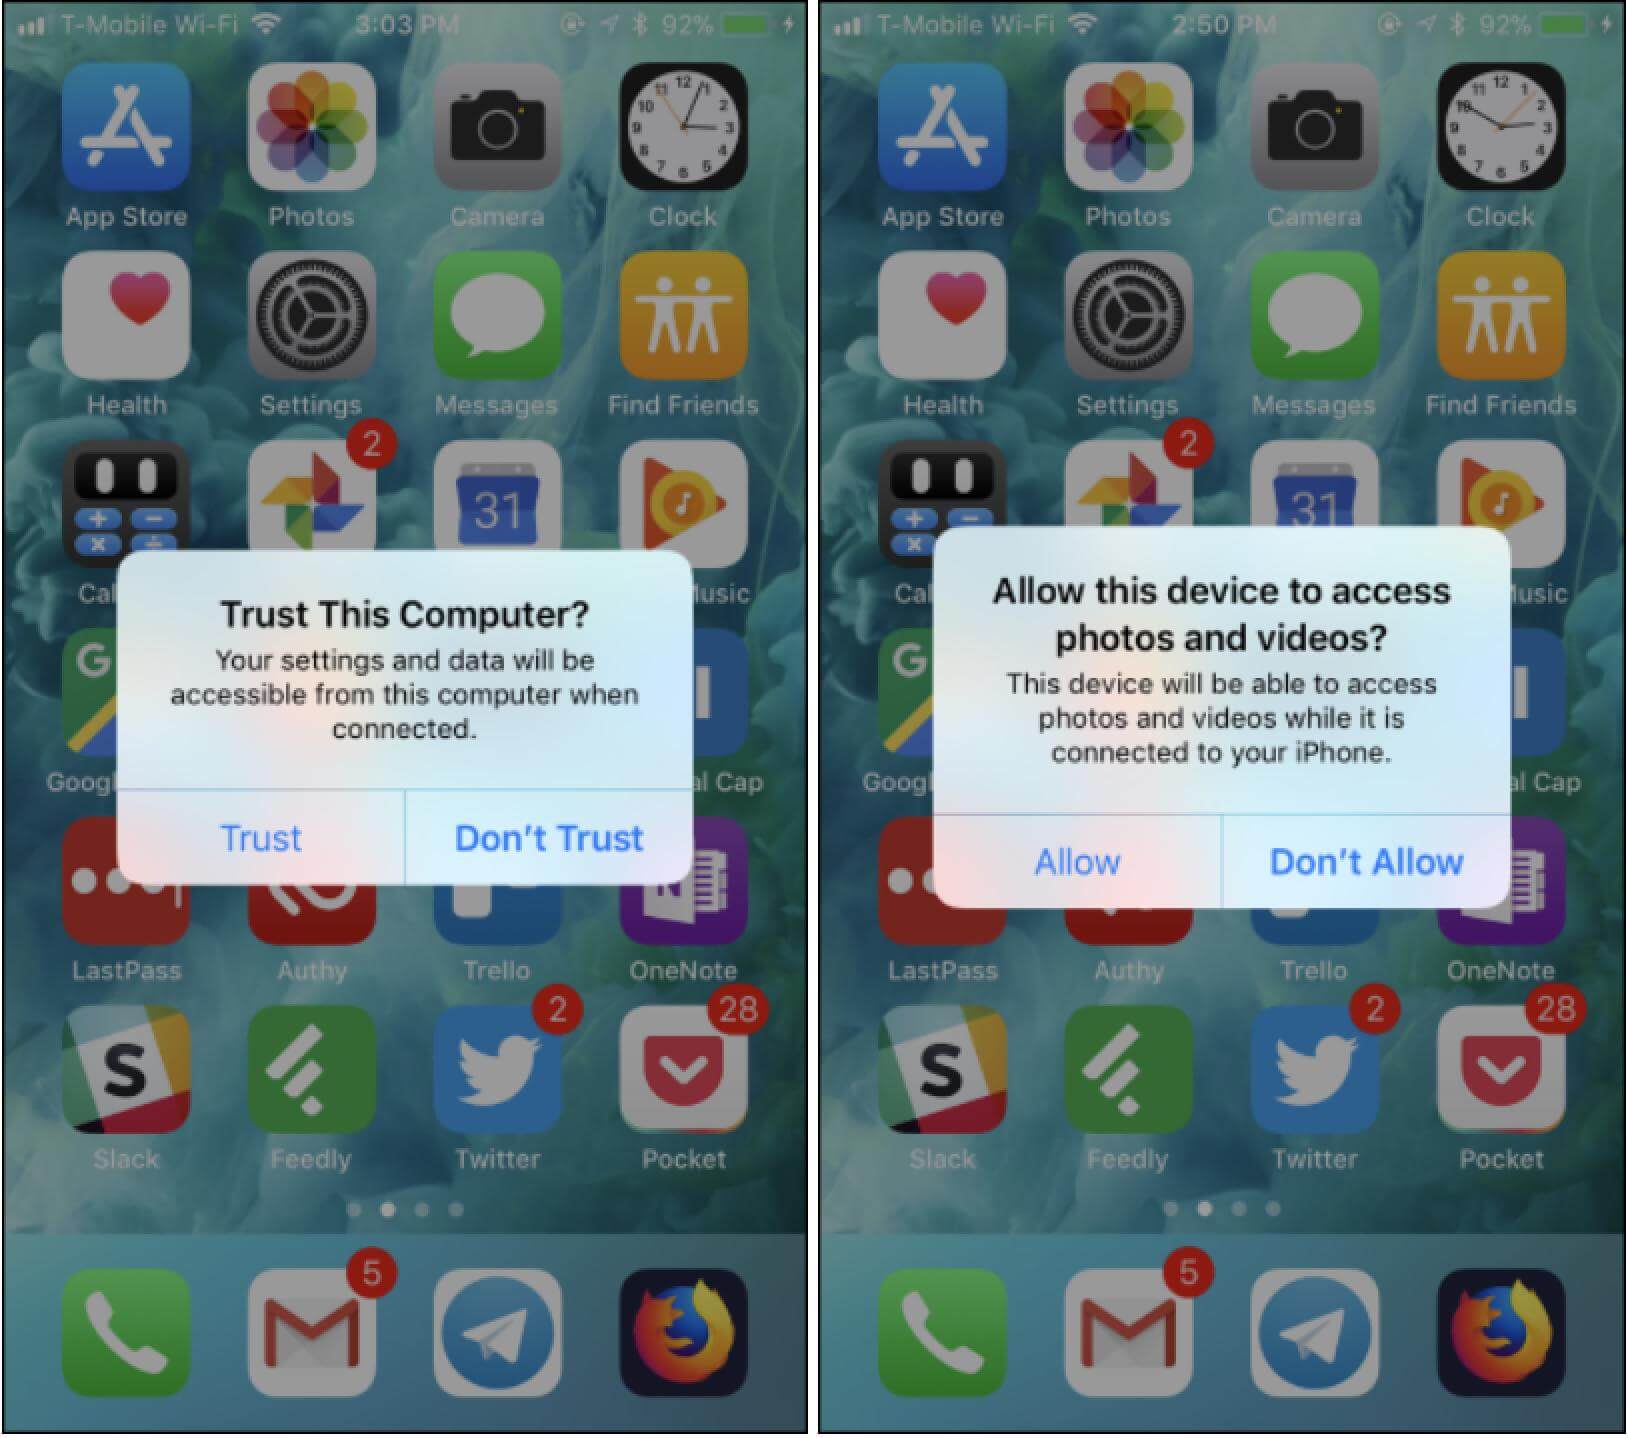
1. The first time you connect your iPhone device to your computer, you'll see a pop-up on your iPhone device asking you to trust your computer (if you have iTunes installed) or allow access to your photos and videos (if you don't have iTunes installed). Click "Trust" or "Allow" to give your computer access to your photos. This operation requires the iPhone device to be unlocked
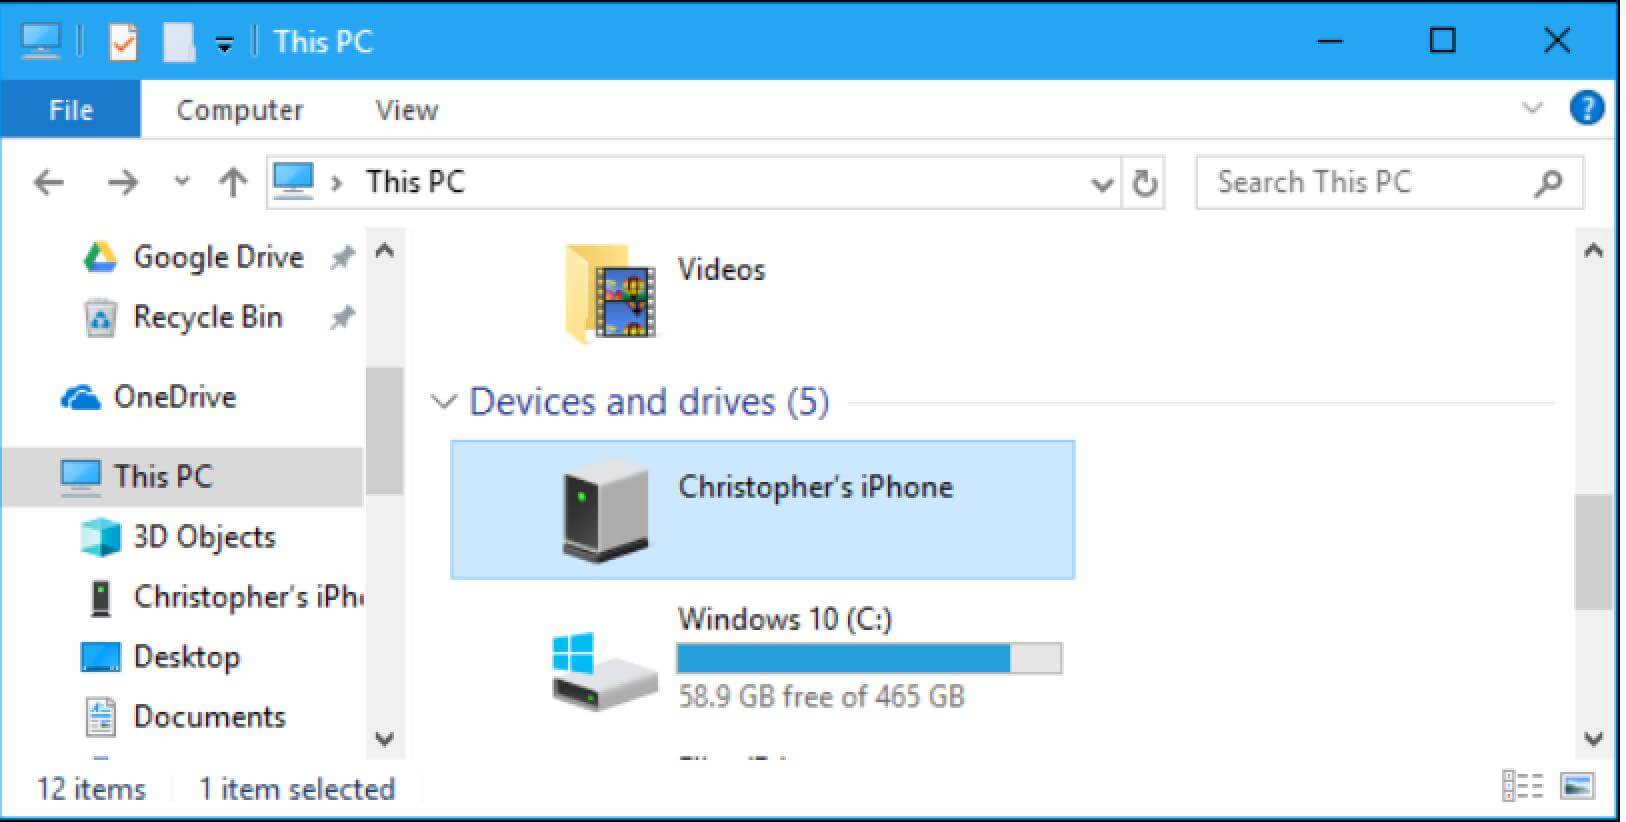
2.If you have a Windows 10 operating system, it will be under This PC; if you have a Windows 7 operating system, it will appear as a new device under Computer. Go here and double click it(If you don't see your iPhone under This PC or Computer, unplug your iPhone, plug it back in, and make sure it's unlocked.)
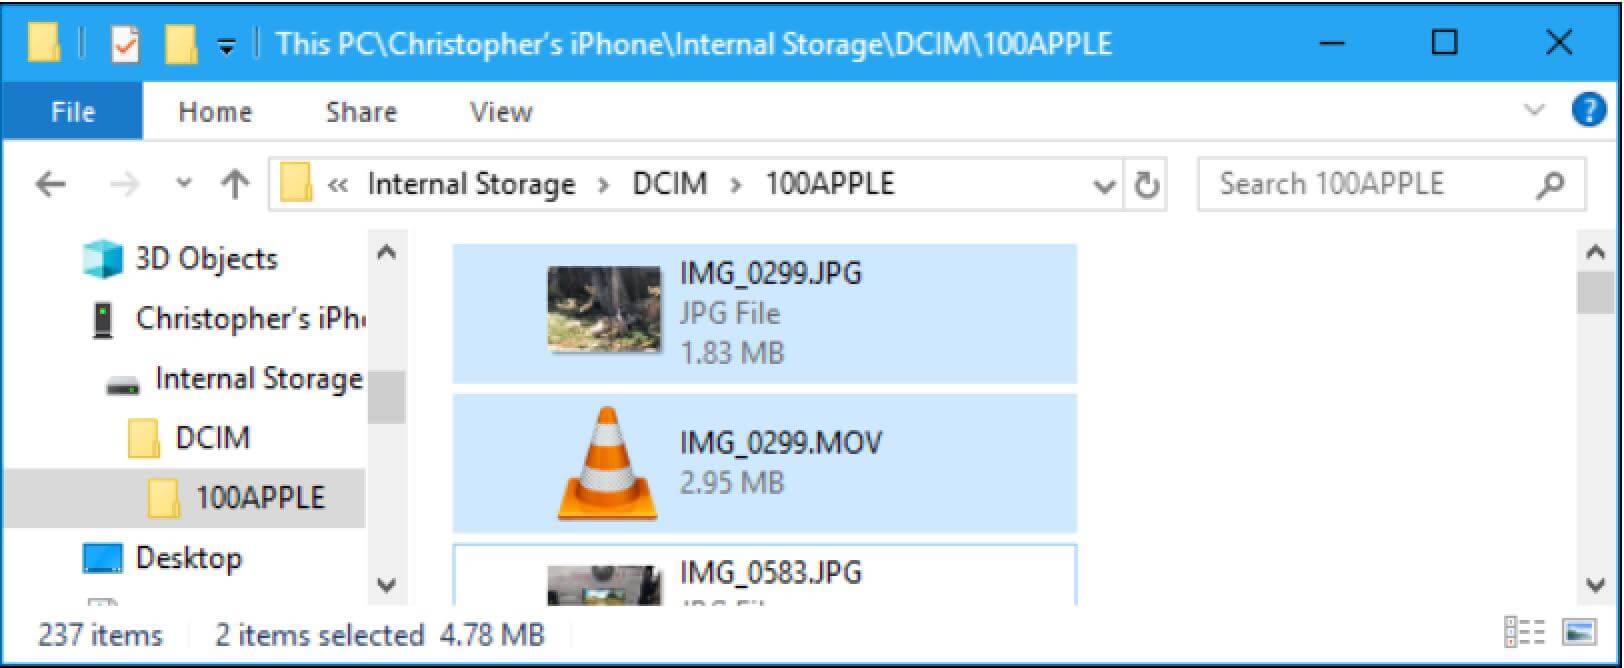
3. Double-click the "DCIM" folder inside your iPhone device. Your photos and videos are stored in the 100APPLE folder. If you have a lot of pictures and videos, you'll see other folders named 101APPLE, 102APPLE, and so on. If you use iCloud to store your photos, you'll also see folders named 100Cloud, 101Cloud, etc. (The standard DCIM folder is the only thing you see on your iPhone. You can't access any other files on your iPhone from here.) Then open the folder, and you can copy-paste your photos directly to your PC.
Method 2: Import Photos Using Windows Photos
1. Plug your iPhone into your Windows computer using the USB cable.
2. On your iPhone, a window will pop up asking if you want to allow the computer to access the iPhone. Click Allow.
3. On your Windows computer, the Photos application may start automatically. Use the Windows start menu or search bar to create the photo program.
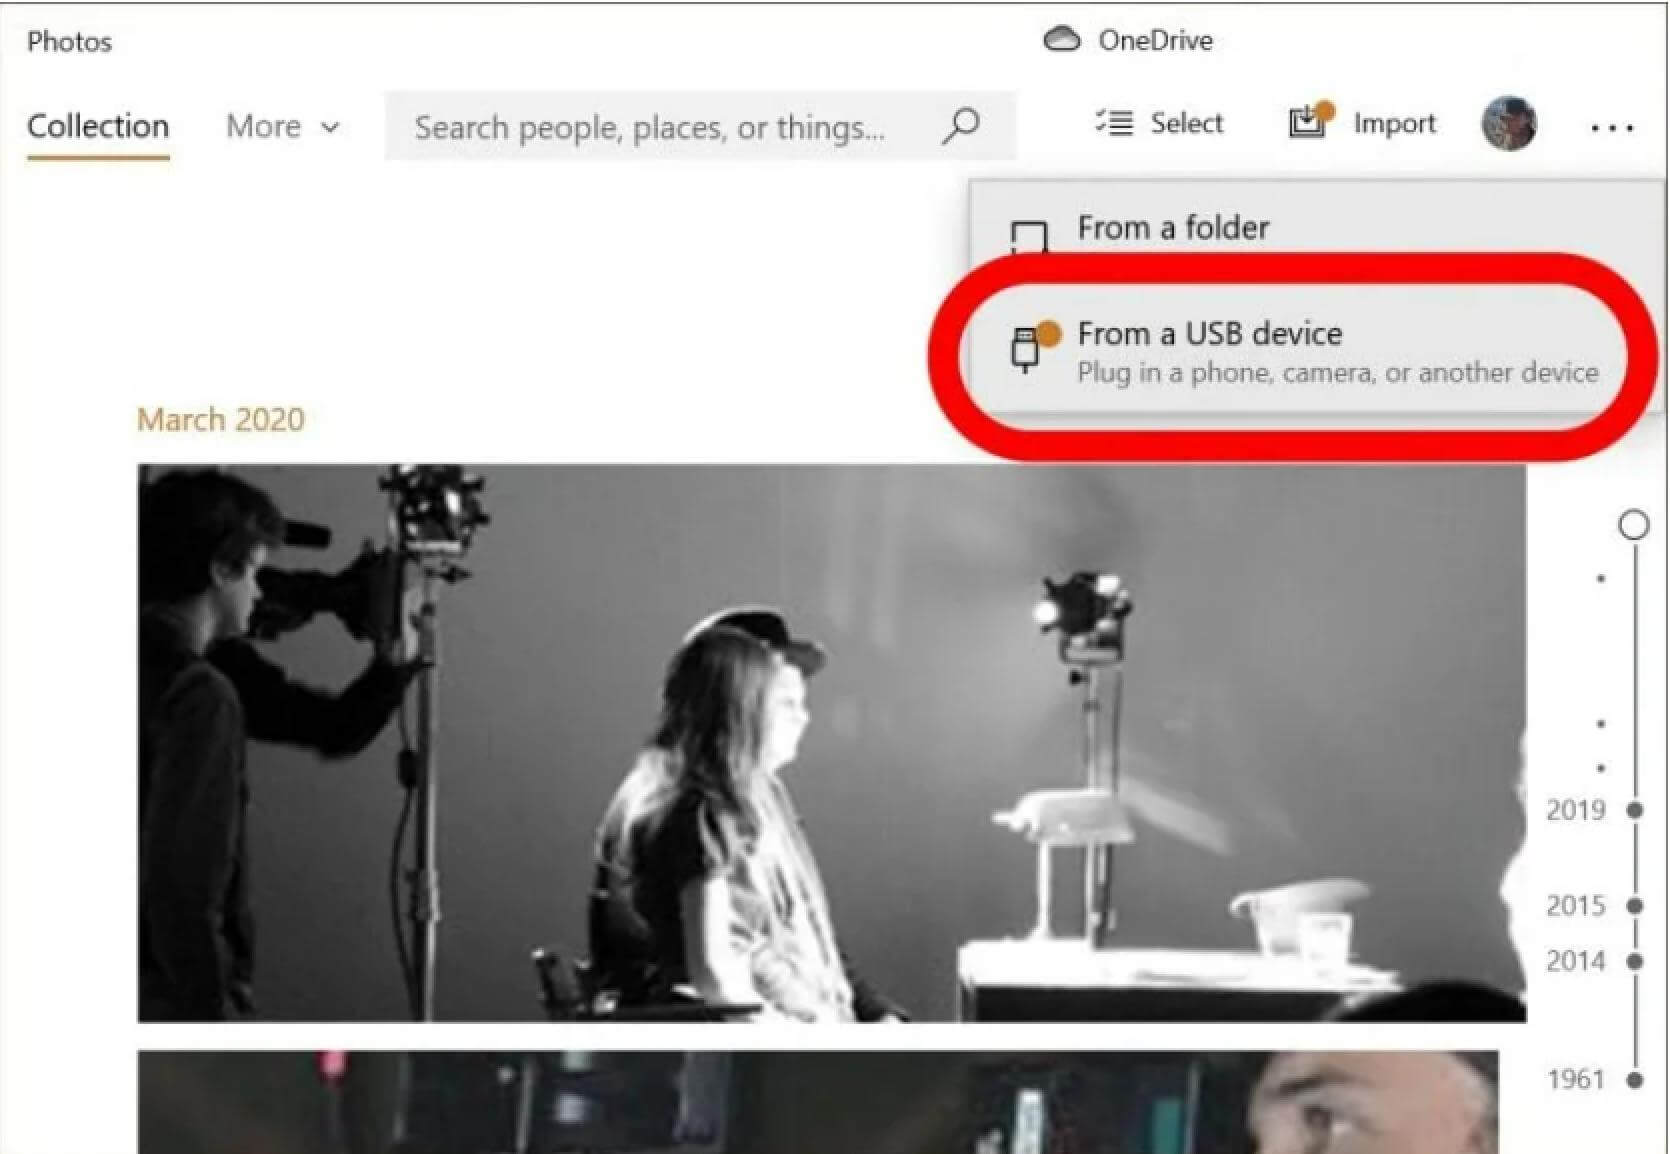
4. Click the Import button in the upper right corner of the Photos app
5. In the drop-down menu, select From USB Device.
6. Select the photo you want to import, click the import button (you can change and view the save path of the photo in the settings button)

7. Once imported, you can view photos in the Collections menu in the Photos app, or select the Albums icon on the left sidebar to view a specific album
Method 3: Have the iPhone Photo Transfer Software In Hand
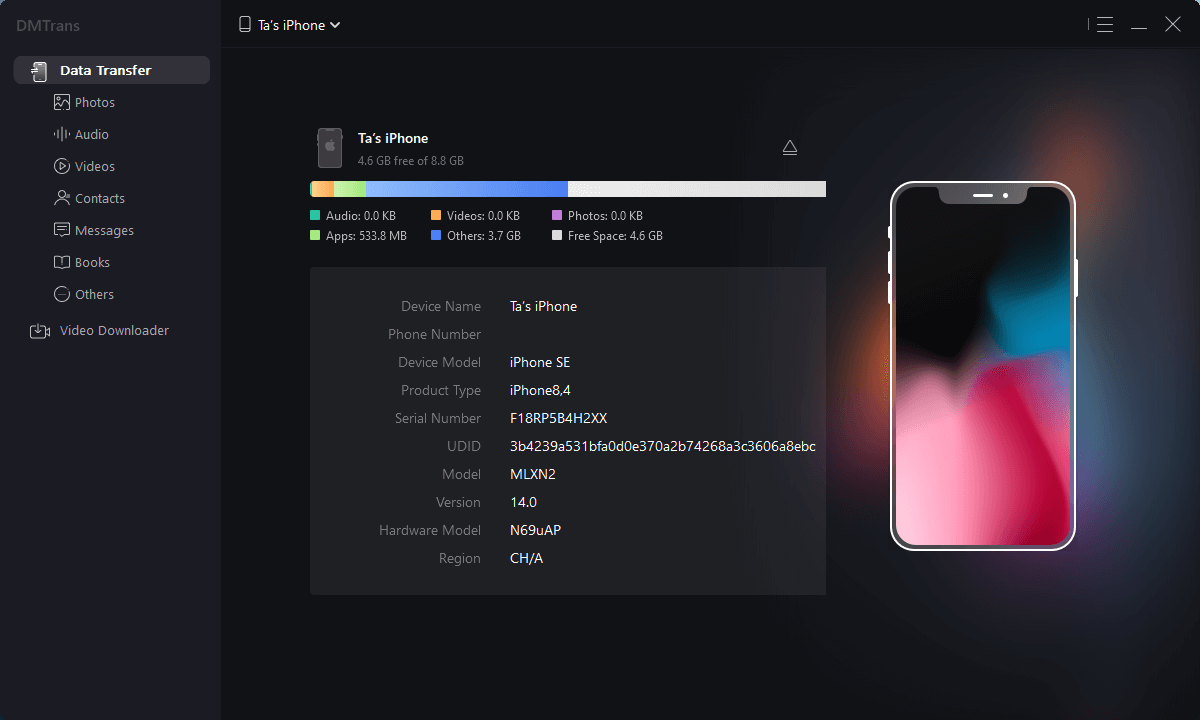
Windows resource management and photo transfer are indeed more convenient. Still, sometimes the resource manager may not read the device, and there may be some environmental influences when copying and pasting. You can also install the application DMTrans to solve this trouble. DMTrans is a data management software for ios devices. It can transfer photos to the PC without loss and import the pictures on the PC to the iPhone device; it supports images and data transmission such as music, video, books, ringtones, contacts, etc. The most important thing is that it is free software. The following introduces the use of DMTrans.
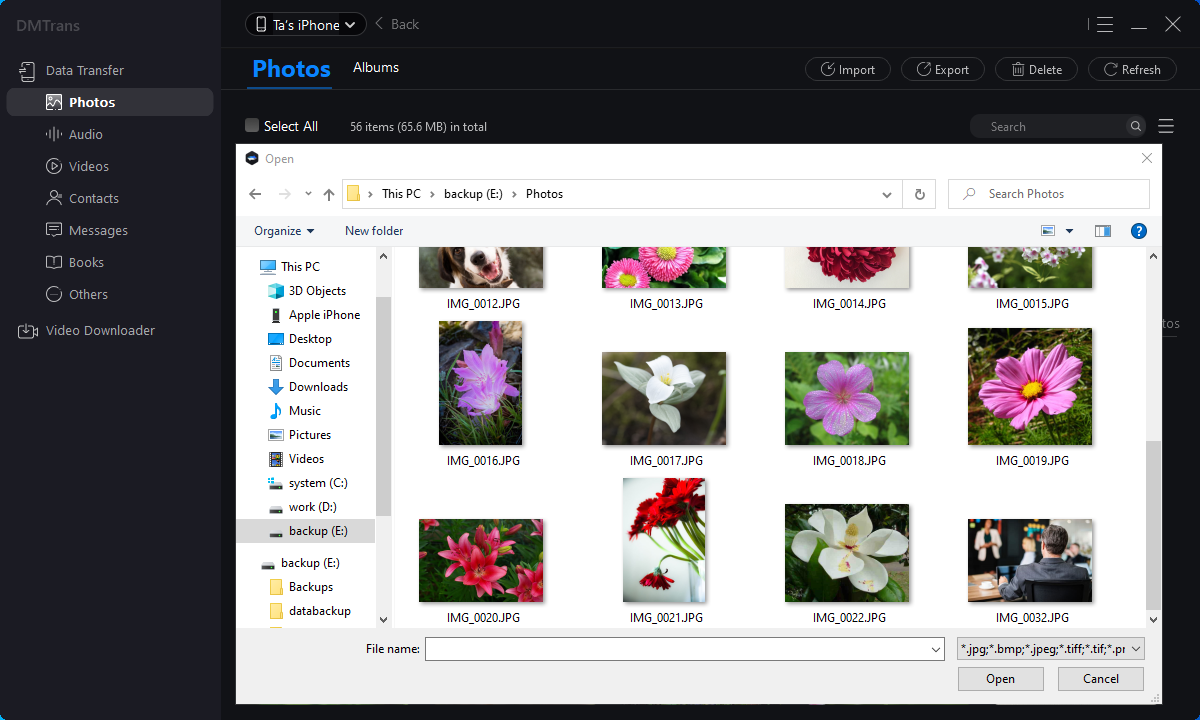
1. Install the DMTrans application, open the program, and connect the device (the types of transfers we support will be listed on the left side of the program)
2. Select the photo subcategory, select the photos you want to transfer, and click Transfer to PC:

3. If you want to import photos, select import, select the image to be imported in the resource manager and import it: