
Written byMariaUpdated on May 21, 2024
How to Upgrade HDD to SSD on Dell Laptop?
Approved byGerhard Chou
PAGE CONTENT:
When improving laptop speed, switching from a hard disk drive (HDD) to a solid-state drive (SSD) is one of the best ways. Dell laptops, known for being reliable and fast, are perfect for this update. Upgrading from an HDD to an SSD is a pretty easy process that can give you great results, whether you want to give an old laptop new life or make a newer Dell model faster and more efficient.
Before starting the change process, knowing why you might want to switch to an SSD is important. Traditional hard drives (HDDs) store and retrieve data using spinning platters and other mechanical parts. SSDs, on the other hand, use flash memory, making reading and writing speeds much faster.
It means the system will start up faster, apps will open faster, and everything will run smoother overall. SSDs are also more durable and use less energy than HDDs. It makes them a good choice for laptop users who want better battery life and stability.
Preparation For Upgrades
There are a few important steps to take before starting the change process:
-
Backup your data
Ensure you have a copy of all your important files and papers before changing any hardware. You can store things in the cloud, on a portable hard drive, or in both.
-
Select the Best SSD
Find the SSD with the right amount of space for your needs. Think about things like how much storage space you need, your budget, and how fast you want things to run. Most Dell computers can handle both SATA and NVMe SSDs, but check to ensure your model is compatible.
-
Gathered Tools
Depending on the type of your Dell laptop, you might need a small Phillips-head screwdriver and a plastic prying tool to get to the parts inside. Look at the user manual with your laptop for detailed tool requirements, or look them up online.
How to Upgrade HDD to SSD on Dell Laptop?
To change your Dell laptop's hard drive to an SSD, do these steps in order:
Step 1: Turn Off and Unplug It.
Turn off your laptop fully and remove the power adapter. It's safer to take out the laptop battery if you can.
Step 2: Get The Hard Drive Compartment.
The entry panel is on the bottom of your Dell laptop. You can use screws or clips to hold this panel in place. To carefully remove the panel, use a screwdriver or a tool for pulling.
Step 3: Remove the HDD.
After removing the access panel, you should see the current HDD in a drive bay. Depending on your laptop type, the HDD may be held in place by pins or a bracket. Take out any nuts or screws that are holding the HDD to its SATA or NVMe port.
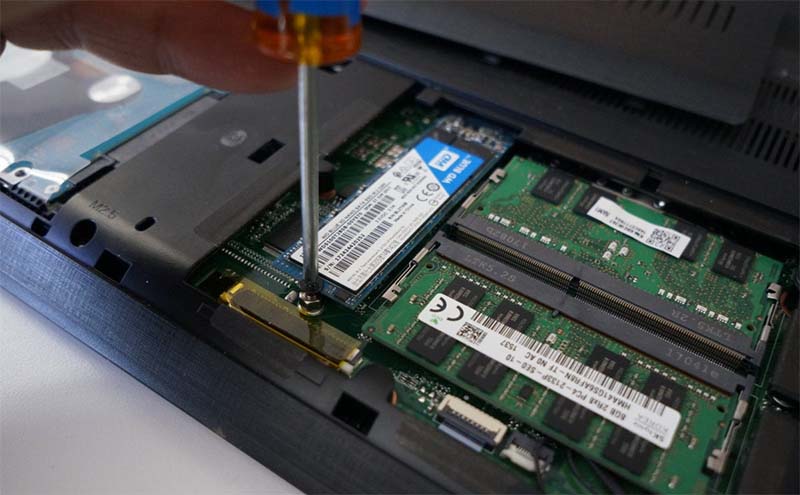
Step 4: Install the SSD.
Be careful as you connect your new SSD to the SATA or NVMe port. Use any pins or mounting brackets taken off the HDD to hold the SSD in place.
Step 5: Change the Access Panel.
After installing the SSD safely, put the access panel back on the bottom of your laptop. Make sure that any clips or screws are lined up correctly and are tight.
Step 6: Turn On and Set.
After putting in the SSD, connect the power charger and battery again if they were removed. Start your laptop and check that the SSD is found by entering the system BIOS or UEFI settings. Change the boot order if needed so the SSD is the first device to start.
Step 7: Install the Operating System and Drivers.
You'll need to install an operating system on the SSD if it doesn't come with one already. You can put your chosen operating system (like Windows or Linux) on the SSD using a working USB drive or installation disc. After setting up the OS, install the most up-to-date drivers from the Dell support page. It will make sure that everything works well together.
Step 8: Restore Data.
After installing the operating system and tools, move the data you backed up to an external drive to the SSD on your laptop. It could be pictures, music, papers, or other private files.
Clone HDD to SSD on Dell Laptop
If you want to clone all data from the old hard drive to the new SSD and set the SSD as the new boot drive, just try disk cloning software. It can securely and completely clone all data including Windows operating system, programs, user files and other data from the HDD to the SSD on the Dell laptop.
Windows Disk Cloning - Donemax Disk Clone
- Clone HDD to SSD on Dell laptop.
- Best Dell disk cloning software.
- Create bootable clone for Windows.
Step 1. Make sure both of the HDD and SSD are connected to the Dell laptop. Then download and install Donemax Disk Clone on the old hard drive, then open this cloning program, choose Disk Clone mode.
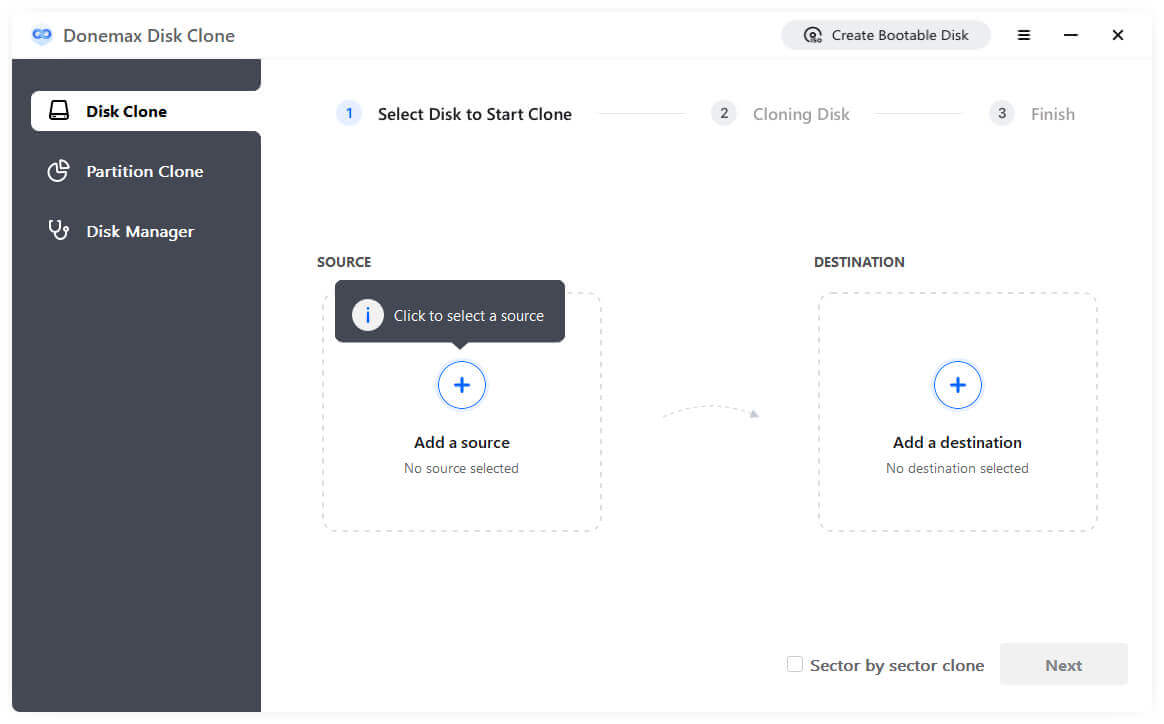
Step 2. Select the HDD as the source disk, select the SSD as the destination disk, click Next.

Step 3. Preview the clone layout, tick Check the option if the destination is SSD. Click on Clone button.

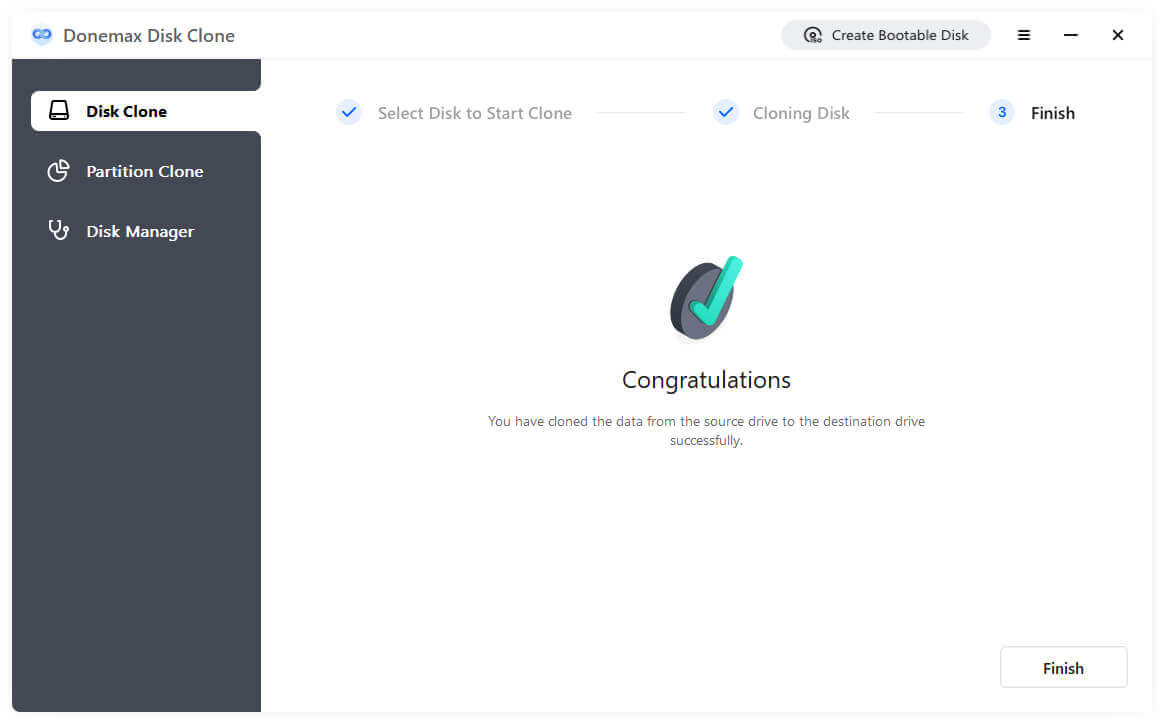
Step 4. Securely clone all data from the HDD to the SSD.
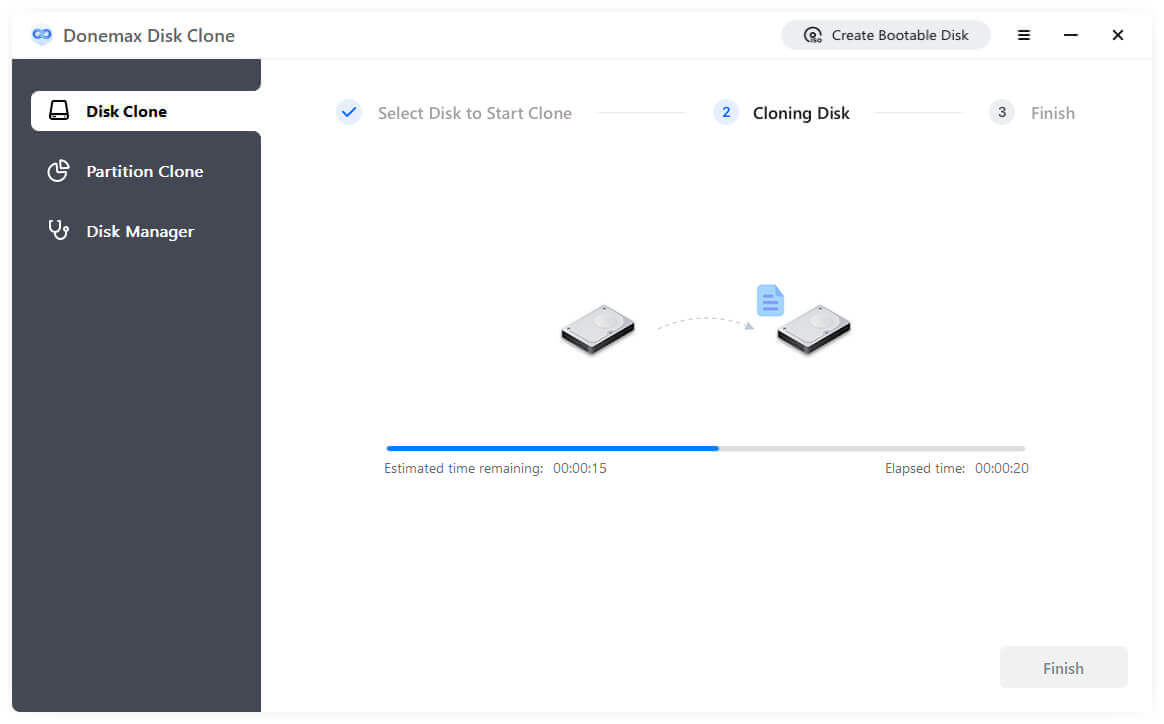
Step 5. Once the cloning process gets finished, check the cloned data on the SSD.
After disk cloning clone, boot the Dell laptop in BIOS, then select the SSD as the boot drive, restart the laptop.
Conclusion:
Switching from an HDD to an SSD in your Dell laptop is easy and will run faster afterward. The shift makes things run faster, apps open more smoothly, and the system responds more quickly. It improves productivity and the user experience.
SSDs are also more durable and use less energy, making them more reliable and extending battery life. Users can easily switch to a faster and more efficient storage option if they follow the steps and take the necessary safety precautions.
If you want to clone HDD to SSD on your Dell laptop, just try disk cloning software - such as Donemax Disk Clone. It can clone all data including Windows OS, programs, settings and user files from the HDD to the SSD, creating a full bootable clone. Then you can set the SSD as the new boot drive for your Dell laptop.
FAQs About Upgrading HDD to SSD on Dell Laptop
1. How to clone everything from the HDD to SSD on Dell laptop?
Disk cloning software - Donemax Disk Clone can help you securely and quickly clone HDD to SSD on Dell laptop. Just choose Disk Clone mode, select the HDD as the source disk, select the SSD as the destination disk, click on Clone button to clone all data from the HDD to the SSD.
2. What is the best Dell laptop disk cloning software?
Here is list of top 5 Dell cloning software:
- Donemax Disk Clone
- AweClone
- AOMEI Backupper
- EaseUS Partition Master
- Acronis True Image
3. How to change boot drive on Dell laptop?
- On the System Setup Main Menu screen, click System BIOS > Boot Settings.
- Click Boot Option Settings > Boot Sequence.
- Select a boot device, and use the plus (+) and minus (-) sign keys to move the device down or up in the order.
- Click Exit, and then click Yes to save the settings on exit.
4. How to speed up slow Dell laptop?
These solutions may help you speed up slow Dell laptop:
- Upgrade old hard drive to SSD.
- Use system cleaner to clean up all junk data.
- Fix logical errors using disk repair tool.
Disk cloning software, such as Donemax Disk Clone can help you clone all data from the HDD to the SSD without reinstalling OS.
Related Articles
- Mar 14, 2025How to Fix Destination Disk Sector Size Is Not Identical While Cloning?
- Jun 07, 2023How to Change the Boot Drive on Windows 10 or Windows 11?
- Oct 17, 2023What Is Sector by Sector Clone? How to Perform Sector by Sector Clone?
- Jun 19, 2025Will Disk Clone Erase Data on the Target Drive?
- Mar 20, 2025How to Clone Hard Drive to SSD on Acer Laptop?
- Sep 10, 2025How to Upgrade Acer Nitro 5 Laptop's SSD?

Contributing Writer
Maria
Maria is one of the senior writers & editors of Donemax who lives and works in Sydney, Australia. She loves PC, Mac and Internet Technology. She has 6 years of writing articles about data recovery on PC/Mac, disk cloning solution, data eraser and computer OS optimization, etc. She is also interested in testing various software and digital products.

Editor in chief
Gerhard Chou
In order to effectively solve the problems for our customers, every article and troubleshooting solution published on our website has been strictly tested and practiced. Our editors love researching and using computers and testing software, and are willing to help computer users with their problems