Written byCoco LinUpdated on Apr 21, 2024
How to Upgrade HDD/SSD to Large Disk Without Data Loss?
Approved byGerhard Chou
Upgrading to a bigger disk or computer without losing data is important in today's digital world. As the amount of data that needs to be stored grows exponentially, it can be difficult for people and businesses to increase their storage space without problems.
Making a copy of a current disk on a new one is a key part of this project because it protects important data while meeting the need for more storage. This guide details the steps that need to be taken to complete this upgrade successfully.
Users can safely clone and protect the integrity of their data during the upgrade process by using well-known data migration or disk clone software. This all-around method lowers the chance of losing data and gives people and businesses the confidence to enjoy the benefits of more storage space.
#1 Check How Much Storage Space You Need
Before you start the upgrade process, you must carefully examine how much data you need. Figure out how much extra space you'll need by examining how much space is already used. This evaluation is very important for determining what size new disk you should get. Knowing how much space you need now will help you choose the right size hard drive, ensuring it can handle your current needs while leaving space for future growth.
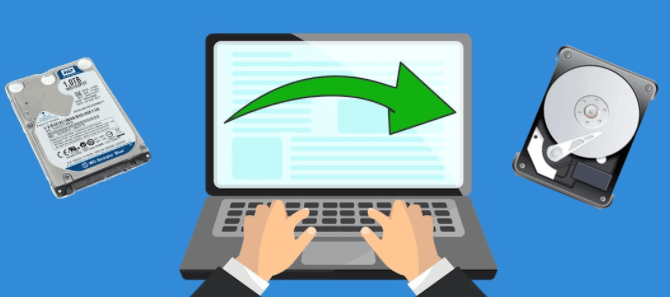
#2 Select the New Disk
Once you have a good idea of how much space you need, the next step is to choose the right new disk. Look into how much space it takes up, how fast it is, and how well it works with your system design. Traditional hard disk drives (HDDs) offer much storage room at a lower cost per gigabyte, while SSDs are faster and more reliable.
Before making a choice, consider how you plan to use it, how much money you have, and how well you want it to work. Considering all these things will help you pick a disk that meets your short-term and long-term storage needs.
#3 Backup Your Data
Before you change any hardware, it's important to ensure all your info is safe by backing it up completely. This preventative step ensures that your information will be safe and easily accessible if something goes wrong during the upgrade process.
Use backup options, such as portable hard drives, cloud storage services, or backup software, to make exact copies of your files. This cautious step lowers the risk of losing data and allows you to easily restore it if something goes wrong during the disk upgrade process.
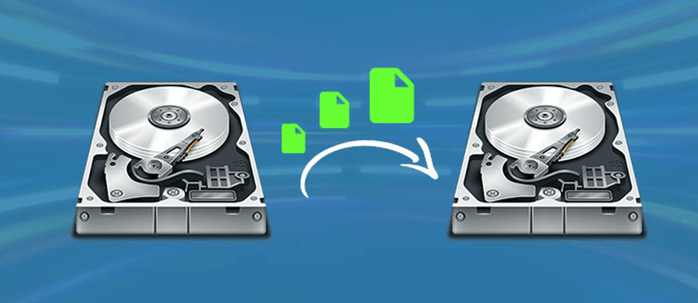
#4 Clone Your Existing Disk to the New Large Disk
Cloning your old disk is important to get a bigger one without losing any info. Here is a step-by-step guide on how to use disk cloning software to clone old HDD/SSD to the new large disk:
STEP 1: Install Cloning Software
Choose the copy software you want to use and install it. Donemax Disk Clone is a reliable and easy-to-use disk cloning program. It supports to clone any HDD/SSD to another drive without losing data.
Donemax Disk Clone
- Clone all data from the old HDD/SSD to the new large disk.
- Create bootable clone for Windows and macOS.
- Support sector by sector clone.
STEP 2: Launch the Cloning Software
After setting up the software, you can start it from your desktop or the Start menu. Ensure that the old and new disks are linked and your system can see them.
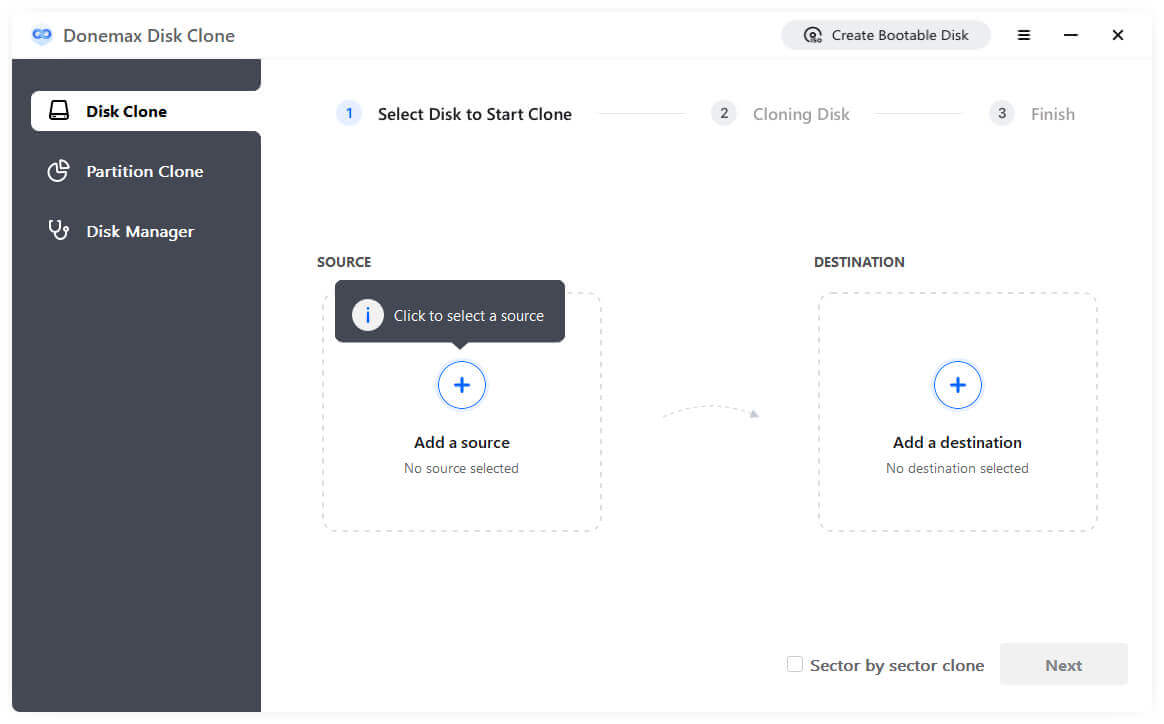
STEP 3: Choose the Source and Destination Disks
You can usually choose the source disk (your old disk) and the destination disk (the new disk) in the cloning software's interface. If you want to 1:1 clone, just select Sector by sector clone, then click Next.

STEP 4: Set Up the Cloning Settings
Depending on your tools, you can change how the cloning works. This could include changing the size of a partition, copying sectors one by one, or only copy existing files, etc.

STEP 5: Start the Process of Cloning
Once you've set up the cloning settings, start the cloning process. You might have to click "Clone" button in the program to do this. After that, the cloning program will start moving all the files from the source disk to the destination disk.
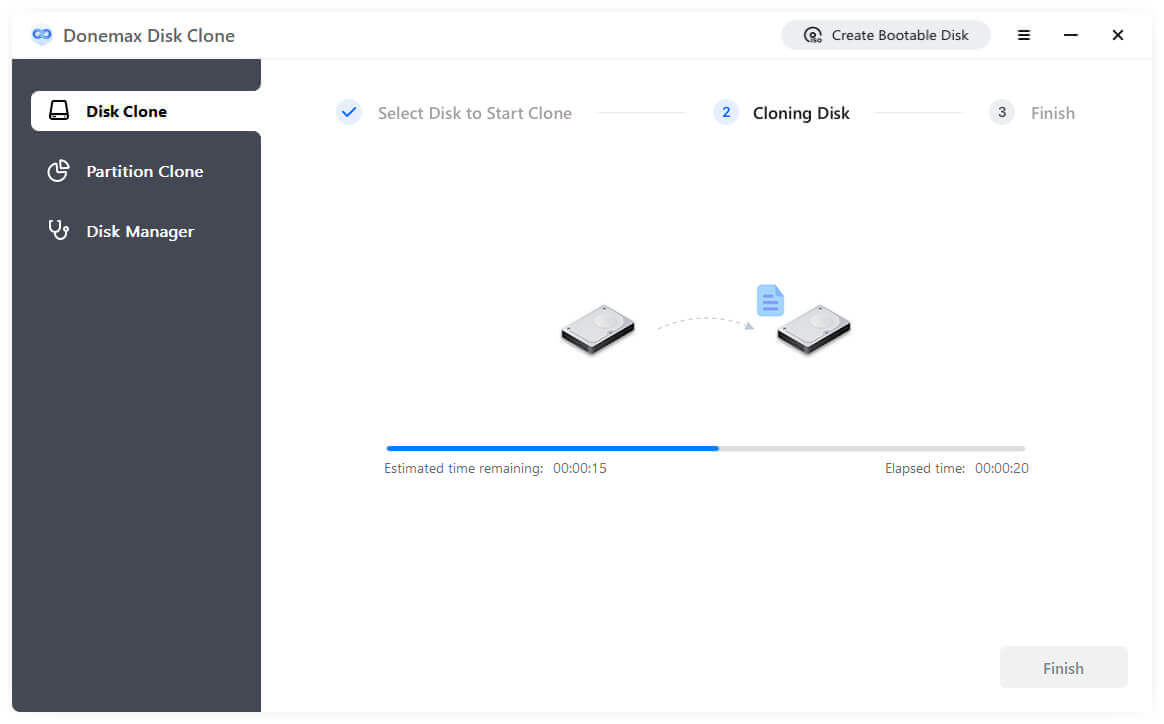
STEP 6: Monitor the Cloning Process
You can check on the state of the cloning process through the software interface. Most of the time, a progress bar or percentage number will show you how much of the cloning process is done.
STEP 7: Check Cloned Data
After cloning, you must ensure your data is properly moved to the new disk. Some copying software has built-in checks to make sure the data is correct.
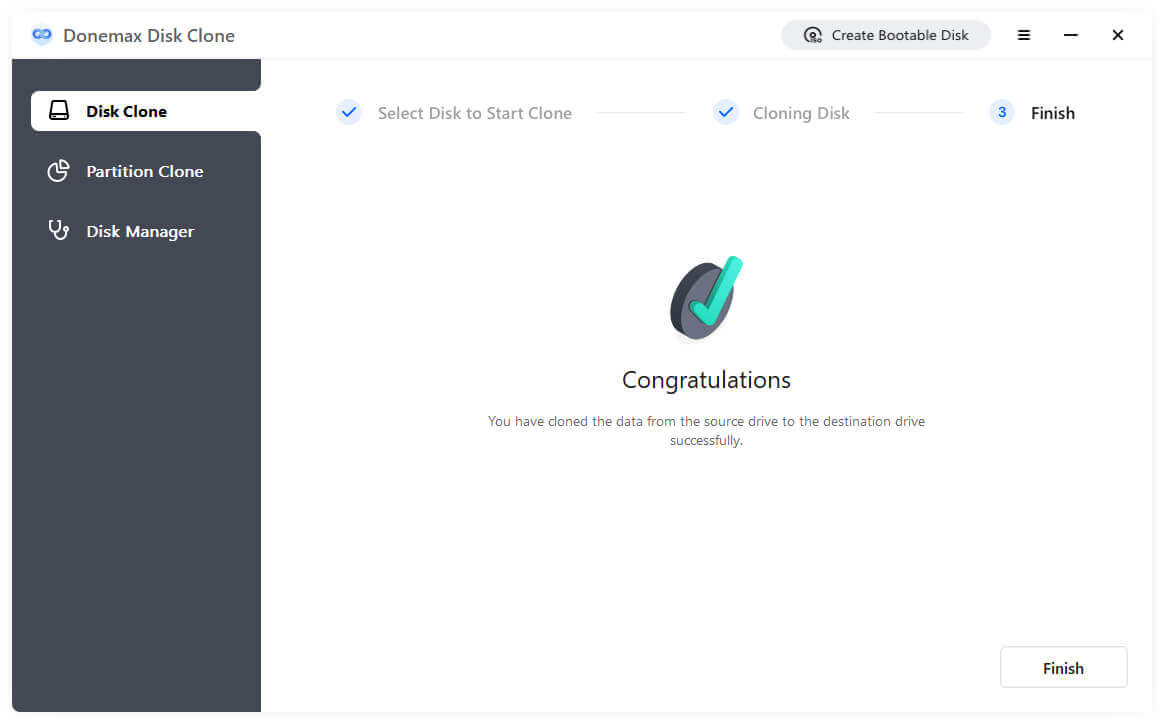
STEP 8: Finish the Process of Cloning
You can safely exit the cloning program after checking the copied data. Your new disk should contain an exact copy of your old disk, ready to be put into your system.
#5 Physically Install the New Disk
Once you know the cloned data is correct, you can physically put the new disk into your machine. Carefully follow the manufacturer's installation instructions to ensure the correct connection is safely placed in your computer or an external case. Check the wires and ensure they are firmly in place so data can flow smoothly between the new disk and your system.
#6 Boot from the New Disk
It is important to ensure your system can boot from the new disk before removing the old one. You can make the new disk the main boot device by going to your system's BIOS or UEFI settings. By doing this, you can be sure your system will start up normally from the new disk after the change. Learn how to use your system's BIOS or UEFI interface to get to the boot order choices and make the newly installed disk the first one that starts up.
#7 Securely Erase the Old Disk
After ensuring the change went well, you should safely delete the old disk and move all your data to the new one. Using disk erasing software will erase all the data on the old disk, making it impossible for anyone else to recover it.
Donemax Data Eraser is a powerful and easy-to-use disk wipe software. Just download and install it on your computer, then run it, choose Erase Hard Drive mode to permanently wipe all data from the old drive.

Note: Once the data is erased by Donemax Data Eraser, the data is lost for good, can not be recovered by any method.
Conclusion:
In conclusion, getting a bigger disk without losing data is necessary in today's digital world. Users can easily move to a bigger disk while protecting their data's security by carefully evaluating their storage needs, choosing the right disk, backing up their data, and starting the cloning process with reliable software.
Installing the new disk and ensuring it works before turning it on confirms the change's success. People can enjoy the benefits of more storage space without worrying about losing data if they carefully plan and carry out their plans. It will allow them to navigate the digital world with ease and efficiency.
Related Articles
- Mar 26, 2024How to Move OS to Samsung NVMe SSD?
- Sep 09, 2023Solution: Samsung 850 EVO Data Migration Failed
- Sep 01, 2024How to Clone a Hard Drive to WD External Hard Drive?
- Jul 11, 2023How to Copy Hard Drive to SSD with Everything, Including the OS, Installed Programs and Data
- Apr 29, 2025How to Clone SD Card to a USB Drive or External Disk?
- Sep 20, 2023How to Clone A Hard Drive on Laptop?

Contributing Writer
Coco Lin
Coco has been a writer and a chief programmer at Donemax software since 2018. Over 10 years of experience of writing troubleshooting articles in the software industry, she is passionate about programming and loves to providing solutions to Windows and Mac users. Also she enjoys music and palying tennis in her free time.

Editor in chief
Gerhard Chou
In order to effectively solve the problems for our customers, every article and troubleshooting solution published on our website has been strictly tested and practiced. Our editors love researching and using computers and testing software, and are willing to help computer users with their problems