
Written byCoco LinUpdated on Apr 20, 2026
How to Permanently Erase Data on macOS Ventura (100% Unrecoverable)
Approved byGerhard Chou
Before we start: When you need to shred sensitive files or wipe privacy data on macOS Ventura, you can choose Donemax Data Eraser for Mac. It's a professional data erasure software for macOS. By applying the international data erasure algorithms, the software can help you permanently wipe data to avoid data recovery. It's a safe way to protect your privacy information especially when you need to sell or give away an old drive or Mac.
PAGE CONTENT:
At WWDC 2022, Apple unveils their brand-new operating system, macOS Ventura. The successor to macOS Monterey, Ventura, has some intriguing features. Later in 2022, macOS released a public version. There are still some users using this version of macOS until now, espcially on some old machines.
When you need to sell an old Mac with macOS Ventura, what you need to do? You may need to factory reset the Mac to remove all your personal data, settings, and applications. What's more, it's important to permanently erase data on macOS Ventura to avoid data breaches.
This article is a helpful guide that explains how to wipe the hard drive and permanently erase data on macOS Ventura.
What Should You know about macOS Ventura?
Over the past few years, macOS has seen several updates. The new UI from Big Sur includes features including an updated Control Center and Notification Center.
The subsequent revolution was macOS Monterey, which introduced intriguing FaceTime capabilities like SharePlay to allow multimedia sharing and Voice Isolation to enhance audio quality.
Surprisingly, macOS Ventura has more spectacular features than other macOS versions. The most excellent part about this new edition is that, instead of offering new features, the Ventura macOS version improves existing ones.
For example, macOS Ventura changed the Spotlight feature. macOS Ventura also decided to fix Mail after numerous Mac users complained about its problems.
In Monterey macOS, the spotlight was used to look for files, apps, and other material; macOS Ventura seeks to improve the spotlight to better interface with other Apple devices.
Monterey introduced Tab Groups in the Safari browser, allowing users to create groups of tabs that may be accessed in addition to the regular tabs you may open. On the other hand, Ventura macOS is the first to introduce Shared Tab Groups. This feature enables you to share Tab groups with others.
How to Erase Hard Drive on macOS Ventura?
If you want to delete all contents and settings on your newest macOS, Ventura, follow the below steps.
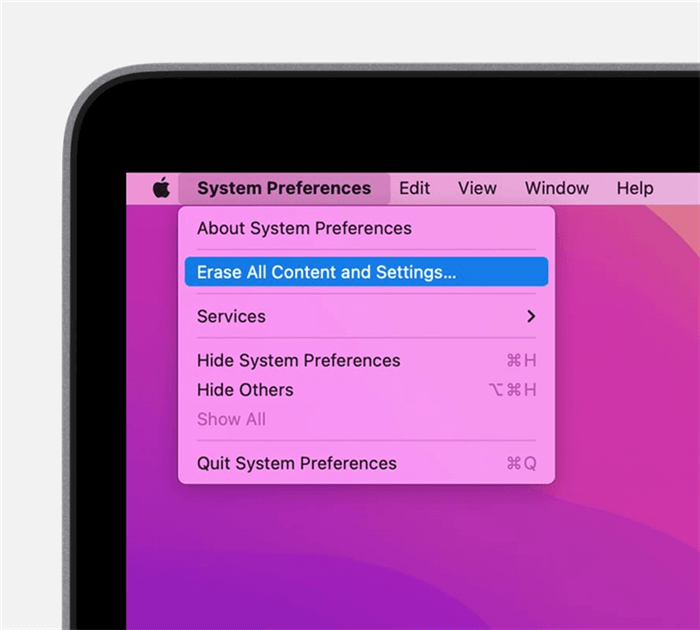
Step 1: Restart your Mac, then go to the Apple Menu and select it. Then, from that menu, select the System Preferences icon.
Step 2: After accessing the System Preferences icon, click the Erase All Content and Settings button.
Step 3: Erase Assistant will launch and prompt you to enter your administrator credentials. Then, enter the passcode you usually use to log in to your Mac. Tap the OK icon after entering the passcode.
Step 4: Assume you want to back up your data before resetting your macOS. It would be beneficial if you launched the Time Machine icon to back up your Mac data. After that, you can back up your data to an external storage device. You can also tap Continue to begin creating a new backup.
Step 5: To delete your media, settings, data, and other items, click the Continue button.
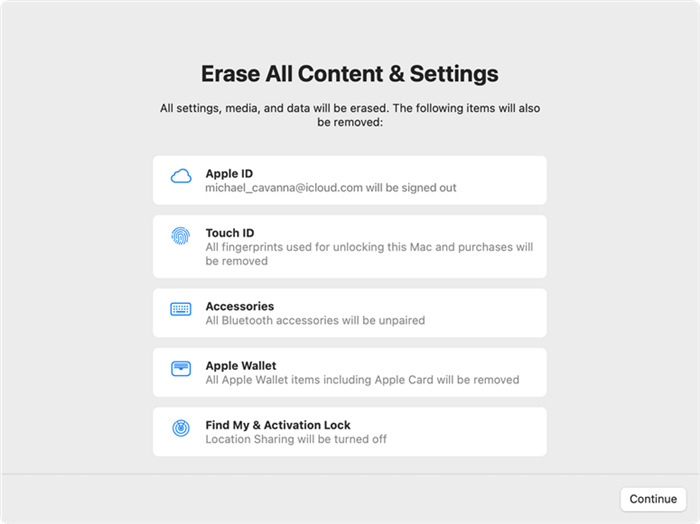
Step 6: If you are asked to log out of your Apple ID, enter your Apple ID password and hit the Continue icon to begin scanning your Apple ID and signing out.
After that, you'll need to touch on Erase All Content & Settings again to confirm your decision.
Step 7: Restart your Mac, and you may see a progress bar or a black screen. If it wishes to connect to a Bluetooth Accessory, such as a mouse or keyboard, you may be prompted to enable the accessory icon on your Mac.
If you cannot connect the accessory within 30 seconds, switch it off and then on again. When joining, you must choose a language.
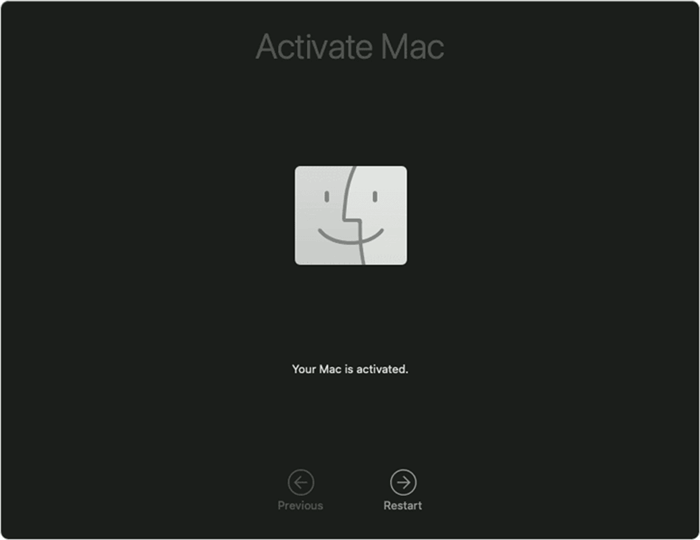
In the future, you may be prompted to connect a network cable or use WiFi. To select a WiFi network, utilise the WiFi menu. When you connect to a network, your Mac will activate. Then, press the Restart button.
Step 8. After rebooting your device, a setup assistant walks you through the Mac installation procedure.
Remember that if you're setting up the Mac for the first time, you'll need to use a setup helper tutorial.
Permanently Erase Data on macOS Ventura
Whether you delete your files or use Disk Utility to erase the hard disk, the lost data is not lost permanently and may be recovered with data recovery software. You can use data erasure software, such as Donemax Data Eraser for Mac, to permanently remove all your data before selling or giving a Mac.
Donemax Data Eraser for Mac
- Most effective data wiping software for macOS Ventura and other versions.
- Fully compatible with Intel and Apple Silicon Macs, including M5-chip machines.
- 100% safe to permanently wipe data and ensure the data is unrecoverable.
Donemax Data Eraser for Mac is fully compatible with macOS Ventura and Apple Silicon chip Mac, it offers three modes to securely and permanently erase data on macOS Ventura.
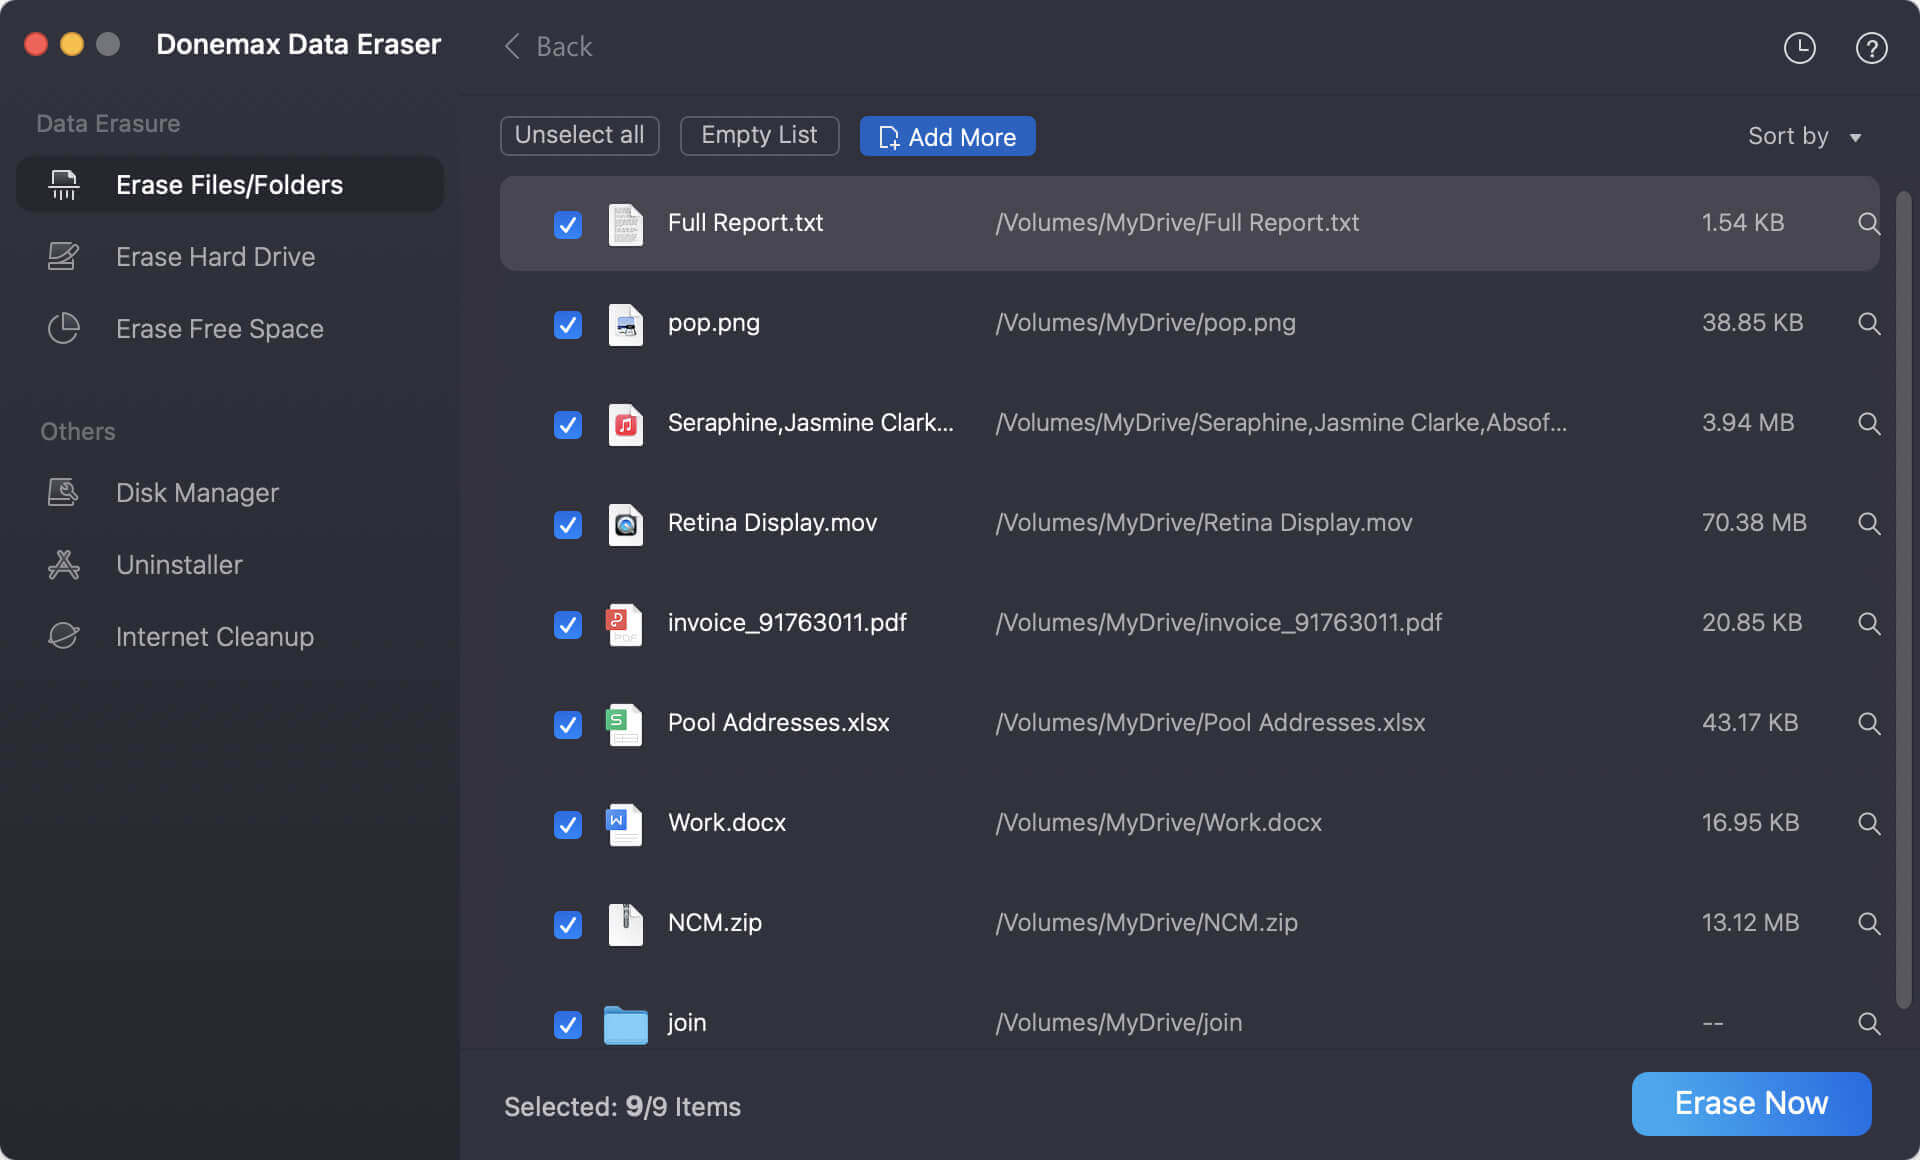
Mode 1: Erase Files
Files and folders can be added to the erasure list. Then, click the Erase Now button to securely and permanently shred the files and folders you've chosen.
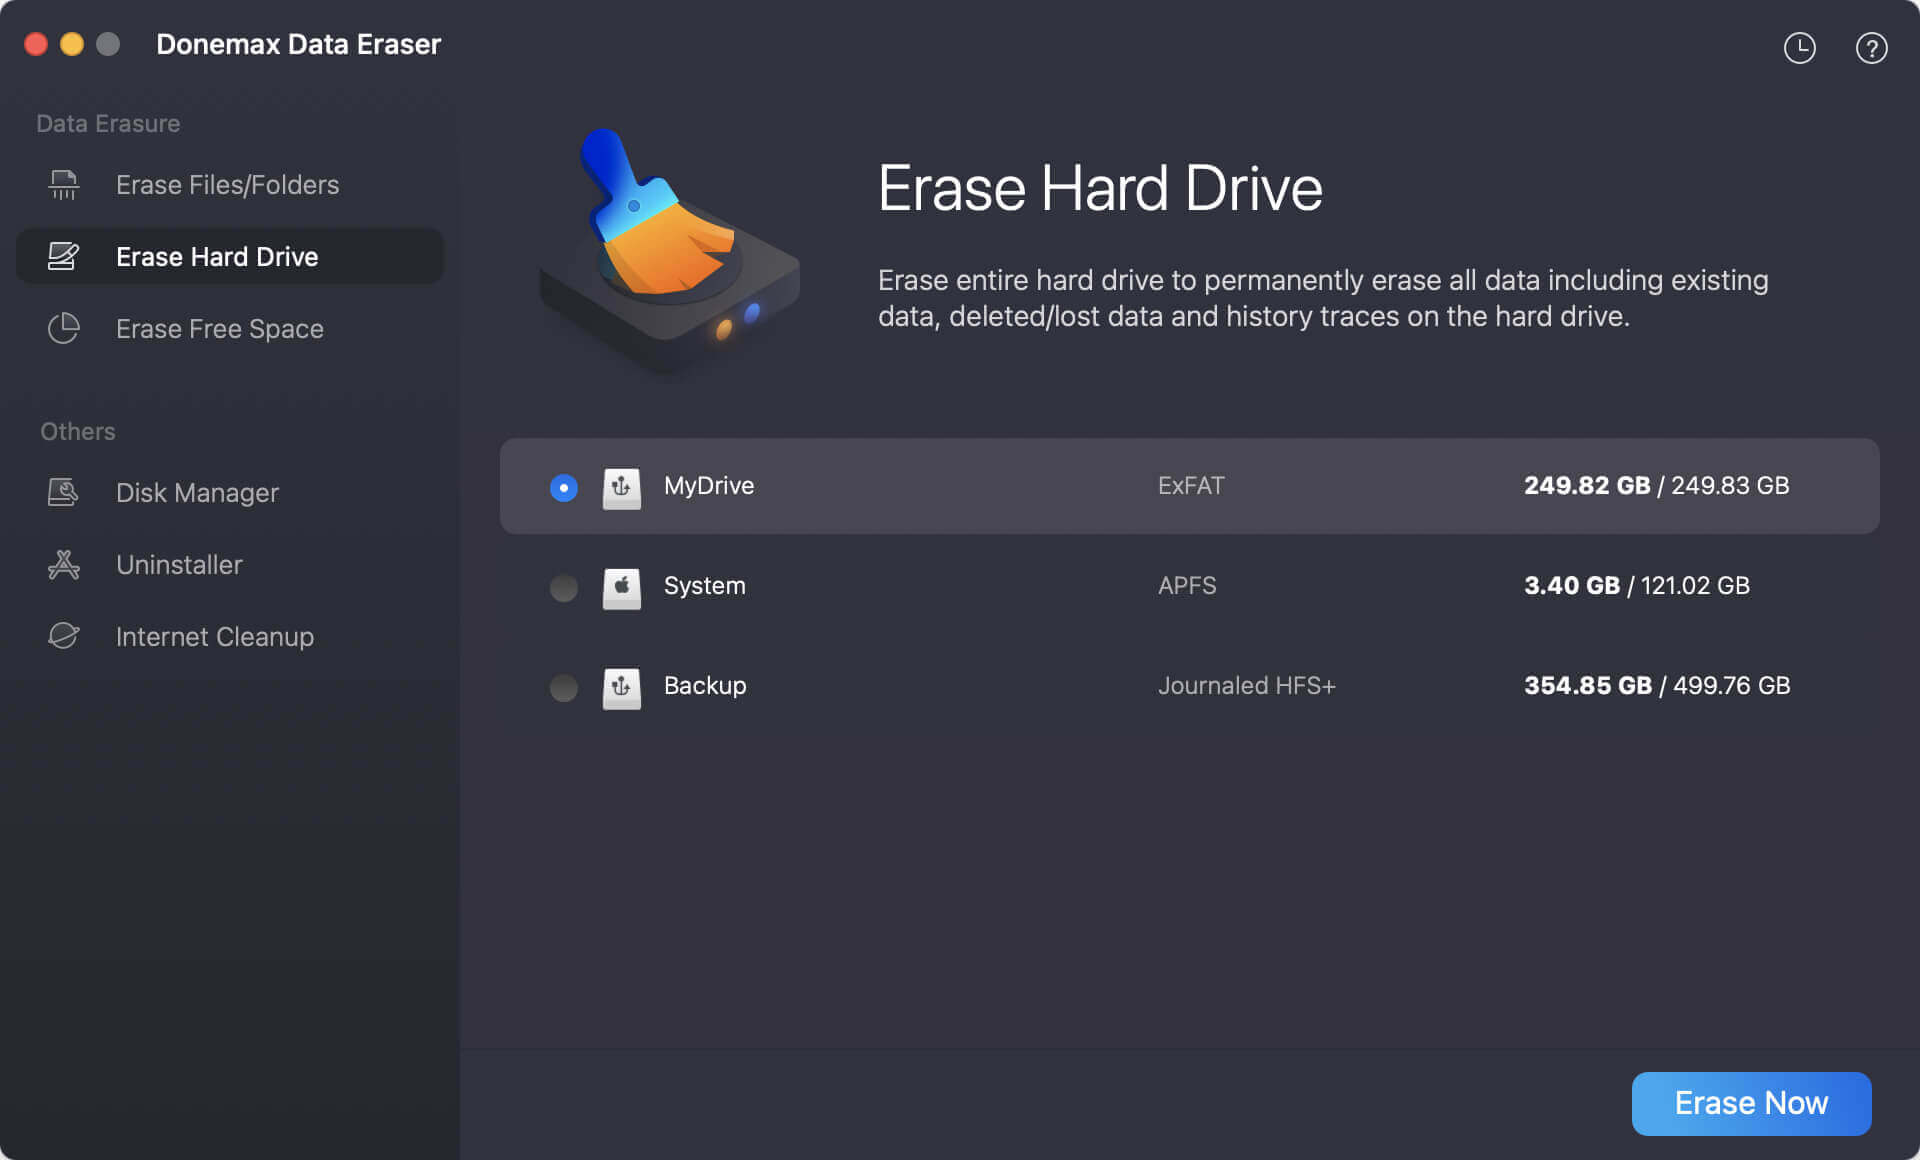
Mode 2: Erase Hard Drive
This option will assist you in erasing all data from a hard drive. Select the hard drive that is attached to your Mac. Click the Erase Now chance to destroy all existing and deleted/lost data on this hard disk.
Please keep in mind that this mode cannot erase the starting disk. Check out this technique if you wish to remove data from macOS Ventura's startup disc permanently: Erase startup disk >>
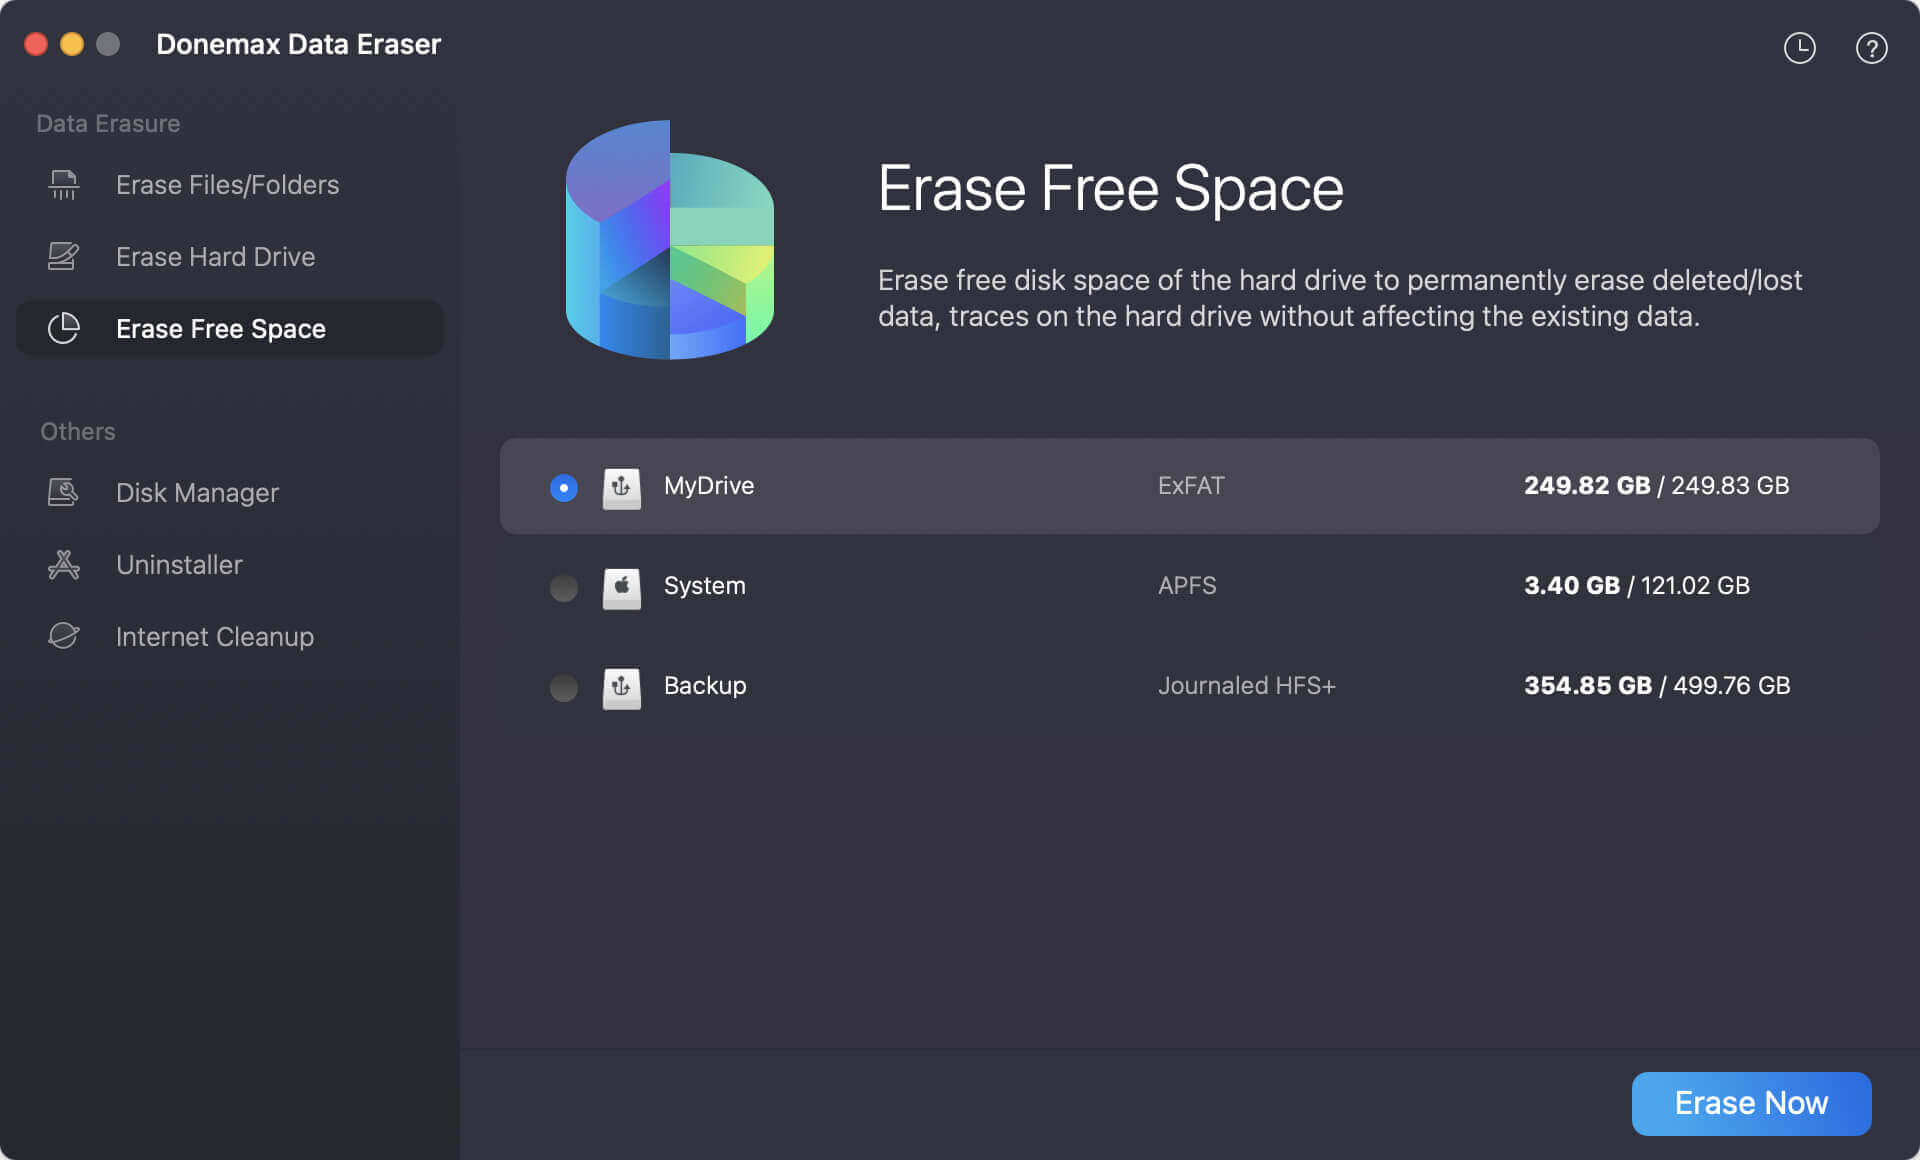
Mode 3. Erase Free Space
It will wipe your hard drive's free disk space and permanently erase all deleted/lost data on the hard drive. The existing data on the hard drive will not be affected.
Scenarios to Force Delete a File on Mac
When working on a Mac, you may find a file that refuses to remove despite multiple efforts. You even restart your Mac numerous times in an attempt to remove that stubborn file, but it is futile. The file is still present in your system.
Several system issues prohibit it from being erased when you encounter this situation. Before you force delete files on Mac, you should know why the file is not being erased. Here are some instances you might encounter:
- The item has been secured.
- Another application or process is still using the file.
- You are not authorised to remove the file.
- Because the file is corrupted or damaged, it cannot be found.
It's even more aggravating when you're not using the file, but it still says it's in use or locked. If you are going to sell or donate your Mac, you'd better permanently erase all sensitive data. Donemax Data Eraser for Mac can help you securely and permanently erase data.
Conclusion:
When you need to wipe data or shred files permanently on macOS Ventura, it's necessary to use a reliable and professional data erasure software. If you simply delete files or format a drive, the data is not gone forever. With data recovery, it's easy to recover the data. So it's not safe, especially when you need to give the drive or Mac to another hand.
Donemax Data Eraser for Mac, you can securely wipe data from a drive and ensure the wiped data is unrecoverable.
Donemax Data Eraser for Mac
100% safe and powerful Mac data erasure program. It offers certified data erasure standards including U.S. Army AR380-19, DoD 5220.22-M ECE to securely and permanently erase data from Mac HDD/SSD and external storage devices, making data recovery impossible.
Related Articles
- Sep 24, 2025Data Erasure Solutions for macOS Tahoe – Top Solutions 2025
- Nov 11, 2024How to Reset Apple Silicon Chip - M1/M2/M3/M4 Mac to Factory Settings?
- Oct 20, 2025Mac Data Eraser for Seagate Backup Plus
- Feb 29, 2024How to Format Mac Startup Disk?
- Aug 21, 2023How to Erase An Intel-based Mac?
- Apr 10, 2026How to Safely Factory Reset macOS Big Sur: Wipe Data for Resale

Contributing Writer
Coco Lin
Coco has been a writer and a chief programmer at Donemax software since 2018. Over 10 years of experience of writing troubleshooting articles in the software industry, she is passionate about programming and loves to providing solutions to Windows and Mac users. Also she enjoys music and palying tennis in her free time.

Editor in chief
Gerhard Chou
In order to effectively solve the problems for our customers, every article and troubleshooting solution published on our website has been strictly tested and practiced. Our editors love researching and using computers and testing software, and are willing to help computer users with their problems