PAGE CONTENT:
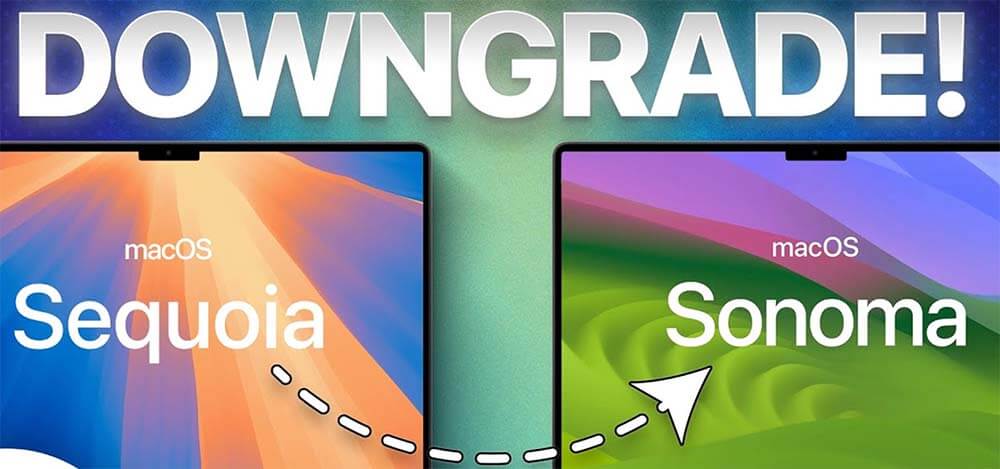
Apple's macOS is renowned for its regular software updates, which bring new features, improved security, and enhanced user experience. The latest update, macOS Sequoia, introduced a variety of new tools and interface improvements designed to streamline productivity and improve system performance.
However, while many users embrace the newest features, others may encounter unexpected issues, such as software compatibility problems, reduced performance, or simply a preference for an earlier interface. If you're one of the users considering a downgrade from macOS Sequoia to an earlier version, whether it's macOS Sonoma or an even older system, this guide will walk you through the process and provide essential tips.
Why Downgrade macOS?
Reverting to an earlier macOS version may seem paradoxical, but there are a few reasons why it could make sense:
- Software Compatibility: Not all applications or peripheral devices may work optimally with the latest macOS version. Older software or hardware might not receive updates to remain compatible with macOS Sequoia.
- Performance Issues: Newer macOS versions can sometimes introduce performance issues on older hardware. If your Mac is struggling with speed or responsiveness, returning to an earlier version may boost performance.
- Stability and Bugs: Major macOS updates sometimes come with bugs or stability issues that haven't yet been addressed by minor patches. Downgrading can help avoid these issues until they are resolved in future updates.
- Familiarity: Some users simply prefer the user interface or functionality of previous macOS versions. The learning curve for new features and UI changes can be steep, and some users find it more efficient to stick with what they know.
Regardless of the reason, downgrading macOS involves careful preparation and planning. In this article, we'll explore how to downgrade from macOS Sequoia, the steps involved, potential risks, and important tips for a smooth transition.
Preparing for the Downgrade: What You Need to Know
Before starting the downgrade process, it's crucial to prepare adequately. Downgrading involves erasing the existing macOS installation and replacing it with an older version. This means you will lose all data on your Mac unless you take the necessary steps to back up your system.
1. Backup Your Data
Since downgrading requires wiping your Mac's hard drive, creating a complete backup is essential to avoid losing important files, applications, and settings. There are several ways to back up your data:
- Time Machine: Apple's built-in backup utility, Time Machine, allows you to create a full system backup. However, note that previous macOS versions might not be able to use Time Machine backups made in macOS Sequoia. To avoid this issue, consider backing up your data manually.
- External Storage: Use an external hard drive or cloud storage service to copy essential files, documents, and media. This method ensures that you can easily access your data after the downgrade without the risk of compatibility issues.
- Cloning Your Mac: You can also use a cloning tool, like Donemax Disk Clone for Mac, Carbon Copy Cloner or SuperDuper, to create an exact replica of your Mac's current system (or even bootable clone backup). This method allows for easy restoration of your files and settings after downgrading.
2. Check App Compatibility
Before downgrading, verify whether the apps you rely on will still work with the version of macOS you plan to install. Some apps may not be supported on older macOS versions, and reverting to an earlier system could result in compatibility issues or the loss of key functionalities.
3. Download the macOS Installer
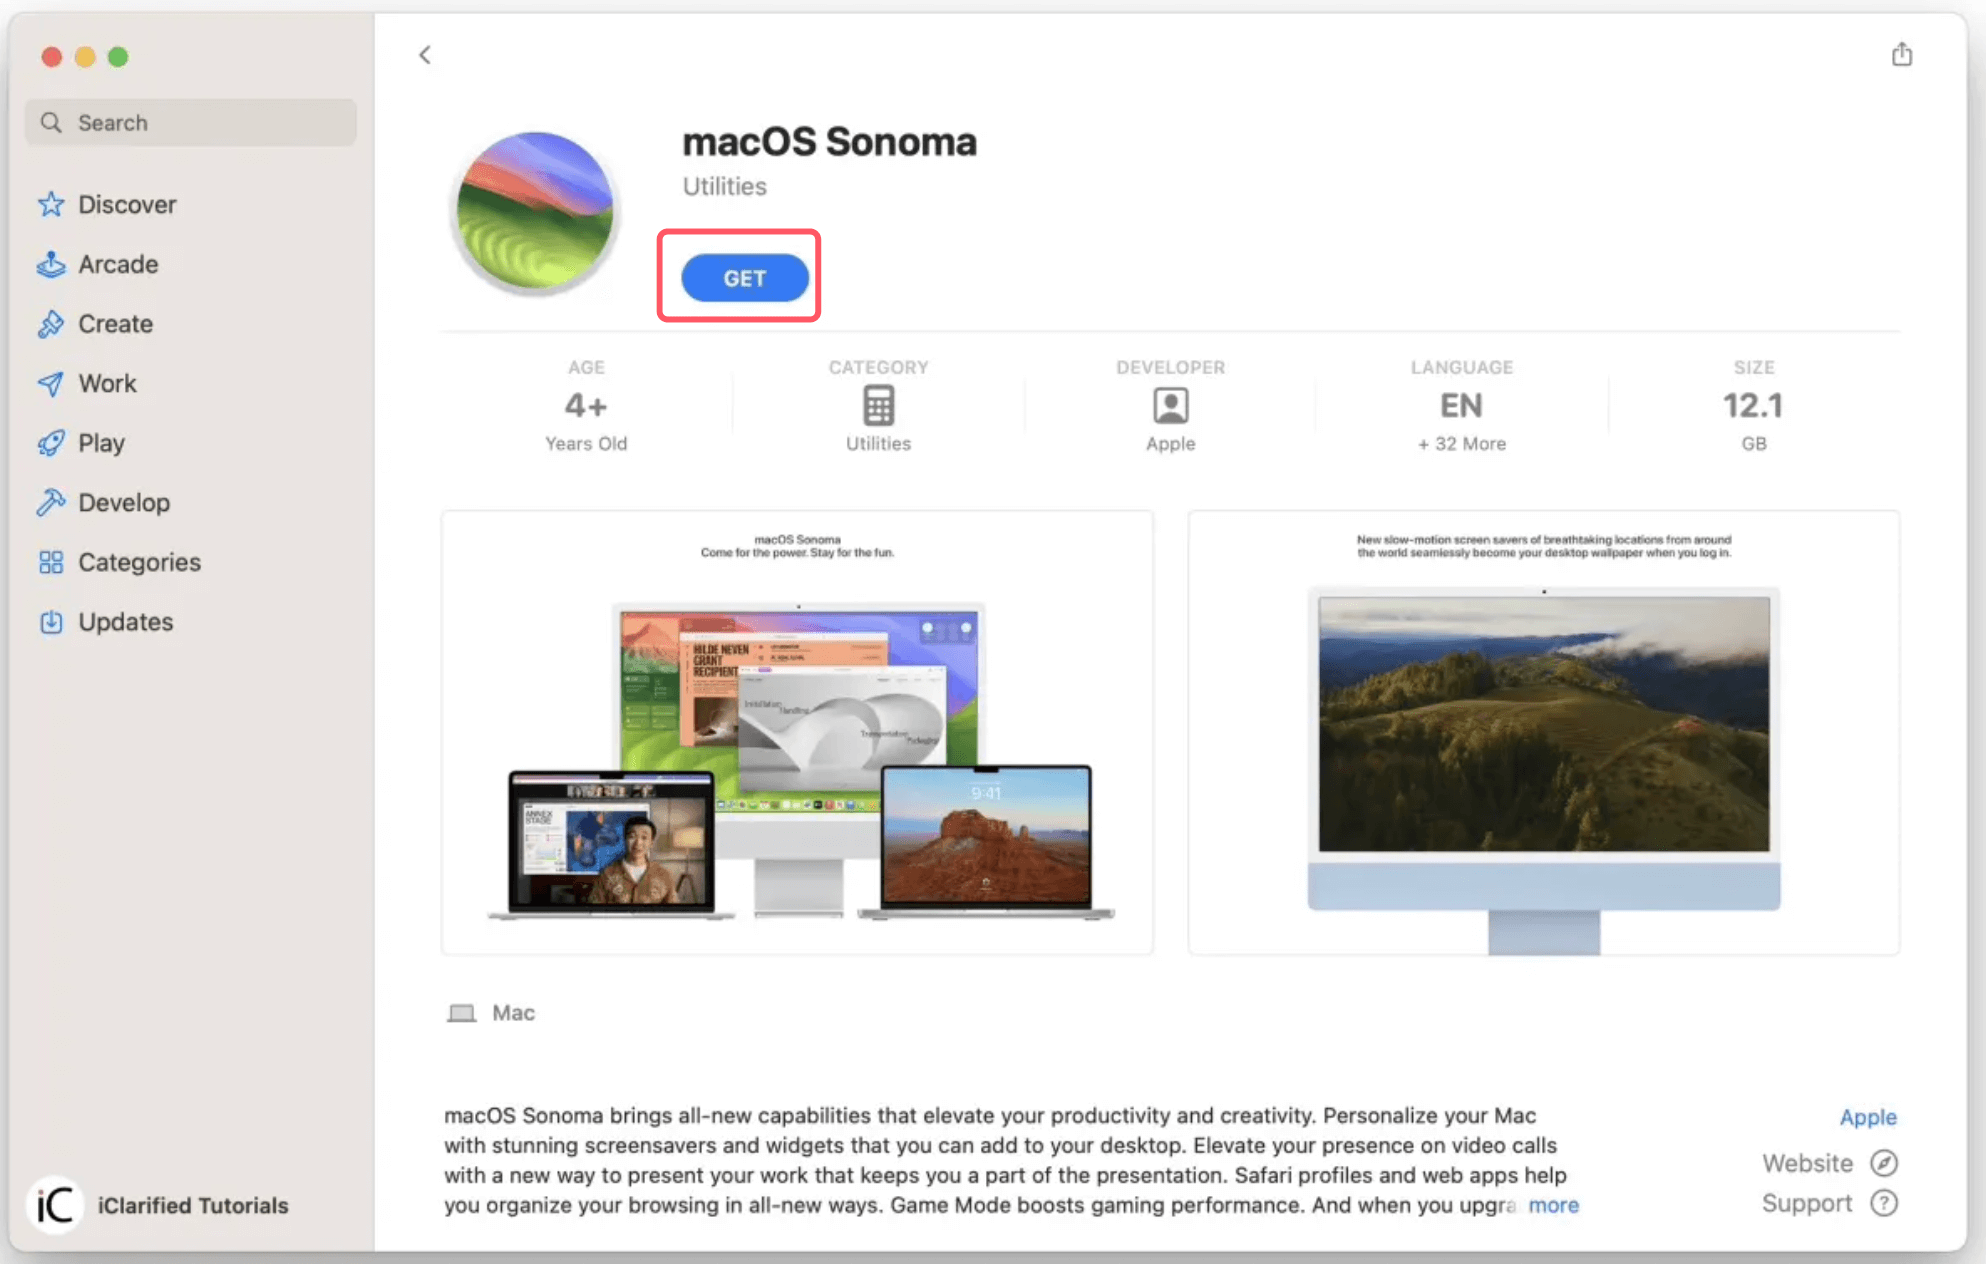
You will need a copy of the macOS installer for the version you want to downgrade to. Unfortunately, Apple does not offer direct downloads for every past version of macOS on their website. However, if you previously downloaded a version of macOS from the App Store, it should be available in your "Purchased" section.
Alternatively, Apple's support page offers downloads for some older macOS versions like macOS Sonoma, Ventura, Monterey, etc. You may also find older versions via third-party websites, but be cautious and ensure you download from a trusted source to avoid malware.
4. Create a Bootable macOS USB Installer
To reinstall the previous macOS version after downloading the installer, you must make a bootable USB device. This can be done with a USB drive that has at least 16 GB of storage. Here's how:
- Step 1: After connecting the USB device to your Mac, launch Disk Utility. Format the USB drive as "Mac OS Extended (Journaled)" or "APFS" using a GUID Partition Map after wiping it off.
![Create a Bootable macOS USB Installer]()
- Step 2: Open Terminal and enter the appropriate command to create a bootable installer. For example, if you downloaded macOS Sonoma, the command would look like this:
sudo /Applications/Install\ macOS\ Sonoma.app/Contents/Resources/createinstallmedia --volume /Volumes/MyVolume
Replace "MyVolume" with the name of your USB drive (such as SonomaInstaller).
![Open Terminal and enter the appropriate command to create a bootable installer]()
- Step 3: Press Enter, and after a few minutes, your bootable USB drive will be ready.
5. Ensure a Stable Internet Connection
Even though you're installing an older macOS version from a USB drive, you'll still need a stable internet connection for certain steps, like verifying the macOS installer and accessing your Apple ID.
The Downgrade Process:
Once you've prepared your Mac, it's time to begin the actual downgrade process. Be aware that this process will erase your Mac's hard drive, so ensure you've backed up all essential data.
Step 1: Erase Your Mac's Hard Drive
The first step in downgrading macOS is to erase your Mac's current installation. To do this:
- To access macOS Recovery Mode, restart your computer and press and hold Power button until you see Loading Startup Options. Choose Options and click on Continue button.
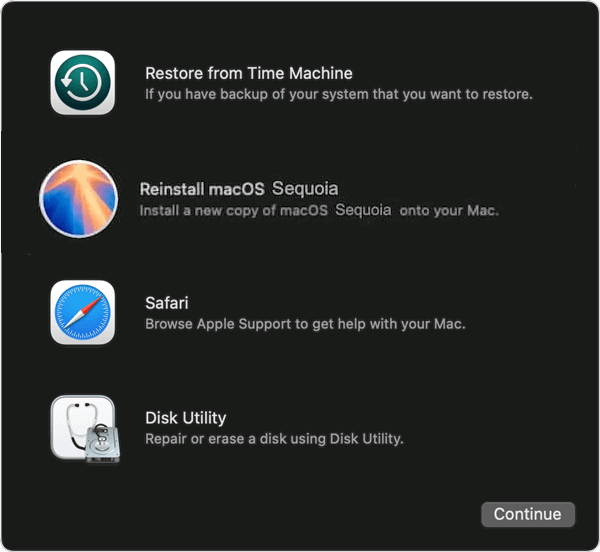
- Choose Disk Utility from the macOS Recovery window, then click Continue.
![Choose Disk Utility from the macOS Recovery window]()
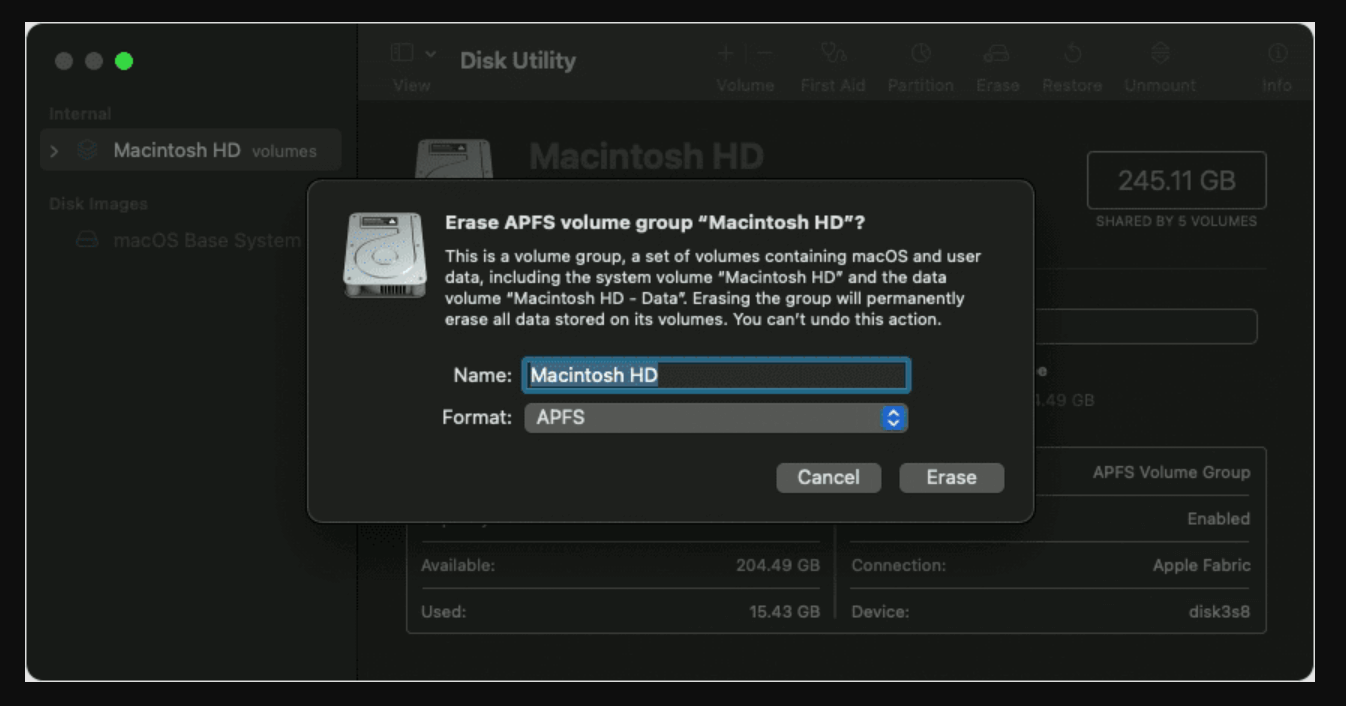
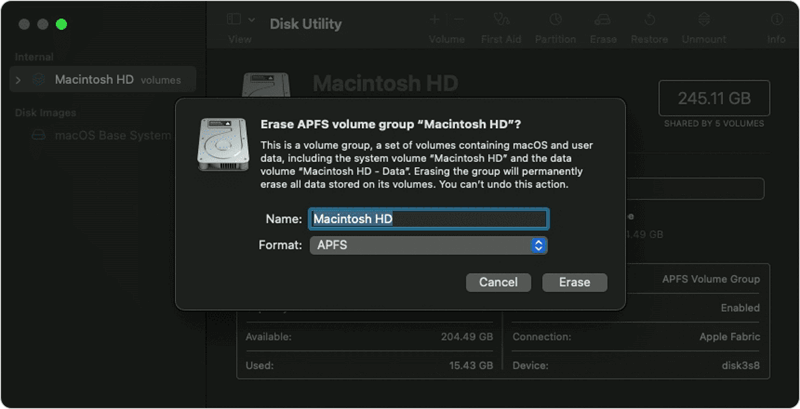
- Click Erase after selecting your Mac's initial disk (sometimes referred to as "Macintosh HD") in Disk Utility.
- Format the disk as APFS or Mac OS Extended (Journaled) depending on the macOS version you plan to install, and then click Erase.
![Format the disk as APFS or Mac OS Extended]()
Step 2: Install the Older macOS Version
Now that your Mac's hard drive is clean, you can proceed with installing the older version of macOS:
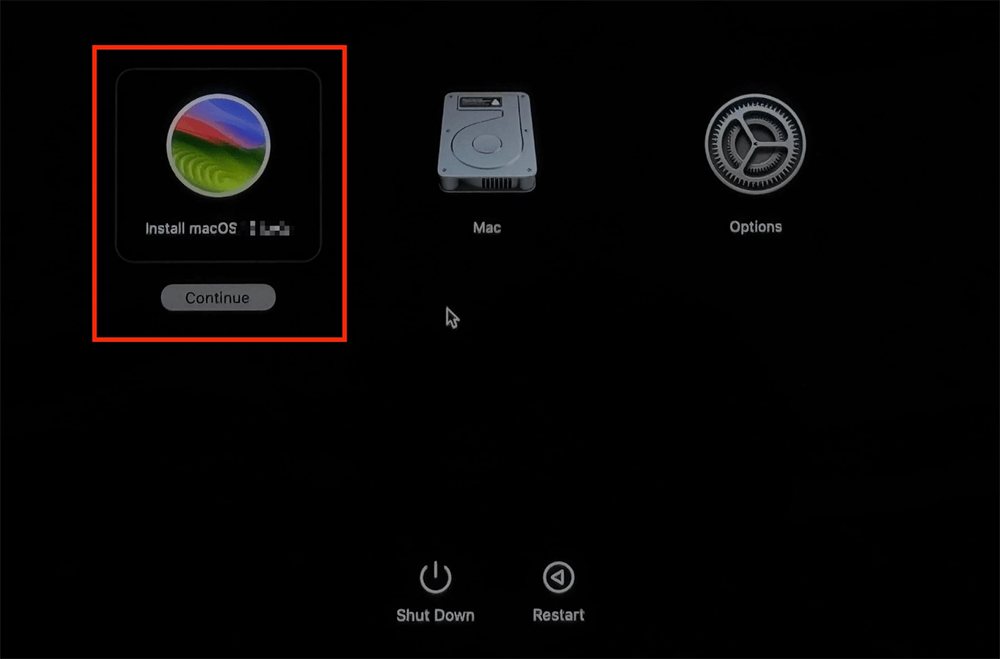
- Plug in the bootable USB installer you created earlier and restart your Mac while holding down Power button.
- When it boots into macOS Recovery mode, select the USB installer, click Continue to start installing macOS.
- To install the previous version of macOS, adhere to the on-screen instructions. Be patient; the procedure can take a while.
![Install the Older macOS Version]()
Step 3: Restore Your Data
You can restore your files from your backup when the installation is finished and your Mac has restarted. Depending on the backup method you used, you may need to manually copy files from your external hard drive or cloud storage.
If you used Time Machine and the backup was created with the same macOS version you downgraded to, you can restore from the Time Machine backup by selecting Restore from Time Machine Backup during setup.
Common Downgrade Issues and Troubleshooting
Downgrading macOS is generally a straightforward process, but there are several potential issues you may encounter. Here's how to address them:
1. Installer Verification Errors
If your Mac cannot verify the macOS installer, this could be due to an expired certificate. You can bypass this issue by setting your Mac’s system date to a time when the certificate was still valid. To do this:
- Restart your Mac in Recovery Mode (Power button) and open Terminal.
- Enter the command: date 0201010115 (which sets the date to February 1, 2015, for example).
After resetting the date, retry the installation.
2. Restoring Incompatible Backups
If you're unable to restore a Time Machine backup because it was created with a newer macOS version, you’ll need to manually transfer files from your backup. Unfortunately, there is no way to directly restore system settings or apps in this case.
3. Reactivating Apps and Services
Certain apps or services may require reactivation or reinstallation after downgrading macOS. Be sure to have your app licenses and Apple ID credentials handy, as you may need to re-enter them to fully restore your system.
Risks and Considerations When Downgrading macOS
While downgrading macOS can help resolve compatibility or performance issues, there are several risks to consider:
- Security Risks: Older macOS versions may not receive security updates, leaving your system vulnerable to malware or other threats.
- Loss of Features: You'll lose access to any new features introduced in macOS Sequoia or later versions. If you rely on any of these features for work or personal use, consider whether downgrading is the best option.
- Incompatibility with Future Software: As software developers update their apps to work with newer macOS versions, you may encounter compatibility issues with older software.
- Time-Consuming Process: Downgrading macOS is not a quick process. Between creating backups, reinstalling macOS, and restoring your data, it can take several hours to complete. Be sure to plan accordingly.
Recover Lost Data After macOS Sequoia Downgrade
macOS Sequoia downgrade may cause data loss. If you don't have a backup, just try Mac data recovery software.
Step 1. Download and install the reliable Mac data recovery software - Donemax Data Recovery for Mac.
Step 2. Open Donemax Data Recovery for Mac, select the internal drive to start data recovery.

Step 3. Click on Scan button to deeply scan the drive and find all recoverable files.

Step 4. Once the scan is completed, you can preview all recoverable files. Select the wanted files, click on Recover button to save them.

Conclusion
Downgrading from macOS Sequoia to an earlier version is possible, but it requires careful preparation and consideration. From backing up your data to ensuring compatibility with your favorite apps, the process can be complex but manageable. Whether you're experiencing performance issues, software compatibility problems, or simply prefer an older version of macOS, following the steps described in this article will help you successfully revert to a version that better meets your needs.
Before you proceed, weigh the pros and cons of downgrading, and make sure it's the best decision for your workflow and system stability. Once you've completed the downgrade, you can enjoy a more familiar and functional environment, optimized for your preferences.


Donemax Data Recovery for Mac
Donemax Data Recovery for Mac is one of the best Mac data recovery software. It is easy-to-use and can help in recovering deleted, formatted, inaccessible or lost data from Mac HDD/SSD, external disk, USB drive, SD card, camera or other storage devices.
Related Articles
- Oct 16, 2024Clean Install macOS Sequoia: A Comprehensive Guide
- Mar 06, 2025How to Resolve 2003F Mac Error – A Quick Guide [8 Fixes]
- Jan 17, 2025Force Delete Files on Mac: A Complete Guide
- Oct 11, 2024What is First Aid? How to Run First Aid to Repair Disk on Mac?
- Jul 18, 2025Fix External Hard Drive Read-Only on macOS Tahoe 26
- Oct 21, 2024macOS Sequoia Not Recognizing USB Flash Drives, 9 Methods to Fix It

Coco Lin
Coco has been a writer and a chief programmer at Donemax software since 2018. Over 10 years of experience of writing troubleshooting articles in the software industry, she is passionate about programming and loves to providing solutions to Windows and Mac users. Also she enjoys music and palying tennis in her free time.

Gerhard Chou
In order to effectively solve the problems for our customers, every article and troubleshooting solution published on our website has been strictly tested and practiced. Our editors love researching and using computers and testing software, and are willing to help computer users with their problems
