
Written byCoco LinUpdated on Mar 18, 2024
How to Clone Windows Hard Drive to Crucial T500 NVMe SSD?
Approved byGerhard Chou
PAGE CONTENT:
Improving your computer's speed doesn't have to be complicated. Yes, you chose to get a Crucial T500 NVMe SSD to speed up your system. This guide will walk you through cloning your Windows hard drive to your new SSD, making the switch as easy as possible. You can think of cloning as a high-tech version of copy-and-paste. Your current data, apps, and settings are moved to the faster and more efficient Crucial T500 NVMe SSD.
This guide aims to simplify the upgrade process for everyone, even those new to upgrading computer hardware. It does this by using clear steps and simple words. Let's start this journey to make your computer faster and more effective!
Before You Start Cloning Hard Drive to Crucial T500 NVMe SSD
When making changes to devices, you need to be careful. Before you go any further, ensure you have a copy of your important data. This safety step gives you a backup plan if something goes wrong during the cloning process.
Then you should install Crucial T500 NVMe SSD on your computer. Find a reliable disk cloning program than can help you clone the hard drive to the Crucial T500 NVMe SSD. Donemax Disk Clone is a powerful, 100% safe and easy-to-use disk cloning program. It can help you easily and securely clone Windows OS, user files, all programs, settings from the hard drive to the new Crucial T500 NVMe SSD.
Windows Disk Cloning - Donemax Disk Clone
- Clone all data from a hard drive to a Crucial T500 NVMe SSD.
- Create a bootable clone of Windows to Crucial T500 NVMe SSD.
- 100% safe and easy-to-use disk cloning program.
Steps to Clone Windows HDD to Crucial T500 NVMe SSD
🔖Step 1: Connect the Crucial T500 NVMe SSD
Physically Install the SSD:
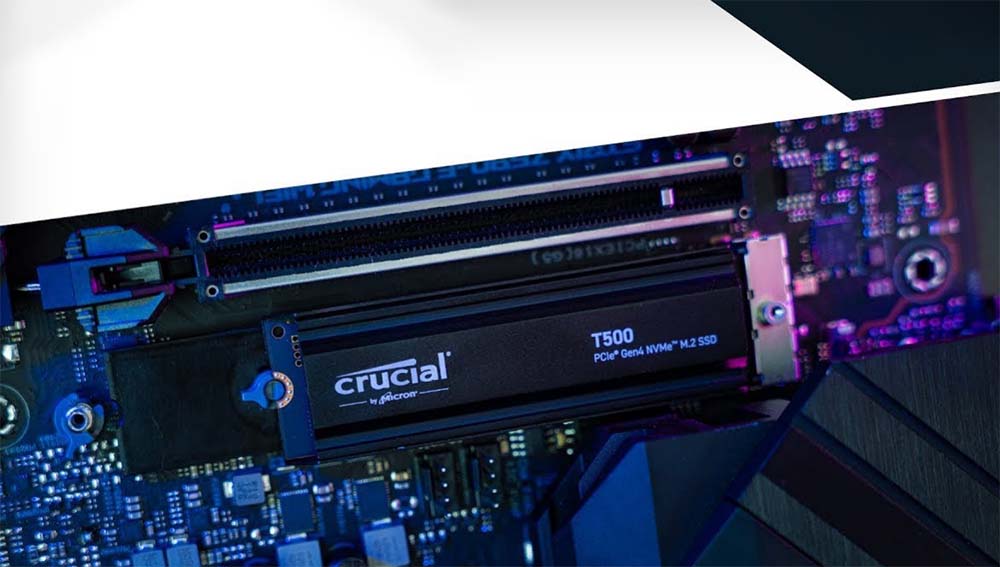
To place the Crucial T500 NVMe SSD into an available M.2 slot on your motherboard, turn off your computer, unplug it, and open the case.
Use a SATA to USB Adapter:
If your computer doesn't have an M.2 slot, you can still connect the Crucial T500 NVMe SSD safely and reliably using a SATA USB adapter or an external hard drive case.
🔖Step 2: Create a Bootable Cloning Tool
Prepare a USB Flash Drive:
Put the USB flash drive into the computer. Ensure it has no critical files because they will be erased during this process. To make a bootable USB drive, download and install the chosen cloning software and follow the on-screen directions.
Configure Boot Order:
Go to your computer's BIOS or UEFI settings and change the boot order so USB devices come first. Before the cloning process starts, save and exit the BIOS/UEFI. It gets your machine ready to boot from the USB drive.
🔖Step 3: Clone Your Windows Hard Drive
Boot from the USB Drive:
Start up your computer again with the working USB drive in it. The cloning software screen will show up, which means the cloning process has begun.
Select Source and Destination:
In the cloning software, choose the Crucial T500 NVMe SSD as the location and your current Windows hard drive as the source. Carefully review these choices to avoid losing data by mistake.

Adjust Partition Size (Optional):
You can change the size of files while some cloning software is still running if you need to change the file sizes on the new SSD to account for any differences in size between the old and new drives.

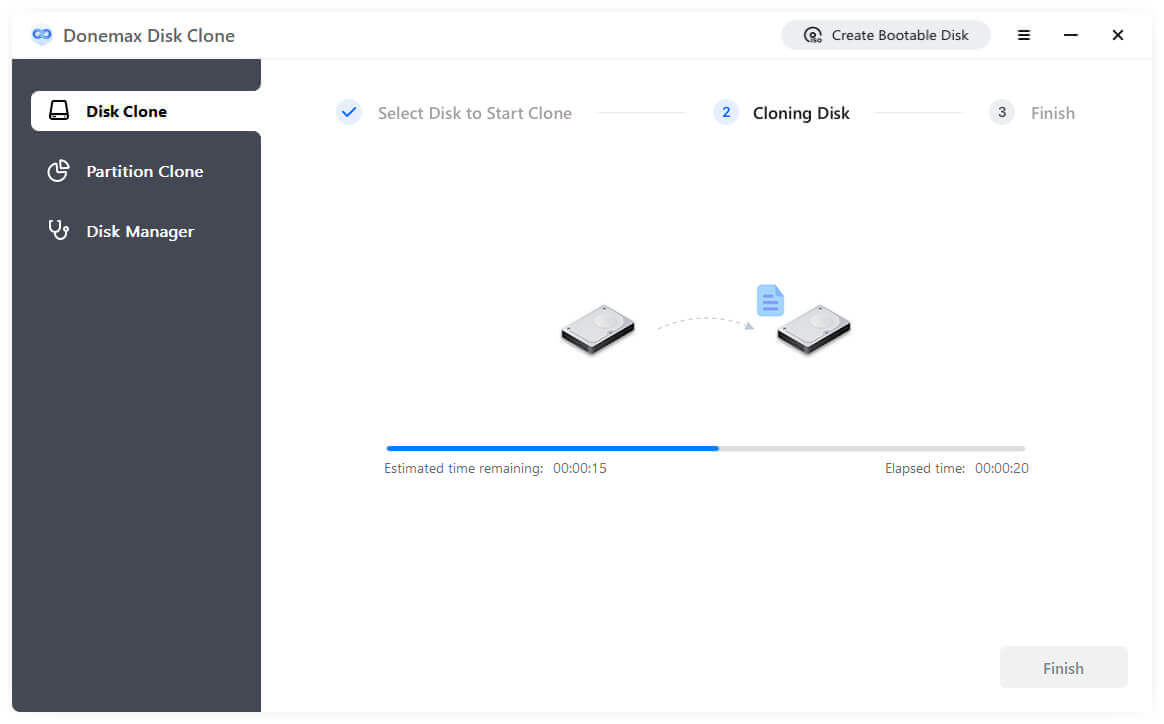
Initiate the Cloning Process:
Once you know your choices, follow the on-screen instructions to start cloning. The amount of data being sent will determine how long this process takes. Wait patiently and let the software do its thing.
🔖Step 4: Verify and Finalize
Review Cloning Summary:
After the cloning, review the software's summary carefully to ensure there were no mistakes during the move. At this point, a thorough check ensures the whole process goes smoothly.
Shutdown and Disconnect Old Drive:
Please turn off your computer safely, unplug it, and remove the old hard drive from the machine. Then, make sure the Crucial T500 NVMe SSD is securely connected. This will prepare your machine for the next important step.
🔖Step 5: Boot from the Crucial T500 NVMe SSD
Power On Your Computer:
Turn on your machine and go to the BIOS or UEFI settings. Make sure that the Crucial T500 NVMe SSD is seen as the primary start device. It proves that the cloning process worked.
Save and Exit:
You can now save your changes and leave the BIOS/UEFI settings. This will let your system start up with the Crucial T500 NVMe SSD. Congratulations! You've finished the upgrade and can use your system to its full potential.
Conclusion:
You have successfully copied your Windows hard drive to the Crucial T500 NVMe SSD. That means that your system can now run at its fastest. This update makes it quicker to access data and generally makes computers run more smoothly. Don't forget to keep your old hard drive as a backup before you use it for something else or safely throw it away. By following this complete guide, you can easily switch to a storage option that is faster and more responsive.
Donemax Disk Clone is a reliable disk cloning program. Just open this program, choose Disk Clone mode, select the computer disk as the source disk, select the Crucial T500 NVMe SSD as the destination disk. Then click on Clone button to clone the entire Windows disk to the new Crucial T500 NVMe SSD.
Related Articles
- Jul 02, 2024Best NVMe SSD Clone Software: Clone NVMe SSDs and Another Drives
- Jun 04, 2025How to Upgrade My Computer SSD to WD Black SN850X?
- May 17, 2024How to Clone Windows 8 or 8.1 to A SSD?
- Jun 19, 2025Will Disk Clone Erase Data on the Target Drive?
- Apr 23, 2025Can't Select Target Drive at Clone, Fix It
- Apr 10, 2024How to Clone Seagate HDD to A SSD?

Contributing Writer
Coco Lin
Coco has been a writer and a chief programmer at Donemax software since 2018. Over 10 years of experience of writing troubleshooting articles in the software industry, she is passionate about programming and loves to providing solutions to Windows and Mac users. Also she enjoys music and palying tennis in her free time.

Editor in chief
Gerhard Chou
In order to effectively solve the problems for our customers, every article and troubleshooting solution published on our website has been strictly tested and practiced. Our editors love researching and using computers and testing software, and are willing to help computer users with their problems