
Written byStevenUpdated on Feb 02, 2026
How to Restore MacBook to Previous Date Without Time Machine?
Approved byGerhard Chou
Before we start: If there is no Time machine backup available, how to restore MacBook to previous date? There are some methods to restore individual files or system in such a case. The best choice is to create a bootable clone for macOS with Donemax Disk Clone for Mac. It can help you boot Mac to a previous date with all data intact.
PAGE CONTENT:
- Understanding the Restoration Options on Mac
- Restore MacBook to Previous Date with Built-in macOS Features
- Restore MacBook to Previous Date Using Local Snapshots
- Restore MacBook to Previous Date with Disk Clone Tool
- Restoring Individual Files Without a Backup
- Best Measures to Protect System and Data on MacBook
- Conclusion
Restoring a MacBook to a previous date is a critical skill when dealing with system errors, software bugs, or accidental file changes. Most Mac users rely on Time Machine to back up and restore data, but what happens when Time Machine isn't available? Whether due to a missing backup, corrupted Time Machine disk, or simply forgetting to enable it, there are alternative ways to restore your MacBook to an earlier state without Time Machine. In this guide, we will explore multiple options, from macOS built-in tools to third-party software, to help you recover files or revert system settings safely.

Understanding the Restoration Options on Mac
Before diving into solutions, it's essential to understand what restoring your MacBook involves. In general, restoring can mean two things:
- System Restore: Returning your macOS and system settings to a previous state.
- File Recovery: Recovering individual files that have been accidentally deleted or modified.
Without Time Machine, complete system restoration is more challenging, as Time Machine is designed to maintain incremental backups of both your system and personal files. That said, macOS includes several built-in mechanisms, and there are third-party tools that can help recover lost data or undo unwanted changes.
Restore MacBook to Previous Date with Built-in macOS Features
macOS provides several native features that can help restore parts of your system or individual files without requiring Time Machine.
1. Undo Recent Changes in Applications
Many macOS applications, such as Pages, Microsoft Word, and Preview, maintain version histories. These allow you to revert documents to a previous state. To access this feature:
- Open the document you wish to restore.
- Go to File > Revert To > Browse All Versions.
- Review earlier versions and restore the one you need.
This method is useful for documents, spreadsheets, or presentations, but it won't revert system-wide changes.
2. Revert System Settings
If your issue is related to system settings rather than files, macOS provides several reset options:
- Open System Settings (or System Preferences on older macOS versions).
- Options include resetting all settings without erasing your files, or resetting specific preferences like network or accessibility.
This approach is suitable if your Mac is behaving oddly due to configuration changes but doesn't require a full system reinstall.
3. Use macOS Recovery Mode
macOS Recovery Mode is a powerful built-in tool for system repair and reinstallation. It can restore the operating system while keeping your files intact. Here's how:
- Turn Off your Mac.
- Turn it on and immediately press the Power button until your see "Loading startup options" message. Choose Options and click Continue. (Or holding Command + R until the Apple logo appears on Intel Macs.)
- In the macOS Recovery menu, choose:
- Reinstall macOS: Installs the latest compatible version without erasing your data.
- Disk Utility > First Aid: Repairs disk errors that might be causing system instability.
Recovery Mode doesn't require a Time Machine backup, but it is limited to repairing or reinstalling macOS rather than recovering old versions of files.
Restore MacBook to Previous Date Using Local Snapshots
Even without a Time Machine backup, your MacBook might have a hidden safety net in the form of local snapshots. These are automatic backups that macOS creates on APFS-formatted drives. They are particularly useful for recovering system states, recent files, or undoing unwanted changes without relying on an external backup drive.
What Are APFS Snapshots?
Apple File System (APFS), used in modern macOS versions, has a built-in feature called snapshots. A snapshot is essentially a read-only copy of your entire drive at a specific moment in time. These snapshots let you roll back your system or files to an earlier point without affecting current data.
Key Points About APFS Snapshots:
- They are created automatically when macOS updates or performs certain system tasks.
- Snapshots occupy minimal disk space initially, as they only record changes from the previous state.
- They are temporary and managed automatically by macOS, so older snapshots may be deleted when storage space is low.
- They can restore both system files and applications but typically do not cover user-created files unless Time Machine snapshots were active.
How to Check for Local Snapshots
You can view the list of available snapshots using Terminal:
- Open Terminal from Utilities via Applications.
- Run the command:
tmutil listlocalsnapshots /
- You will see a list of snapshots with names like:
com.apple.TimeMachine.2026-01-08-120045
com.apple.TimeMachine.2026-01-07-235500
Each entry represents a snapshot created at a specific date and time. If the list is empty, your Mac currently has no snapshots to restore from.
Restoring a Snapshot
If a snapshot is available, you can restore it with these steps:
- Boot into Recovery Mode.
- Open Terminal from the Recovery menu.
- Use the tmutil restore command to restore the desired snapshot:
tmutil restore -r <snapshot_name> /
Replace <snapshot_name> with the name of the snapshot you want to restore (e.g., com.apple.TimeMachine.2026-01-07-235500).
- Follow the on-screen instructions to complete the restore.
Important Notes:
- Restoring from a snapshot will overwrite system files but typically won't delete user files unless they were modified after the snapshot was taken.
- Make sure you back up any new important data before performing a snapshot restore to avoid accidental loss.
- Snapshots cannot be restored if your drive has significant corruption or hardware issues. In such cases, you may need a disk repair using Disk Utility before restoring.
Practical Tips for Using Local Snapshots
- Combine with Recovery Mode: Local snapshots work best when paired with Recovery Mode. This allows you to reinstall macOS if needed while restoring system files from a snapshot.
- Check Disk Space: Snapshots are automatically managed, but if your Mac is running low on space, older snapshots may be deleted. Consider freeing up space to increase the chance of preserving new snapshots.
- Use as a Safety Net: Even if you don't have Time Machine, local snapshots can save you in emergencies, such as after a problematic software update or system configuration change.
- Regularly Verify Your System: Occasionally check snapshots using tmutil listlocalsnapshots / to ensure your system is creating them. This can give you a backup safety net before a major macOS update.
Limitations of Local Snapshots
While local snapshots are useful, they have some limitations:
- They are temporary and may be automatically deleted when disk space is low.
- They cannot replace full backups, as they do not protect against drive failure.
- They may not include user files unless Time Machine backups were active.
- Restoring snapshots requires care and knowledge of Terminal commands, making it less beginner-friendly than Time Machine.
Restore MacBook to Previous Date with Disk Clone Tool
If macOS built-in options aren't sufficient, several third-party tools can help restore your system to a previous state without Time Machine. For example, you can use the Mac disk copy software Donemax Disk Clone for Mac to create a bootable clone backup for your macOS.
Donemax Disk Clone for Mac
- Most reliable disk copy software for Mac.
- Create a bootable and full clone for macOS.
- Make an exact copy of your startup disk on Mac.
While Donemax Disk Clone for Mac is primarily a backup solution, if you've previously cloned your Mac's drive, you can restore your system from that clone. This method doesn't require Time Machine and can effectively bring your MacBook back to a previous date.
Here we will show you how to make a bootable and full clone backup for macOS:
Step 1. Launch the disk cloning software and choose OS Clone function. The Mac startup disk will be selected as source drive automatically. You can just select another empty external disk as destination.

Step 2. The software will start to clone the system disk to the external drive after clicking on the Clone Now button. Just wait patiently.
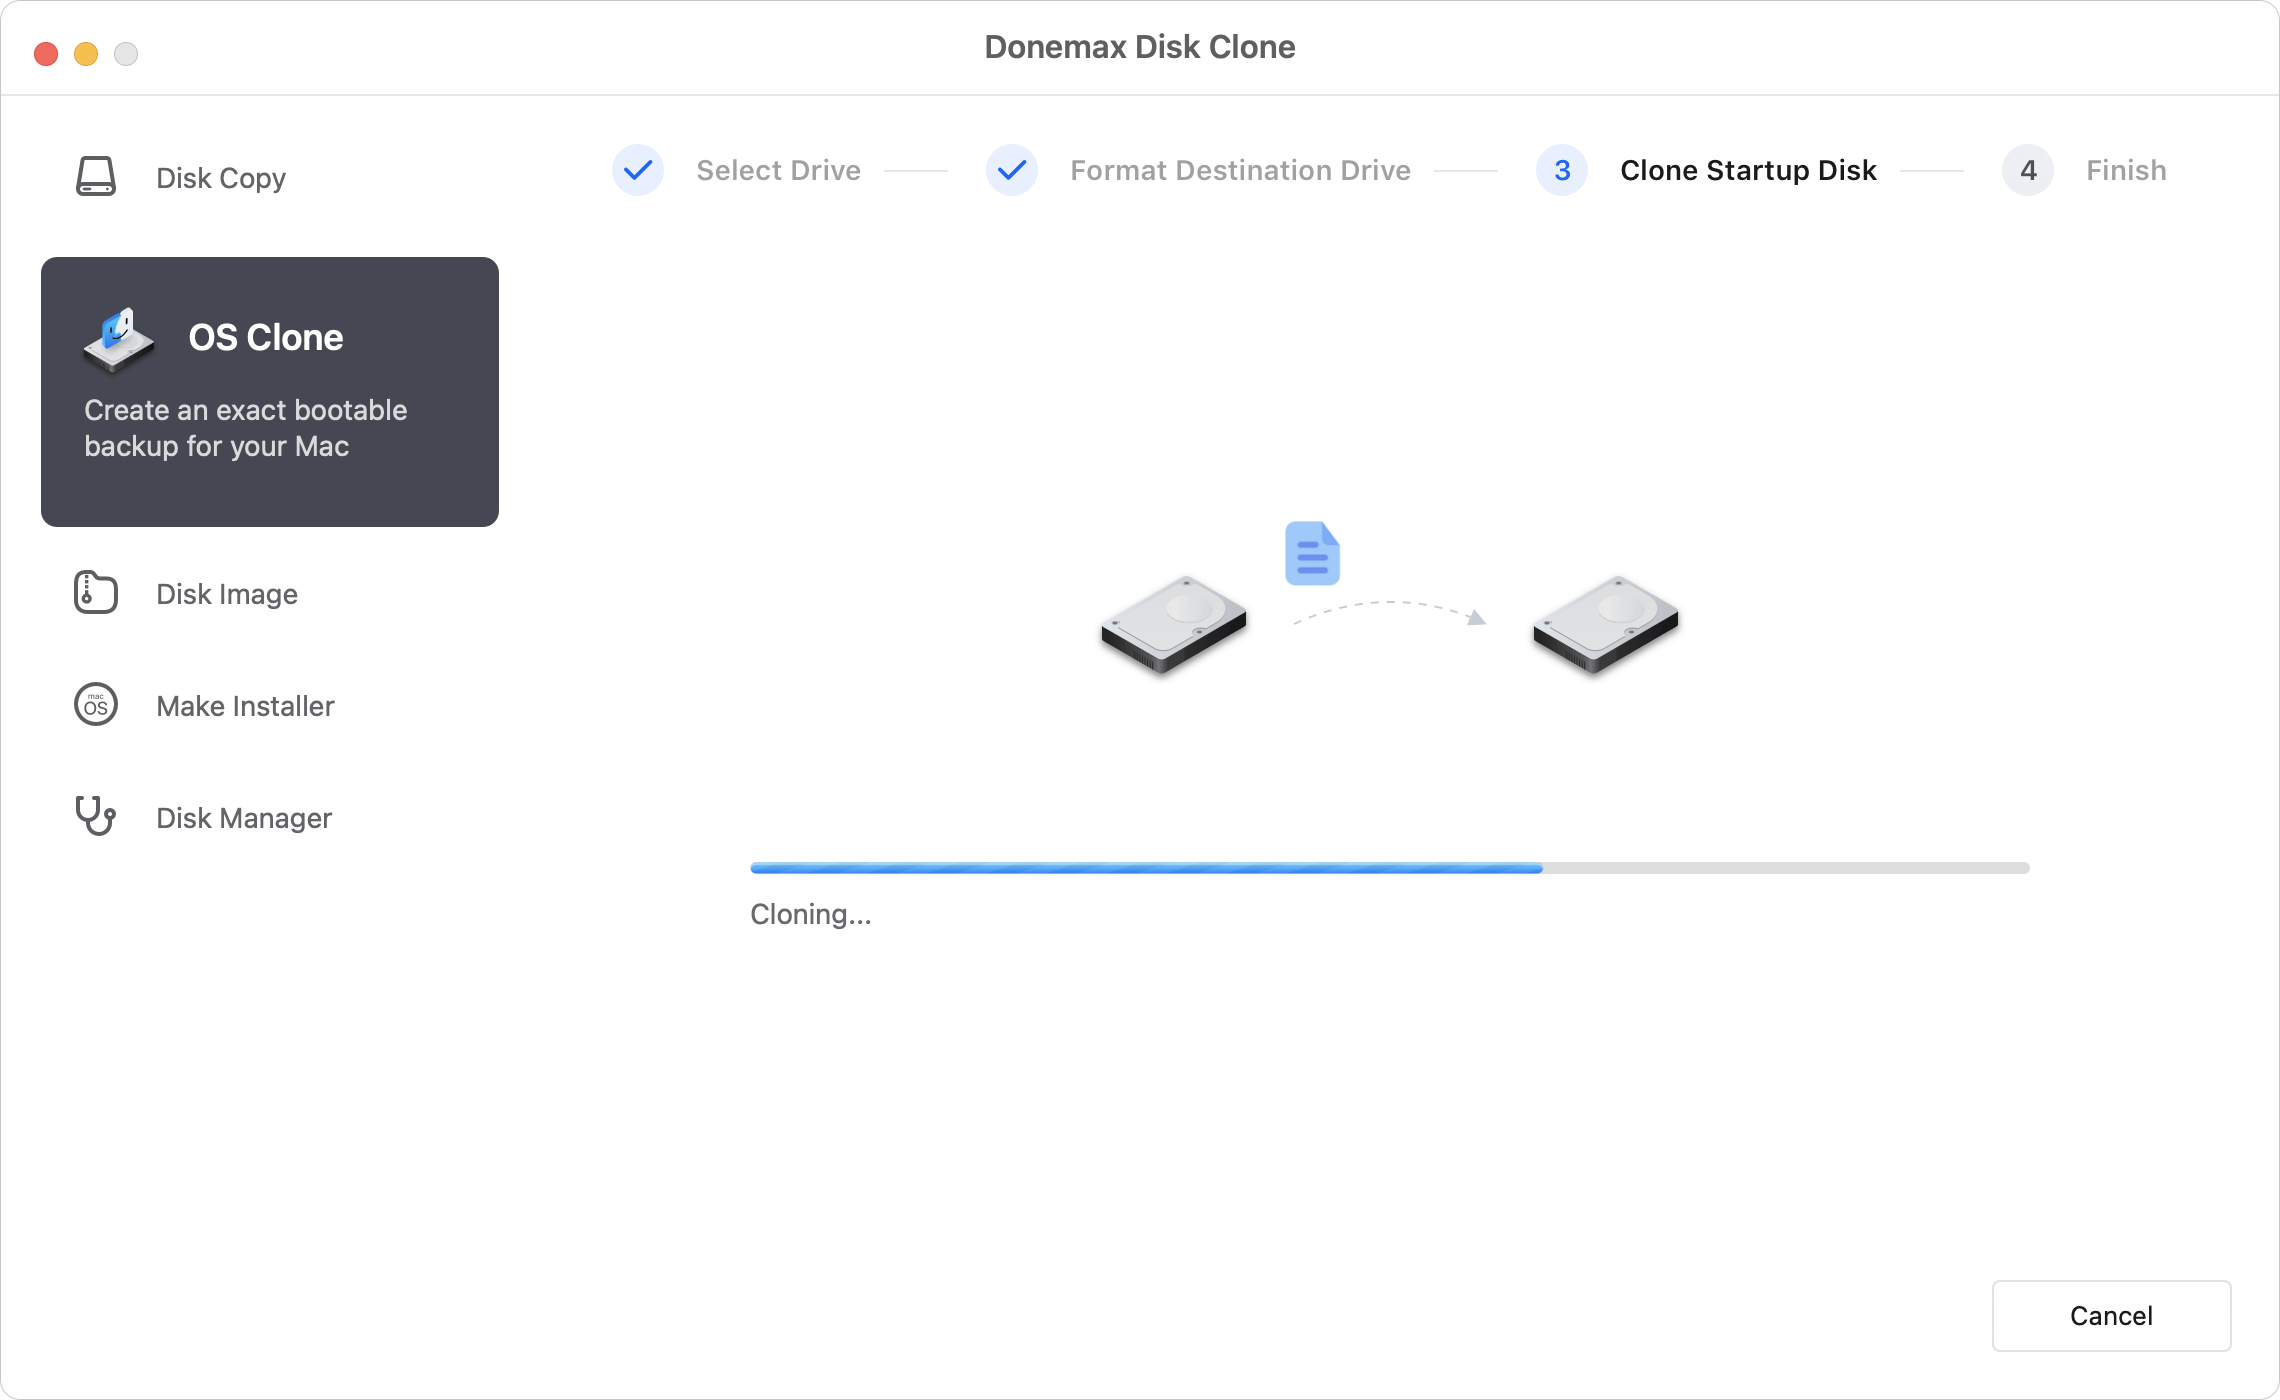
Step 3. After the cloning process is done, all the system data, installed apps, and personal files are cloned to the destination drive. Also, the software will make the cloned drive bootable.

You can clone the system again in the future after some changes to the Mac. If you want to restore the macOS to a previous date, you can then boot from a specified cloned drive directly.
Restoring Individual Files Without a Backup
Even if you cannot restore the entire system, there are ways to recover specific files or documents without Time Machine.
1. Check the "Recently Deleted" Folder
Many apps, like Photos or Notes, have a "Recently Deleted" folder. Files in this folder are kept for a limited time before permanent deletion. Access them and restore any accidentally deleted files.
2. Use App Versioning
As discussed earlier, macOS allows apps to save versions of your documents. Check individual apps for version history to restore changes.
3. Recover Files from iCloud
If you use iCloud Drive, you can recover deleted files online:
- Visit iCloud.com and log in.
- Navigate to Settings > Advanced > Restore Files.
- Select files to restore to your Mac.
4. Third-Party Recovery Tools
Tools like Donemax Data Recovery for Mac also allow selective file recovery. They are particularly useful when files are overwritten or accidentally erased.
Donemax Data Recovery for Mac is a user-friendly recovery tool capable of recovering deleted files, including photos, documents, and videos. It can scan your Mac's storage and identify recoverable items, even after accidental deletion or disk corruption. Th software specializes in deep scans for lost files.

Best Measures to Protect System and Data on MacBook
Restoring a MacBook without Time Machine is possible but can be limited and time-consuming. To avoid future issues:
- Enable backup solution: Back up MacBook with Time Machine or other backup tools. Regular backups allow full restoration to any previous date.
- Use iCloud Drive: You can back up personal files with Desktop & Documents sync. It provides cloud-based file recovery and version history.
- Create bootable clones: You can make full and bootable clone with software like Donemax Disk Clone for mac. It acts as full-system backups independent of Time Machine.
- Enable APFS snapshots: Local snapshots can provide an additional recovery layer for system files.
Taking proactive measures ensures you have multiple recovery paths and minimizes the risk of permanent data loss.
Conclusion
Restoring a MacBook to a previous date without Time Machine is challenging but not impossible. macOS provides several native options, including Recovery Mode, APFS local snapshots, and app-based version history, to recover system states and files. Third-party tools like Donemax Disk Clone for Mac and Donemax Data Recovery for Mac offer additional flexibility for both system and file restoration. While these methods can help in emergencies, the most reliable approach is preventive: maintaining regular backups through Time Machine, iCloud, or bootable clones. By combining built-in tools with third-party solutions, you can safeguard your MacBook and recover lost data efficiently, even without Time Machine.
Donemax Disk Clone for Mac
An award-winning disk cloning program to help Mac users clone HDD/SSD/external device. It also can create full bootable clone backup for Macs.
Related Articles
- Jul 15, 2025How to Clone Mac Hard Drive to External Hard Drive?
- Sep 18, 2025Can I Restore Mac from External Hard Drive?
- Jan 20, 2026Easy Ways to Back up Mac Startup Disk
- Nov 29, 2024Best 8 Backup and Recovery Solutions for Mac
- May 28, 2025How to Clone a Hard Drive on M2 Chip Mac?
- Feb 22, 2024Step-by-step Guide: Clone macOS Sonoma to An External Hard Drive

Contributing Writer
Steven
Steven has been a senior writer & editor of Donemax software since 2020. He's a super nerd and can't imagine the life without a computer. Over 6 years of experience of writing technical solutions and software tesing, he is passionate about providing solutions and tips for Windows and Mac users.

Editor in chief
Gerhard Chou
In order to effectively solve the problems for our customers, every article and troubleshooting solution published on our website has been strictly tested and practiced. Our editors love researching and using computers and testing software, and are willing to help computer users with their problems