Written byStevenUpdated on Jul 07, 2025
Time Machine vs Migration Assistant: Which Is Better?
Approved byGerhard Chou
Before we start: Time Machine and Migration Assistant are built-in tools on Mac. You can use them to transfer data between different machines. To back up data, you can only choose Time Machine. Third-party tool like Donemax Disk Clone for Mac can make bootable clone backup directly.
PAGE CONTENT:
Is your old MacBook no longer meeting your needs? A few signs indicate it's time for an upgrade: slower performance or a battery that won't stay charged.
Make sure you've copied all your essential documents, programs, settings, and accounts before giving up your old computer. You can move data from an older MacBook or a Time Machine backup to a newer MacBook using the built-in Migration Assistant tool. Let's start setting up your new MacBook using all your current information and preferences.
What Is Time Machine:
Time Machine backups Macs. It creates a compressed "image" or "snapshot" of your Mac that you can restore anytime. Time Machine backups may boot new devices and refresh Macs after resetting.
Time Machine automatically backups up your Mac. It regularly backs up your Mac, preserving the last several versions you need to restore from a few weeks ago.
Time Machine boots most new Macs. New Macs ask to start fresh or boot from a backup. Time Machine backups help you resume where you left off. System Settings (or System Preferences) and a Mac app house Time Machine, like most Apple services.
What Is Migration Assistant:
Apple's Migration Assistant is a built-in tool for moving data and accounts from one computer to another. This can be a Mac, Windows PC, complete disk backup, or a brand new Mac connected through Thunderbolt. You can use it during the first steps of setting up a brand-new Mac or run independently at any time.
Applications → Other → Migration Assistant will lead you to the program.

Transfer Files Using Migration Assistant:
Using Migration Assistant, here's how to get your files onto your new Mac:
Step 1: On your new Mac
- Select Go from the Finder menu.
- Click the Utility section.
- Start the Migration Assistant.
- Press the Next button.
- If you have an account on a Mac, log in to it now. Your Mac will immediately close off all currently running programs.
- You must decide whether to copy everything from a Mac, a Time Machine backup, or the computer's starting drive.
- Press the Continue button.
Step 2: On your old Mac
![]()
- In your Mac's menu, select Go.
- Click the Utility tab.
- Start the Migration Assistant.
- Press the Continue button.
- If you have an account on a Mac, log in to it now. Your Mac will immediately close off all currently running programs.
- To move to another Mac, click the corresponding button.
- Press the Continue button.
Step 3: On your new Mac
- When prompted to choose between a Mac, a Time Machine backup, and another startup disk, choose the other Mac option.
- Press the Continue button.
Step 4: On your old Mac
- Ensure the security code displayed on your previous Mac is the same as that on your current Mac.
- Press the Continue button.
Step 5: On your new Mac
- Pick out the data you want to send.
- Press the Continue button.
Different from What Does Time Machine Does?
Regarding protecting your Mac, Time Machine is the way to go. Apple includes it as part of your Mac OS installation, much like the Migration Assistant.
To maintain the safety of your information, you could use Time Machine. With the help of a backup, you can store your files somewhere other than on your Mac.
You can also restore files using Time Machine. To top it all off, there is no limit about how much data you can restore. A single file, a collection of files, or a set of directories.
And in the time in between backups, it will take snapshots of the changes you've made to your Mac. You will be able to view 24-hour pictures. Assuming there is enough storage space on your Mac's hard drive.
The Migration Assistant is not a backup program. Time Machine is a backup program. Many Mac users prefer Time Machine for routine backups. They also use backup software like Donemax Disk Clone to create bootable full copies of their Macs.

How to Restrict Time Machine's Backup Disk Size?
Time Machine can free up storage by deleting old backups, but it would rather use all available space on the disk before doing so. One way to stop Time Machine from using the whole disk is to create a set partition. You can also mark this partition as a backup disk. This is helpful if multiple programs are using the disk at the same time.
Clone and Back Up macOS with Donemax Disk Clone for Mac
You also can use a disk cloning application to create a bootable clone for your Mac. Then you can use the backup to restore macOS or data on your new Mac. Donemax Disk Clone for Mac is a powerful disk cloning application. The software is able to help you clone data, migrate data, upgrade your Mac to SSD, etc.
Donemax Disk Clone for Mac
- Clone hard drive partition, HDD, SSD, USB flash drive, memory card, etc.
- Simple steps to clone data from one disk to another.
- Create full and bootable clone backup for macOS.
When cloning macOS with the tool, it will clone system, applications and all data. Also, the cloned macOS drive will be bootable. In this way, you can easily migrate Mac operating system or back up entire Mac OS. Here is how to clone macOS with Donemax Disk Clone for Mac:
Step 1. Download and install the disk cloning software on the Mac. Start Donemax Disk Clone for Mac and change to the OS Clone mode. The tool will select the startup disk as the source automatically. Then select another drive as destiation.
📒 Note: Ensure the size of the destination disk is big enough to hold the cloned data. Use an empty disk as destination disk or back up data first. The cloning process will overwrite the destination disk.

Step 2. Click the button Clone Now to start. The software will start to clone everything from the startup disk to the destination disk.
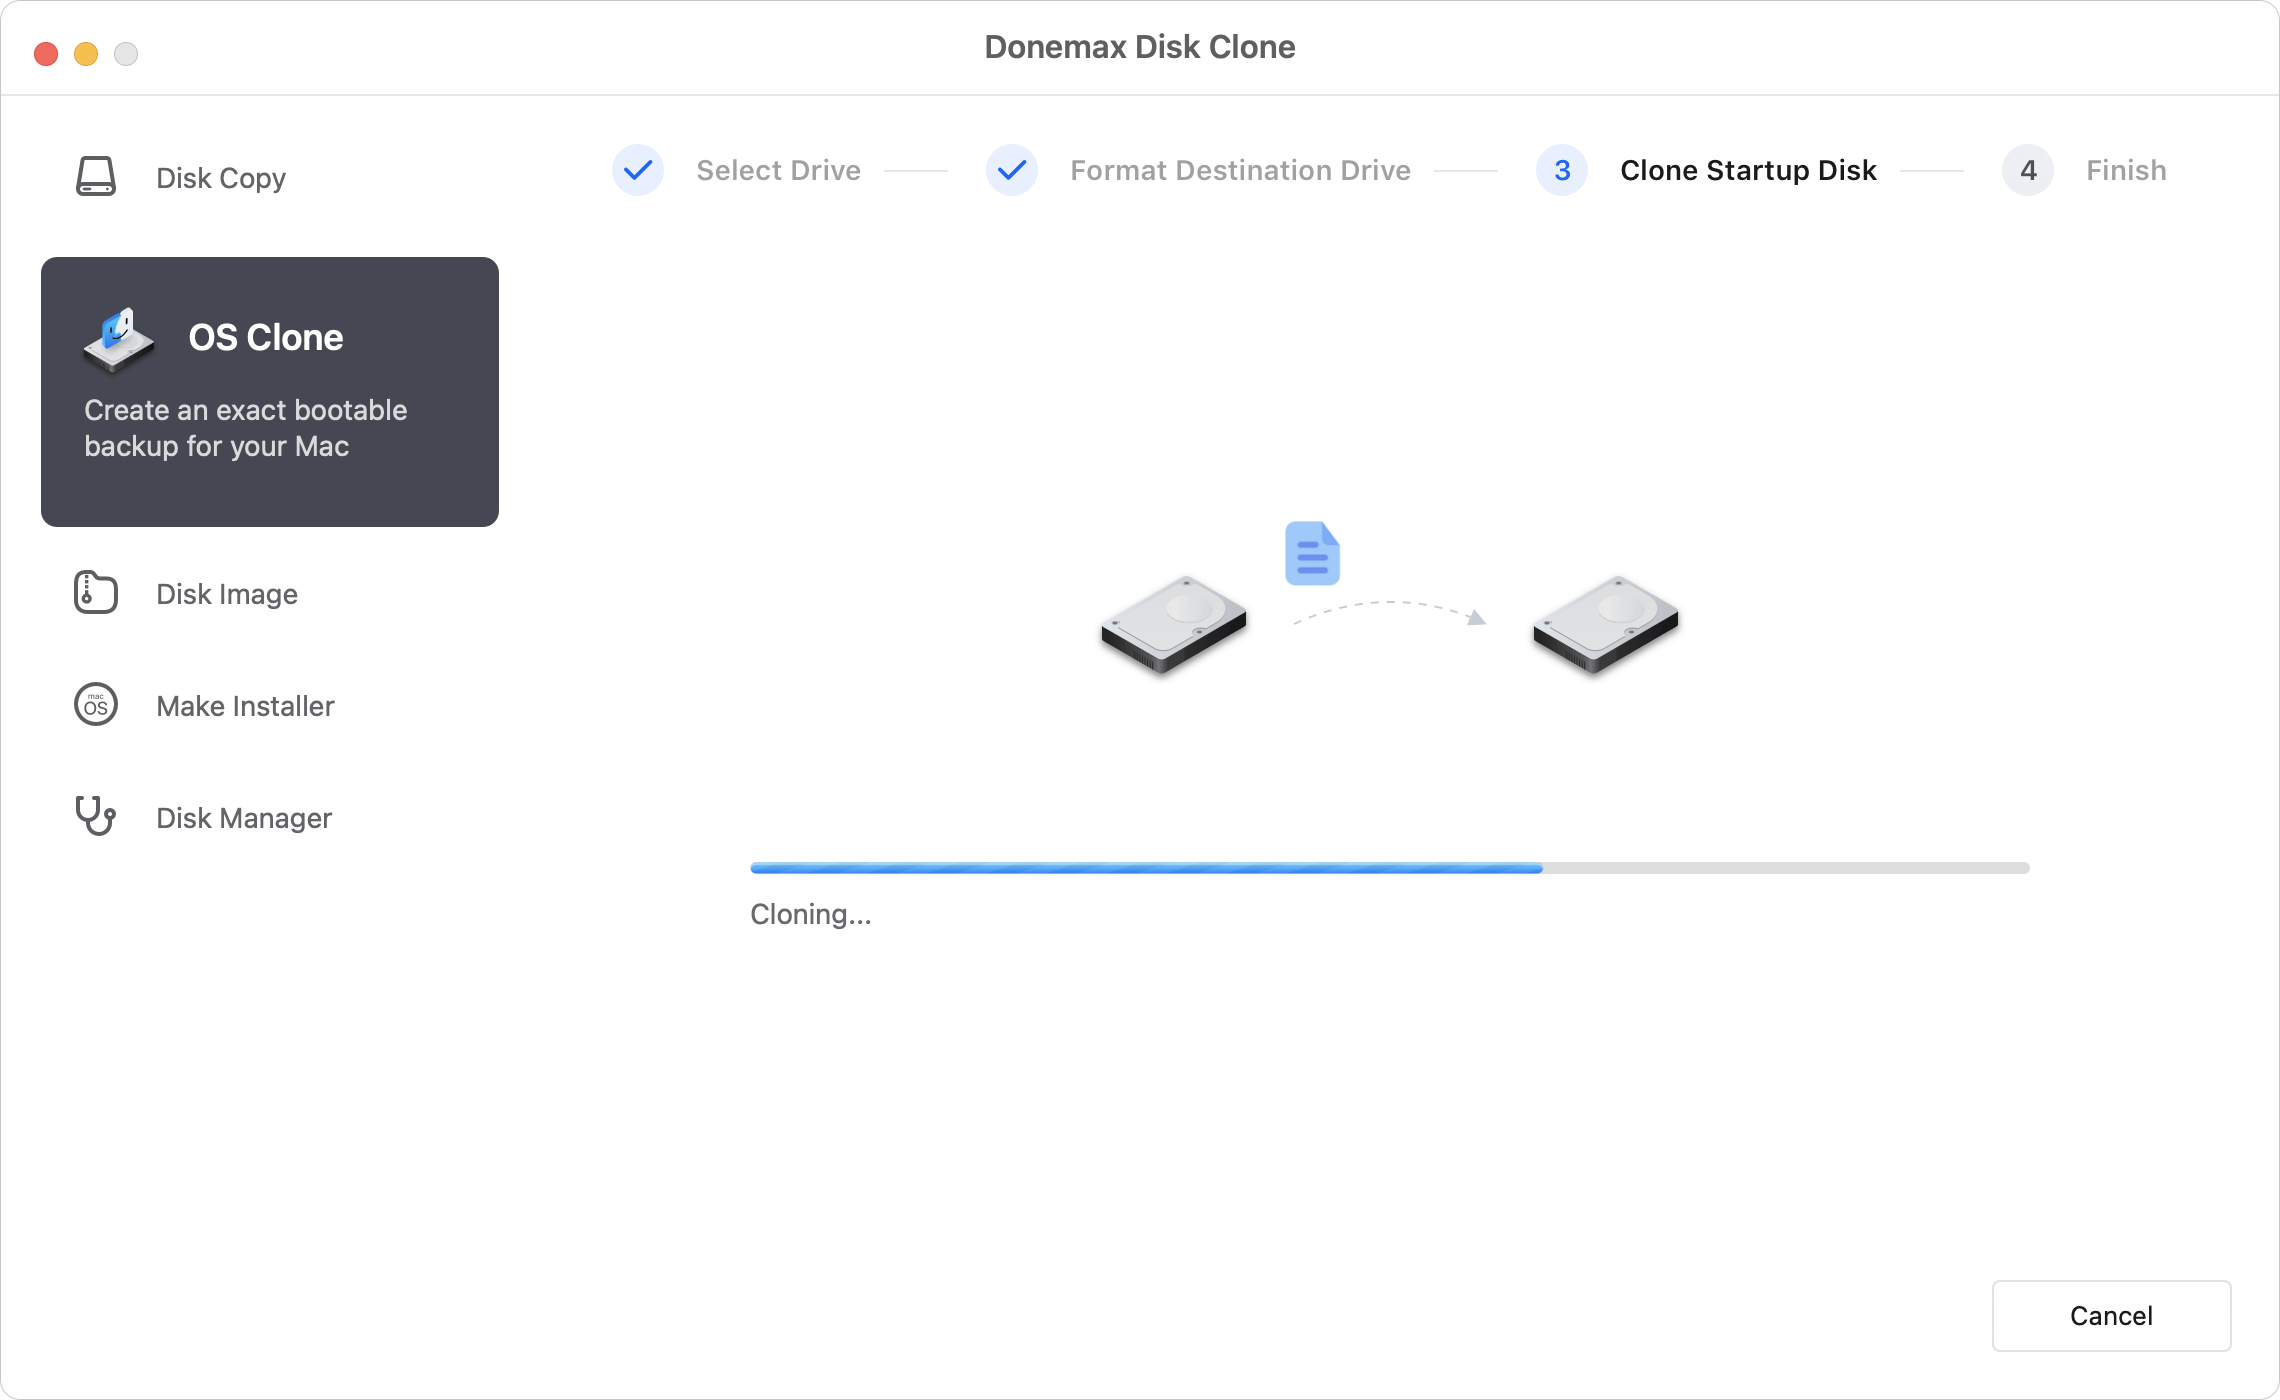
Step 3. It will take some time to finish depending on the size of the source disk. Once it's complete, all the system data, applications and personal data is cloned to the destination disk. The cloned disk is also bootable. You can test it by booting from the cloned disk directly.
Conclusion:
You may now difference between Time Machine and Migration Assistant. To back up your Mac, you can use Time Machine. And use that backup to bring your files and folders back to their previous state.
In contrast, a migration migrates. The program can transfer data across Macs. And you'd employ it to assemble a new Mac from the data of an old one.
Donemax Disk Clone for Mac
An award-winning disk cloning program to help Mac users clone HDD/SSD/external device. It also can create full bootable clone backup for Macs.
Related Articles
- Jul 15, 2024How to Create A Bootable Clone for macOS Ventura?
- Jun 24, 2026Can Donemax Disk Clone Create Bootable Clone for M5 Chip Mac?
- May 21, 2026How to Create a Bootable Backup Clone on MacBook Neo?
- Jun 16, 2023How to Clone Mac Hard Drive to External SSD? 2 Methods to Try
- Feb 12, 2026How to Install or Reinstall macOS?
- Jun 25, 2023The Best Way to Clone Hard Drive on macOS Monterey

Contributing Writer
Steven
Steven has been a senior writer & editor of Donemax software since 2020. He's a super nerd and can't imagine the life without a computer. Over 6 years of experience of writing technical solutions and software tesing, he is passionate about providing solutions and tips for Windows and Mac users.

Editor in chief
Gerhard Chou
In order to effectively solve the problems for our customers, every article and troubleshooting solution published on our website has been strictly tested and practiced. Our editors love researching and using computers and testing software, and are willing to help computer users with their problems