
Written byCoco LinUpdated on Dec 10, 2025
Clear Zoom Cache on Mac: Step-by-Step Guide
Approved byGerhard Chou
Before we start: To clear Zoom cache on Mac, the software Donemax DMcleaner for Mac is the best choice. It can also remove the other system and app junk data to free up space and speed up your Mac.
PAGE CONTENT:
Zoom has become an essential part of remote communication—whether you're hosting a team meeting, attending an online class, or catching up with friends and family. But just like any other app, Zoom on your Mac can run into performance issues. These problems are often caused by accumulated cache files, which, over time, can slow down the app, trigger login issues, or cause meeting failures.

If Zoom is lagging, freezing, or behaving unpredictably on your Mac, it might be time to clear Zoom cache on Mac. In this article, we'll explain what Zoom cache is, what problems it can cause, and how to clear it safely and completely on macOS.
What Is Zoom Cache?
Cache refers to temporary files that apps store on your device to improve performance and speed up load times. In the case of Zoom, the cache may include:
- Temporary meeting data
- Usage logs
- App configuration files
- Login tokens
- Media data like chat thumbnails or background filters
These files help Zoom open more quickly and resume tasks from where you left off. However, when cache files become too large or corrupted, they can cause the app to slow down or act strangely.
Where Is the Zoom Cache Stored on Mac?
On a Mac, Zoom stores its cache files in the Library folder, which is hidden by default. The full path typically looks like:
~/Library/Application Support/zoom.us/
Within this directory, you'll find various folders such as data, logs, and bin, each containing temporary files related to Zoom's operation.
Why Clear Zoom Cache on Mac?
Here are some common reasons to clear your Zoom cache:
- Performance issues – Zoom is lagging or crashing.
- Login problems – Can't sign in or stuck on loading.
- Settings not saving – Preferences revert after each session.
- App freezing or hanging – Especially when joining or hosting meetings.
- Storage concerns – Zoom is consuming too much disk space.
Regular cache cleanup can help keep your Zoom installation running smoothly and error-free.
When Should You Clear Zoom Cache?
You don't need to clear cache every day, but it's wise to do it:
- After a major Zoom update
- If the app becomes buggy or unresponsive
- Once every few months as part of regular Mac maintenance
- Before uninstalling/reinstalling Zoom
- If you're switching between multiple Zoom accounts
How to Clear Zoom Cache on Mac?
There are three primary ways to clear Zoom cache on a Mac introduced here in this guide. Let's walk through each method in detail.
Method 1: Clear Zoom Cache Manually via Finder
This is the most straightforward way to delete Zoom cache files on a Mac, and it's recommended for most users—even those with limited technical experience. This method involves navigating to a specific hidden folder using Finder and removing certain sub-folders that store cache and temporary data.
Step 1: Quit Zoom Completely
Before clearing Zoom's cache, it's critical to ensure that the app is not running in the background. If you attempt to delete cache files while Zoom is open, some of those files may be locked or automatically regenerated.
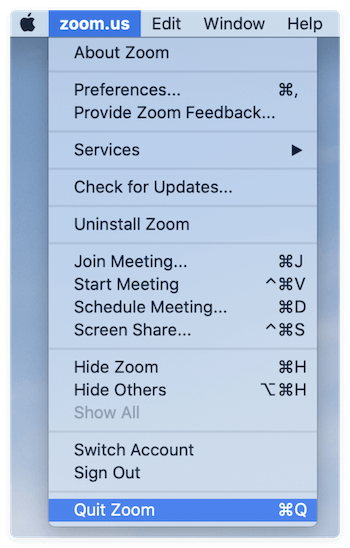
How to fully quit Zoom:
- Click the Zoom icon in the top menu bar (if visible) and choose Quit Zoom.
![clear Zoom cache on Mac]()
- Alternatively, right-click the Zoom icon in the Dock and select Quit.
![clear Zoom cache on Mac]()
- For extra safety, open Activity Monitor:
- Go to Applications > Utilities > Activity Monitor.
- Search for "Zoom" in the top-right corner.
- Select any active Zoom processes and click the "X" button to force quit them.
![clear Zoom cache on Mac]()

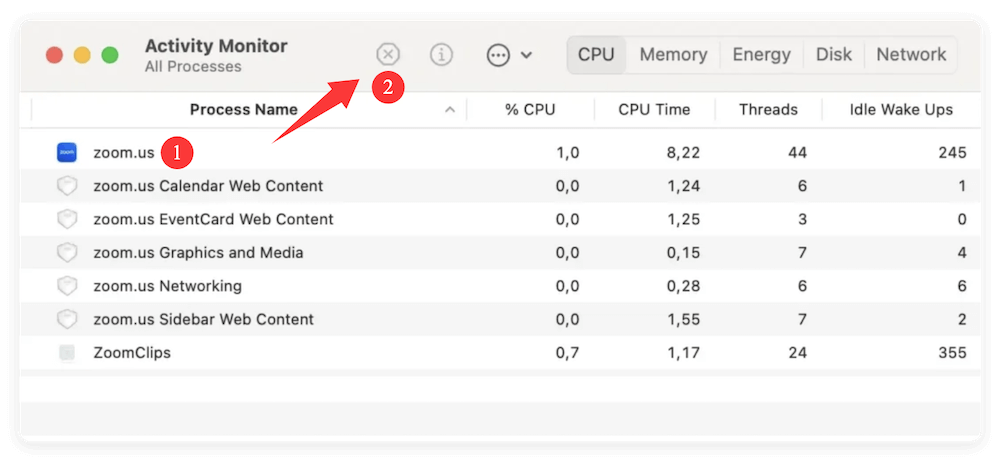
💡 Tip: Activity Monitor ensures no background processes are lingering that might prevent proper deletion.
Step 2: Open Finder and Go to Zoom's Support Folder
Now, access Zoom's support folder where it stores user-specific data, logs, and cached files:
- Open a new Finder window.
- In the menu bar at the top of the screen, click Go > Go to Folder.
- In the pop-up window, enter the following path:
~/Library/Application Support/zoom.us/
- Press Enter or click Go.
You'll be taken directly to the hidden Zoom support folder inside your Mac's Library directory. This location contains folders that Zoom uses to store temporary files for performance purposes.
Step 3: Identify and Delete Zoom Cache Folders
Inside the zoom.us folder, you will typically find several sub-folders:
- data – Temporary files such as chat media, user avatars, etc.
- logs – Debugging logs that Zoom stores during sessions.
- tmp – Short-term data from Zoom operations.
- bin – Additional compiled resources or update-related files.
What to do:
- Select the folders named data, logs, tmp, and bin.
- Right-click and choose Move to Trash (or simply press Command + Delete).
You can leave other folders, like ZoomAutoUpdater, untouched, as they are not part of the performance cache.
💡 Pro Tip: If you're not sure about deleting a folder, you can back it up by copying it to your Desktop before deleting. This way, you can restore it if needed.
Step 4: Empty the Trash
To fully remove these files from your system and free up disk space:
- Right-click the Trash icon in the Dock.
- Select Empty Trash.
- Confirm when prompted.
This ensures that Zoom's cache data is no longer occupying space on your SSD or interfering with the app's behavior.
Step 5: Relaunch Zoom and Test
Now, reopen Zoom either by clicking it from your Dock, Applications folder, or using Spotlight (Command + Space > type "Zoom").
The app will create a fresh set of cache files as needed, free from any corruption or bloat that might have existed before.
Use Cases Where This Method Shines:
- You experience constant "Zoom not responding" errors.
- The app won't load profile pictures or past chats.
- You've recently updated Zoom and now face performance issues.
- You're troubleshooting a black screen issue during screen sharing.
Method 2: Clear Zoom Cache Using Terminal (Advanced)
If you prefer using command-line tools or want to automate cache clearing, Terminal is a powerful option.
Step 1: Open Terminal
You can open Terminal via:
- Spotlight (Command + Space, then type "Terminal")
- Or from Applications > Utilities > Terminal
Step 2: Run Cache Deletion Commands
Paste the following commands to delete Zoom's cache folders:
rm -rf ~/Library/Application\ Support/zoom.us/data
rm -rf ~/Library/Application\ Support/zoom.us/tmp
rm -rf ~/Library/Application\ Support/zoom.us/logs
rm -rf ~/Library/Application\ Support/zoom.us/bin
You may be prompted to enter your Mac password (for admin rights).
💡 Caution: Be careful with the rm -rf command. Only run it if you are confident in the folder path. Mistakes can delete system-critical files.
Method 3: Use a Mac Cleaning App
For those who want an automated and safe way to clear not just Zoom's cache but also junk from other apps, a third-party Mac cleaner is a good option.
Donemax DMcleaner for for Mac is a comprehensive cleanup tool recommended. The software can only only clear Zoom cache on Mac, but also remove the other system/app junk data to speed up your Mac.
Donemax DMcleaner for Mac
- All-in-one Mac junk cleaner and optimization tool.
- Clean up all system/app junk data inside your Mac.
- Optimize and speed up slow Mac by 1-click.
How to Use Donemax DMcleaner for Mac?
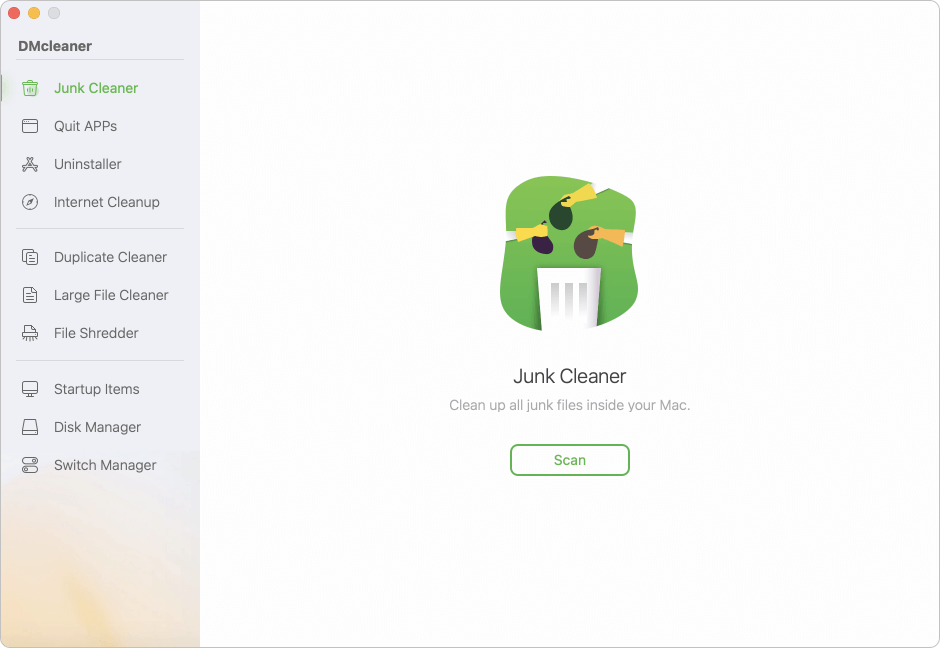
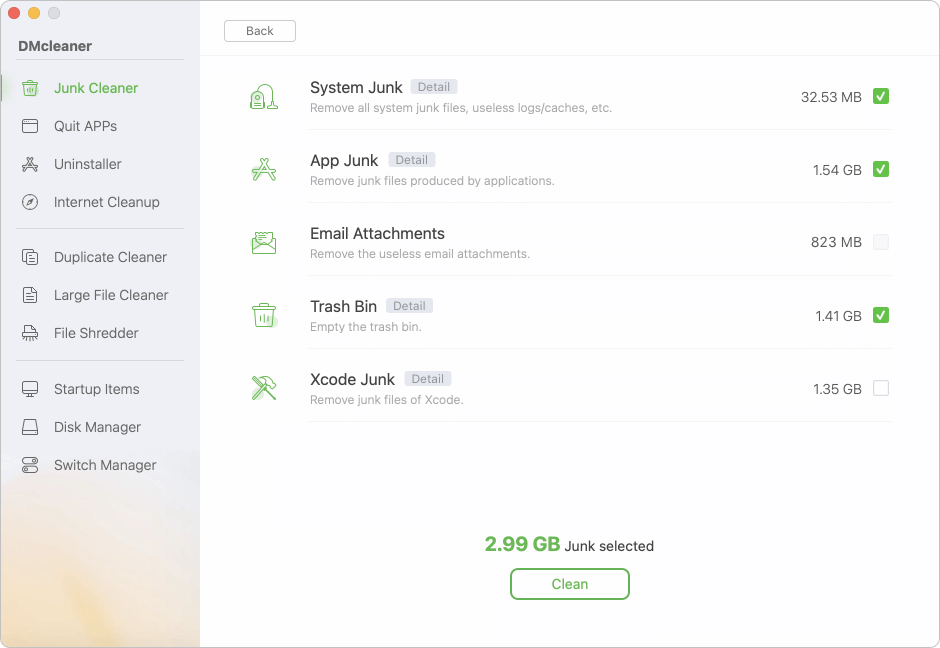
- Download and install the software on your Mac. Launch the app and select Junk Cleaner option.
![clear Zoom cache on Mac]()
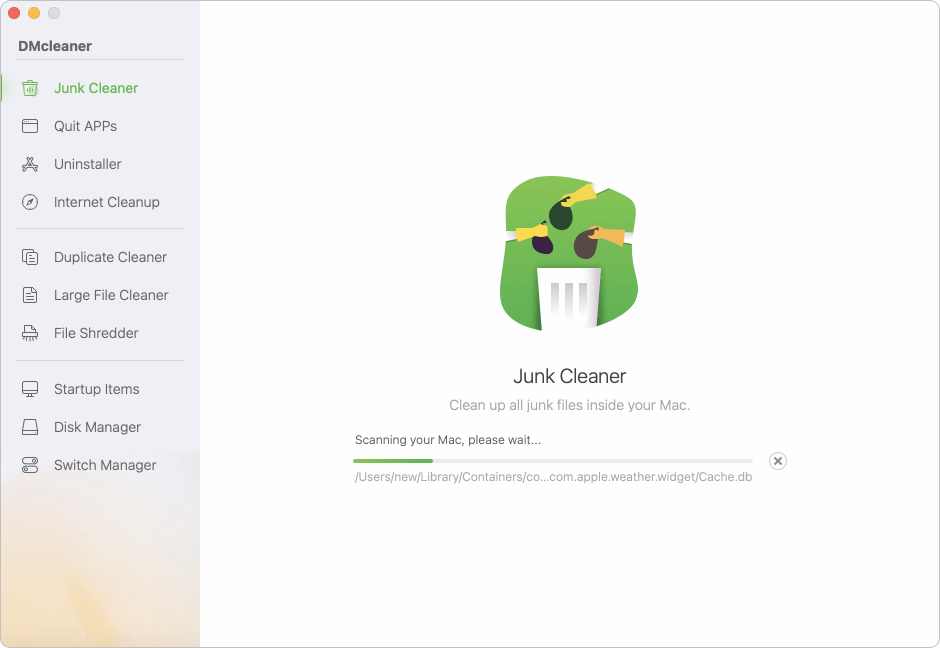
- Click Scan and the software will start to search for any system/app and other junk data on the Mac. Just wait for results.
![clear Zoom cache on Mac]()
- After the scanning is finished, you can then review the list and select Zoom-related caches under App Junk. You can click Detail to check and select. Click Clean to remove them.
![clear Zoom cache on Mac]()
These tools can also remove language files, system logs, and outdated cache from multiple apps at once.
What Happens After Clearing Zoom Cache?
Clearing the Zoom cache removes only temporary and unnecessary data. Here's what does NOT happen:
- You won't lose your Zoom account
- You won't lose upcoming scheduled meetings
- Your chat history in Zoom Cloud remains safe
- Zoom app will still remember saved credentials if you opted to store them in Keychain
In short, clearing cache is a safe maintenance task and won't affect your personal or professional data stored on Zoom servers.
Other Tips to Improve Zoom Performance on Mac
Clearing the cache is just one way to optimize Zoom. Consider these additional performance tips:
✦ Keep Zoom Updated: Outdated versions can cause compatibility issues. Always install the latest updates from Zoom's official website.
✦ Reboot Your Mac Regularly: Restarting your Mac clears temporary system cache and can resolve many performance issues.
✦ Free Up Disk Space: Low storage can slow down all apps, not just Zoom. Remove unused apps, files, and downloads.
✦ Disable Virtual Backgrounds (if not needed): These use more CPU/GPU and may cause Zoom to lag, especially on older Macs.
✦ Monitor Network Speed: Zoom relies heavily on your internet connection. Consider switching to Ethernet or using a better Wi-Fi router if needed.
FAQs about Clearing Zoom Cache on Mac
Yes, deleting Zoom cache files from your Library does not harm your Mac or Zoom installation. It removes temporary files only.
No, Zoom stores meetings, contacts, and other data in the cloud. Cache deletion will not affect your account.
Yes, using Mac cleaner apps like Donemax DMcleaner for Mac lets you automate cache cleanup for Zoom and other apps.
Try reinstalling Zoom, updating macOS, or checking your internet connection.
Conclusion
Zoom is an incredibly powerful app, but like any software, it can become sluggish or buggy over time—often due to a bloated or corrupted cache. By clearing the Zoom cache on your Mac, you can quickly resolve performance issues, login problems, and application crashes without losing any important data.
Whether you use Finder, Terminal, or a Mac cleaning utility, the process is simple and effective. Make it part of your regular maintenance routine to keep Zoom running smoothly for your virtual meetings and video calls.
Donemax DMcleaner for Mac
Donemax DMcleaner for Mac is an award-winning Mac cleanup & maintenance tool. It offers over 10 tools to help Mac users clean junk data. It helps speed up a slow Mac. Additionally, it includes a smart switch manager and disk manager for Mac.
Related Articles
- Dec 10, 2025What Is The Best Mac Junk Cleaner? [macOS Tahoe Supported]
- Apr 06, 2025Perform MacBook Pro Maintenance: A Comprehensive Guide
- Apr 22, 2026Clear Caches on Mac: A Complete Mac Cleanup Guide
- Jan 13, 2026How to Erase/Format a Hard Drive on Mac?
- Dec 11, 2025Delete YouTube Cookies and Cache on Mac
- Apr 29, 2025How to Uninstall Firefox on Mac? [Step-by-step Guide]

Contributing Writer
Coco Lin
Coco has been a writer and a chief programmer at Donemax software since 2018. Over 10 years of experience of writing troubleshooting articles in the software industry, she is passionate about programming and loves to providing solutions to Windows and Mac users. Also she enjoys music and palying tennis in her free time.

Editor in chief
Gerhard Chou
In order to effectively solve the problems for our customers, every article and troubleshooting solution published on our website has been strictly tested and practiced. Our editors love researching and using computers and testing software, and are willing to help computer users with their problems