PAGE CONTENT:
In today's digital workspace, capturing screenshots or snipping parts of your screen is an essential part of everyday productivity. Whether you're sharing a bug with tech support, saving a memorable moment from a video, or illustrating a tutorial, a good snipping tool can save you time and improve communication. macOS does come with built-in screen capture capabilities, but sometimes they fall short for more advanced needs. That's where third-party snipping tools for Mac come into play.
In this article, we'll explore the best snipping tools for Mac users. We'll cover the built-in options, review some of the most popular third-party applications, and help you decide which one suits your needs the best.
Built-in Snipping Features on macOS
macOS includes powerful native screenshot tools that many users overlook. Here's a breakdown of what macOS offers by default.
Features:
- Capture Full Screen: Command + Shift + 3
- Capture Selected Area: Command + Shift + 4
- Capture Window/Record Screen: Command + Shift + 5
- Quick Markup & Editing: After taking a screenshot, a thumbnail appears allowing for immediate edits.
Pros
- No need to install anything.
- Fast and efficient for basic needs.
- Seamlessly integrated with macOS features like Preview and Quick Look.
Cons
- Lacks advanced features like scrolling capture, cloud storage, or detailed annotations.
- No optical character recognition (OCR).
- Limited sharing options.
While native features are sufficient for quick tasks, many users turn to third-party tools for enhanced functionality.
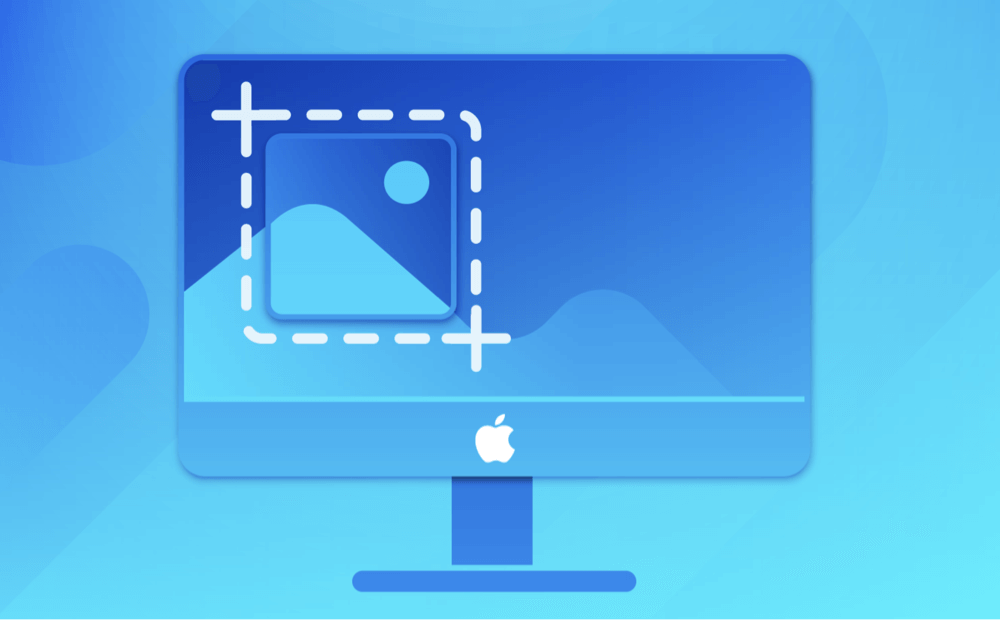
How to Take Screenshots on Mac
Check how to quickly take a screenshot on Mac using built-in features and third-party snipping tools
Top 8 Third-Party Snipping Tools for Mac
Here are the top third-party snipping tools for Mac, along with their standout features and best use cases.
1. CleanShot X
Overview:
CleanShot X is one of the most robust snipping tools available for macOS. It’s designed exclusively for Mac users and integrates well with the native environment while offering tons of powerful features.
Key Features:
- Scrolling screenshot
- Screen recording with audio
- Annotations and blur sensitive info
- CleanShot Cloud for easy sharing
- OCR to extract text from images
Pros
- Modern, intuitive interface
- All-in-one screenshot and screen recording solution
- Privacy-focused cloud uploads
Cons
- Paid software (one-time purchase + optional subscription for cloud storage)
Best For:
Developers, designers, marketers, and anyone who regularly creates and shares visuals.
2. Snagit

Overview:
Snagit by TechSmith is a powerhouse tool used widely by professionals, educators, and trainers. It's known for its rich editing suite and ability to create step-by-step visual guides.
Key Features:
- All-in-one capture: scrolling, panoramic, full screen
- Video recording with narration
- Annotation tools, arrows, and stamps
- Text extraction from images (OCR)
- Templates for creating tutorials and documentation
Pros
- Extremely versatile
- Ideal for technical documentation
- Continuous updates and support
Cons
- Expensive compared to competitors
- Some features may feel overkill for casual users
Best For:
Teachers, content creators, IT professionals, and trainers.
3. Skitch (by Evernote)

Overview:
Skitch is a simple and user-friendly snipping tool from Evernote. While it hasn't been updated recently, it remains popular due to its ease of use and tight integration with Evernote.
Key Features:
- Quick screenshots and annotations
- Drag-and-drop interface
- Integration with Evernote for saving notes
Pros
- Simple and fast
- Free
- Great for casual annotation tasks
Cons
- Lacks advanced features
- No longer actively developed
Best For:
Evernote users and casual Mac users looking for a quick annotation tool.
4. Lightshot

Overview:
Lightshot is a lightweight and free snipping tool ideal for users who just need basic screenshot functionality with quick sharing options.
Key Features:
- Capture selected area
- Basic annotation (arrows, lines, text)
- Upload screenshots online for easy sharing
- Search for similar images via Google
Pros
- Fast and lightweight
- Easy online sharing
- Free to use
Cons
- Minimal features
- Privacy concerns due to automatic uploads
Best For:
Students, bloggers, and casual users who want to share screenshots quickly.
5. Shottr

Overview:
Shottr is an ultra-light, native Mac snipping tool that's gaining popularity due to its speed and simplicity.
Key Features:
- Pixel-perfect screenshots
- OCR text recognition
- Scrolling capture
- Annotate, blur, and highlight
- Ultra-fast interface
Pros
- Free for personal use
- Native macOS performance
- Ideal for M1 and M2 Macs
Cons
- Limited advanced editing features
- Not suitable for high-end professional workflows
Best For:
Mac power users and developers looking for speed and simplicity.
6. Monosnap

Overview:
Monosnap caters to both everyday users and developers, with a balance between functionality and flexibility.
Key Features:
- Screenshot and video recording
- Cloud storage and sharing options
- FTP/SFTP upload
- Annotation tools
Pros
- Multiple storage destinations
- Versatile sharing options
- Free version available
Cons
- Some features require subscription
- UI can feel cluttered
Best For:
Remote workers, freelancers, and developers.
7. Droplr

Overview:
Droplr is a cloud-first snipping and screen recording tool designed for teams and businesses that rely on visual communication.
Key Features:
- Instant cloud upload and sharing
- Annotate images and videos
- Screen recording with webcam
- Team collaboration features
Pros
- Simple sharing via short links
- Business-friendly cloud infrastructure
- Centralized dashboard for teams
Cons
- Monthly subscription required
- Dependent on internet connection
Best For:
Remote teams, content creators, and enterprise environments.
8. Greenshot (macOS version)
Overview:
Greenshot is a beloved open-source snipping tool for Windows, with a basic macOS version that still serves many users well.
Key Features:
- Quick capture modes
- Simple editor for annotations
- Export to file or clipboard
Pros
- Open-source and free
- No learning curve
- Lightweight
Cons
- macOS version lacks many Windows features
- No cloud or sharing options
Best For:
Open-source fans and users who want a no-frills solution.
Comparison Table
| Tool | Price | Annotation | Cloud Sync | Screen Record | OCR | Best For |
|---|---|---|---|---|---|---|
| CleanShot X | Paid | Yes | Yes | Yes | Yes | Power users |
| Snagit | Paid | Yes | Yes | Yes | Yes | Professionals, Educators |
| Skitch | Free | Yes | Evernote | No | No | Casual Evernote users |
| Lightshot | Free | Basic | Yes | No | No | Quick sharing |
| Shottr | Free/Paid | Yes | No | No | Yes | Speed-focused users |
| Monosnap | Free/Paid | Yes | Yes | Yes | No | Remote workers, developers |
| Droplr | Subscription | Yes | Yes | Yes | No | Business teams |
| Greenshot | Free | Basic | No | No | No | Basic capture needs |
How to Choose the Best Mac Snipping Tool for Your Needs?
With so many great options, choosing the right snipping tool for Mac depends on your specific needs:
1. Use Case
Your intended use should guide your selection:
- Casual Use: If you only take occasional screenshots for personal use - like saving images, capturing part of a website, or sharing visuals with friends - then a simple, free tool like macOS's built-in Screenshot app or Snipaste is more than enough. These tools are lightweight, easy to use, and come with basic annotation features.
- Professional Use: Professionals, such as developers, designers, project managers, and marketers, often need advanced features like scrolling screenshots, screen recording with webcam overlays, or OCR. Tools like CleanShot X or Snagit offer a robust feature set that supports professional workflows, including the ability to share annotated visuals with teams, create tutorials, and store captures in the cloud.
- Educational Use: Teachers, students, and academic researchers may benefit from features like screen recording with voice narration, simple editing tools, and easy sharing. Tools like Droplr and ScreenRec provide streamlined workflows for quickly creating and distributing visual content, while still maintaining accessibility and affordability.
2. Feature Requirements
- Optical Character Recognition (OCR): If you frequently capture text from images, slides, or scanned documents, choose a snipping tool that supports OCR. This feature can save time by allowing you to extract text without retyping it. CleanShot X and Snagit are top choices with powerful OCR capabilities.
- Scrolling Capture: For web developers, UX designers, or anyone needing to capture full webpages or lengthy chats, scrolling capture is essential. Tools like CleanShot X and Snagit support this, unlike most free tools.
- Annotations and Editing: If you often need to add arrows, highlights, blur effects, or text, make sure the tool offers a strong built-in editor. Tools like Skitch, Monosnap, and Snagit are particularly good at this.
- Video Recording and Webcam Overlay: If you're creating instructional content, presentations, or troubleshooting videos, pick a tool that allows high-quality screen recording with webcam and microphone support. CleanShot X and Loom are excellent for these tasks.
- Instant Sharing and Cloud Sync: If you collaborate remotely, you'll appreciate tools with integrated cloud services that generate shareable links. Tools like Droplr, Loom, and CleanShot X have strong sharing features. Some even offer team dashboards for easier organization.
3. Budget Considerations
Your budget will naturally influence your decision. Here's a quick breakdown by category:
- Free Tools:
- macOS Screenshot Tool (built-in)
- Snipaste
- LightShot
- Monosnap (with some paid features)
These are suitable for light to moderate use, with basic annotation and screenshot functionality.
- One-Time Purchase:
- CleanShot X (~$29): Offers powerful features and lifetime access with no ongoing costs.
- Snagit (~$62.99): Premium and feature-rich, best suited for professionals needing advanced tools.
- Subscription-Based:
- Droplr (starts around $7/month)
- Loom (Pro version: ~$10/month)
- CleanShot Cloud Pro (optional, ~$8/month)
Subscription tools often include premium cloud storage, collaboration tools, and team features. They're ideal for businesses or content creators needing frequent updates and cloud integration.
- Enterprise Pricing:
- For large teams, look into volume licensing or enterprise tiers that include user management, analytics, and advanced security features.
4. Integration with Other Tools
The ability to integrate with your existing workflow and software stack can significantly enhance productivity:
- Slack: Tools like CleanShot X, Loom, and Droplr offer Slack integration, allowing you to instantly send annotated screenshots or recordings to your team channels.
- Project Management Tools: If you use Trello, Asana, or Jira, choosing a snipping tool that can export directly or generate shareable links helps document bugs or explain ideas quickly.
- Evernote/Notion: Some tools offer direct export or embed functionality for note-taking apps, helping educators, researchers, or students quickly organize their visual notes.
- Cloud Services: Choose tools that integrate with Dropbox, Google Drive, iCloud, or OneDrive if cloud syncing or backup is important. Monosnap and Droplr support various cloud integrations.
Conclusion
macOS users are lucky to have a wide range of snipping tools, from the built-in functionality to third-party solutions packed with professional features. If you're a casual user, Lightshot or Skitch may be all you need. But for power users, CleanShot X or Snagit provides a comprehensive experience.
Ultimately, the best snipping tool for Mac is the one that fits your workflow, feature needs, and budget. Try out a few - most have free trials or basic versions - before settling on the one that's right for you.
With the right tool in hand, you'll be able to communicate more clearly, work more efficiently, and share information faster than ever before.
Related Articles
- Aug 10, 2025How to Enable or Disable macOS Auto-Update?
- Sep 04, 2025How to Delete iOS Files on Mac?
- Oct 23, 2024How to Reinstall macOS Sequoia?
- Jun 20, 20257 Methods to Fix XprotectService High CPU Usage on Mac
- Apr 07, 2025[6 Fixes] Fix Macintosh HD Greyed Out in Disk Utility: Step-by-Step Guide
- Dec 25, 2024How to Resize and Partition SSD on Mac?

Maria
Maria is one of the senior writers & editors of Donemax who lives and works in Sydney, Australia. She loves PC, Mac and Internet Technology. She has 6 years of writing articles about data recovery on PC/Mac, disk cloning solution, data eraser and computer OS optimization, etc. She is also interested in testing various software and digital products.

Gerhard Chou
In order to effectively solve the problems for our customers, every article and troubleshooting solution published on our website has been strictly tested and practiced. Our editors love researching and using computers and testing software, and are willing to help computer users with their problems