
Written byLucienUpdated on Jun 30, 2026
Install Google Drive on Mac Without Wasting Disk Space
Approved byGerhard Chou
PAGE CONTENT:
Google Drive has become a go-to cloud storage solution for individuals, professionals, and organizations alike. With its seamless integration across devices, support for collaborative tools like Google Docs and Sheets, and robust syncing features, it simplifies file access and sharing. For Mac users, having Google Drive installed locally not only offers quick file access through Finder but also ensures documents are backed up in real-time.
This article will walk you through every step of installing Google Drive on a Mac, including system requirements, installation, configuration, and troubleshooting.
Google Drive for Mac System Requirements
Before diving into installation, it's essential to ensure that your Mac is compatible with Google Drive for Desktop (formerly known as Backup and Sync).
Minimum Requirements:
- macOS Version: macOS 11 (Big Sur) or later. As of 2025, Google Drive requires recent macOS versions for optimal performance.
- Processor: Intel or Apple Silicon (M1/M2/M3/M4/M5 chip)
- RAM: Minimum 4GB
- Storage: At least 500MB free for the app and additional space for cached files
- Internet: Stable broadband internet connection for syncing
If your Mac doesn't meet these requirements, you may face functionality issues or may not be able to install the app at all.
Downloading Google Drive for Desktop (Mac)
To ensure security and get the latest updates, download Google Drive from the official source.
Steps to Download:
- Open Safari or your preferred browser.
- Go to https://www.google.com/drive/download/
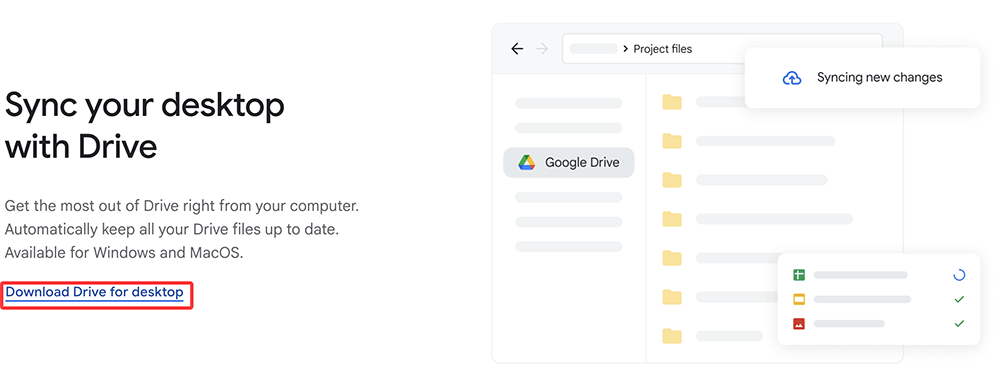
- Under "For Individuals," click "Download Drive for desktop" under the Mac section.
![Downloading Google Drive for Desktop]()
- The file named GoogleDrive.dmg will be saved in your Downloads folder.
💡 Note: Avoid third-party sites to prevent downloading malware or outdated versions.
Steps to Install Google Drive on Mac
Once the .dmg file is downloaded, follow these steps to install it:
Installation Instructions:
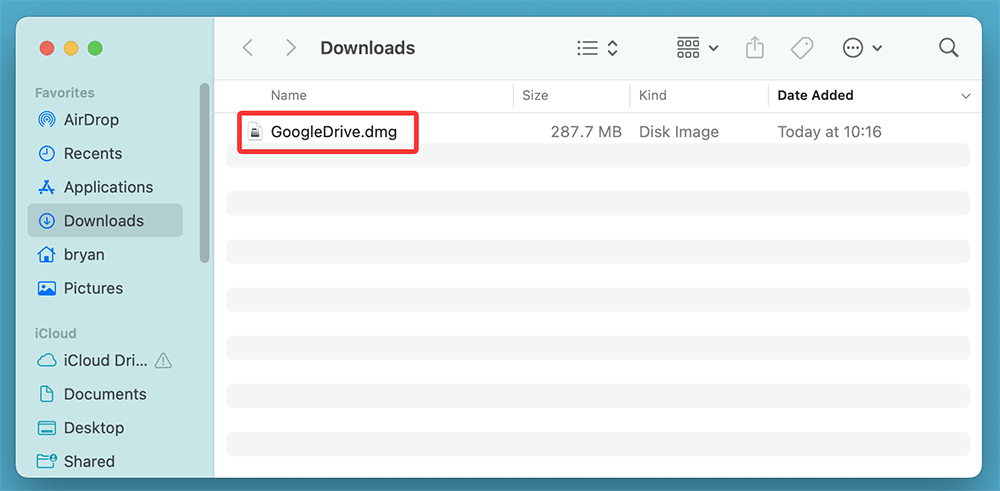
- Open Finder and navigate to the Downloads folder.
![Open Finder and navigate to the Downloads folder]()
- Double-click the GoogleDrive.dmg file to mount the disk image.
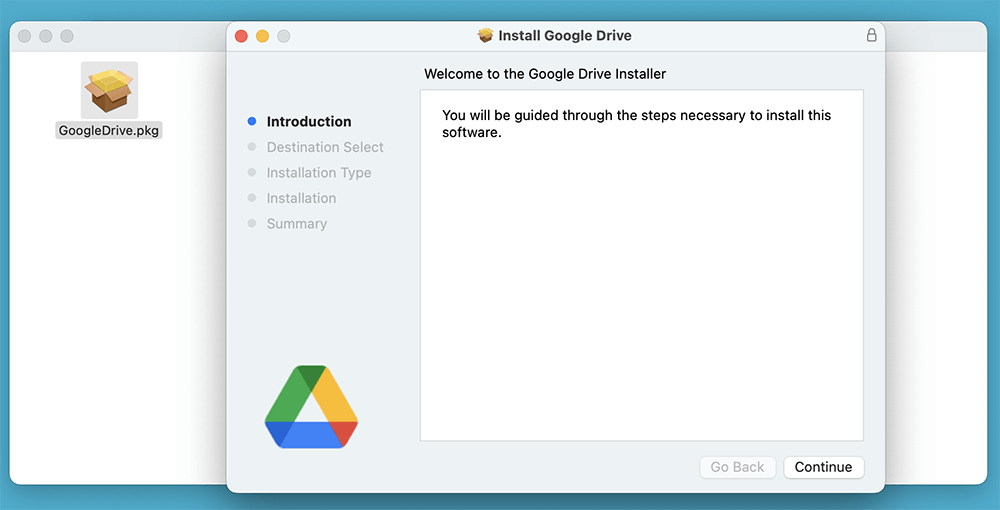
- Follow the onscreen instruction to install Google Drive on Mac.
![Follow the onscreen instruction to install Google Drive on Mac]()
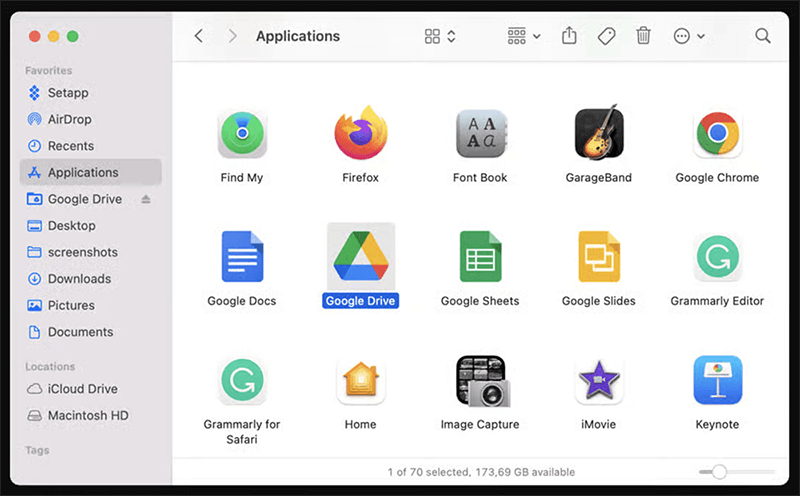
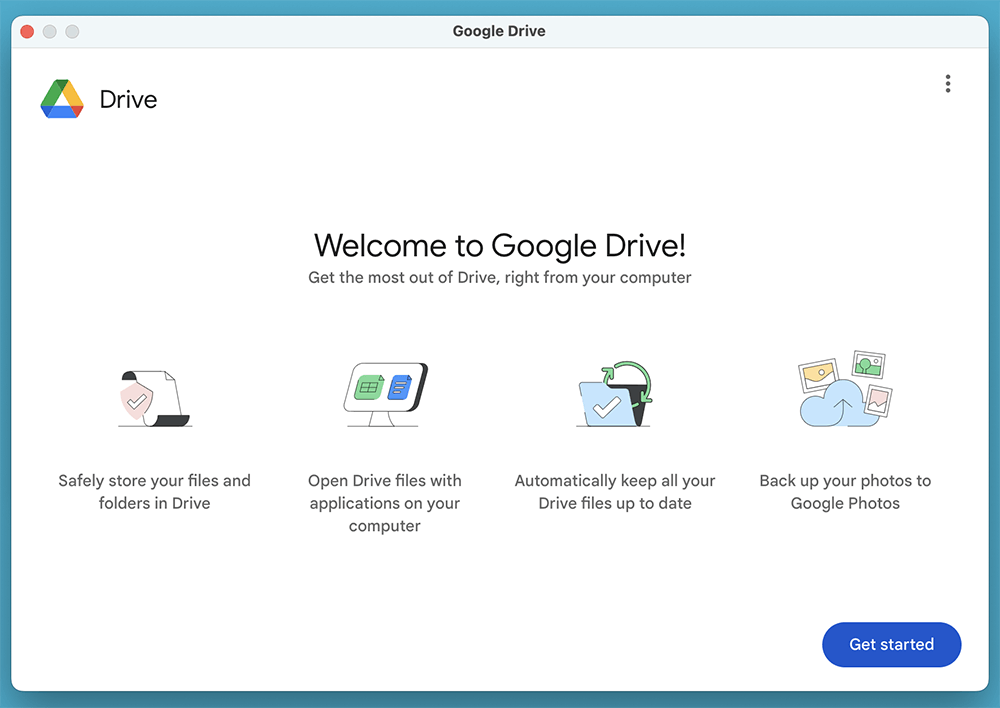
- Open the Applications folder and double-click Google Drive to launch it.
![Open the Applications folder and double-click Google Drive to launch it]()
First-Time Setup Prompts:
- macOS may show a warning that the app was downloaded from the internet.
- Click Open to proceed.
- You may be asked to allow permissions related to File Access and System Events. Grant these to ensure smooth syncing.
Steps to Set Up Google Drive on Mac
Once you've successfully installed Google Drive and launched the application, the next critical step is setting it up for your workflow. This phase includes signing in, choosing your sync preferences, and tailoring settings to fit your needs.
Step 1: Sign in with Your Google Account
After launching the Google Drive app for the first time:
- A browser window will open automatically prompting you to sign in to your Google account.
- Enter your Gmail or Google Workspace credentials.
- After logging in, you'll be asked to grant Google Drive for Desktop permission to access your Drive files and manage sync settings.
- Click Allow to proceed.
Step 2: Choose Your Sync Mode
One of the most important decisions during setup is selecting how files should be synced between your Mac and Google Drive. Google Drive for Desktop offers two sync modes:
Option 1: Stream Files (Recommended for Most Users)
- Description: Files are stored primarily in the cloud and downloaded on demand when you open or edit them.
- Benefits:
- Saves local storage space.
- Access up-to-date files instantly from the cloud.
- Cached files are available offline temporarily.
- Best For: Users with limited disk space or those who mostly work online.
Option 2: Mirror Files
- Description: Google Drive creates a full local copy of your My Drive content on your Mac.
- Benefits:
- All files are available offline.
- Faster access without needing to wait for downloads.
- Downsides:
- Uses significant disk space.
- Best For: Users who need constant offline access (e.g., traveling frequently or with unreliable internet).
You can change this setting later by:
- Opening the menu bar icon
- Clicking the gear icon → Preferences → Google Drive → Syncing options
Step 3: Select Folders to Sync from Mac (Optional)
If you want to back up folders from your Mac to Google Drive, such as Desktop, Documents, or Pictures, follow these steps:
- Open Google Drive preferences.
- Go to the My Mac section.
- Click Add folder.
- Choose the folder (e.g., Documents) you want to back up.
- Choose whether to:
- Back up to Google Drive (accessible under "Computers" in your Drive)
- Back up to Google Photos (for images/videos)
This feature works one-way: your Mac folders are uploaded to Google Drive, but changes made in Google Drive won't affect the originals on your Mac unless you manually re-download them.
Step 4: Configure Startup and Network Preferences
Fine-tune how Google Drive behaves by adjusting preferences:
- Launch at startup: Enable this if you want Drive to start syncing automatically when your Mac boots.
- Notifications: Set up alerts for sync errors or file changes.
- Bandwidth limits:
- Go to Preferences → Network Settings.
- Limit upload/download speeds if you’re on a limited connection.
Step 5: Grant macOS Permissions
Google Drive may request permissions to function correctly:
- Full Disk Access: Required to sync certain folders like Documents or Desktop.
- Accessibility Access: Allows the app to control certain interface elements, such as menu bar access.
To grant permissions:
- Go to System Settings → Privacy & Security.
- Scroll to Full Disk Access and Files and Folders.
- Enable access for Google Drive.
If permissions are not granted, syncing and file visibility may be limited or blocked entirely.
After completing all steps, the Drive app will start syncing in the background. You'll see the Google Drive folder in Finder. Files and folders will start appearing based on your selected sync mode.
At this point, you can begin working with your Google Drive files directly through Finder, with real-time syncing and version tracking in place.
Google Drive on Mac Common Issues and Troubleshooting
While Google Drive for Desktop is generally reliable, you may occasionally run into issues. Here are solutions to the most common problems:
1. Google Drive Not Launching
- Cause: macOS Gatekeeper or permissions.
- Fix: Open System Preferences > Security & Privacy > General, then click "Open Anyway" if Drive is blocked.
2. Drive Folder Not Appearing in Finder
- Restart your Mac.
- Reopen Google Drive from the Applications folder.
- Ensure the "Show Google Drive in Finder" option is enabled in Preferences.
3. Syncing Not Working
- Fix: Check your internet connection.
- Pause and resume syncing from the menu bar.
- Ensure no file exceeds Google Drive's 5TB single-file limit.
- Check if there are special characters in file names (e.g., ?, *, /) that can interrupt syncing.
4. App Crashing
- Delete and reinstall the app:
- Quit Google Drive.
- Delete the app from Applications.
- Re-download from the official website and install again.
5. File Access Denied
- Open System Settings > Privacy & Security > Files and Folders.
- Ensure Google Drive is allowed access to the necessary folders.
Tips for Using Google Drive Efficiently on Mac
Maximize productivity and reduce clutter with these usage tips:
Use Offline Mode
- Enable offline mode to access Google Docs, Sheets, and Slides without internet.
- Go to [Google Docs > Settings > Offline] and enable the option.
Right-Click Actions
- Quickly share files, get shareable links, or open in Google Docs directly from Finder using right-click.
Keyboard Shortcuts
- Cmd + Shift + G in Finder can be used to go directly to ~/Google Drive.
Use Multiple Accounts
- Google Drive for Desktop supports adding multiple Google accounts.
- Open Preferences, click Add account, and follow the same setup process.
Auto-Start on Login
- Ensure Google Drive starts automatically:
- Go to System Settings > Users & Groups > Login Items.
- Add Google Drive to the list.
Conclusion
Installing Google Drive on your Mac is a straightforward process that brings powerful cloud storage right into your desktop environment. Whether you're a student needing quick access to class files or a professional syncing team documents, the Drive for Desktop app ensures seamless integration with Finder and provides a reliable syncing experience.
From installation to advanced usage, this guide has walked you through every step you need to start using Google Drive on your Mac like a pro. Should you run into any trouble, Google's support resources and Drive's in-app troubleshooting tools are always available to assist.
For more in-depth help, you can always visit the Google Drive Help Center.
Donemax DMcleaner for Mac
The powerful, safe and easy-to-use Mac cleaning & maintenance application. It offers 10 tools such as junk cleaner, duplicate finder, file shredder, switch manager to help clean up junk data, speed up slow Mac and manage files & disks, etc.
Related Articles
- Apr 01, 2025How to Use Seagate Ultra Compact SSD on Mac?
- Nov 13, 2024Clean Install macOS Mojave: The Guide for a Fresh Mac Experience
- Apr 11, 2025Fix com.apple.DiskManagement.disenter error 49180 on Mac
- Mar 21, 2025[8 Fixes] Fix Seagate Ultra Compact SSD Not Mounting on Mac
- Feb 22, 2025Memory Card Not Working on Mac? Fix It Without Losing Data
- Mar 30, 20265 Ways to Format or Wipe a USB Drive on Mac

Contributing Writer
Lucien
Lucien is a writer and a chief programmer of Donemax software who has worked in the company for 5+ years. He has written much of the content on the site and devotes to providing troubleshooting and solution for Windows and Mac users including disk cloning, data recovery, migration, eraser, error fixes.

Editor in chief
Gerhard Chou
In order to effectively solve the problems for our customers, every article and troubleshooting solution published on our website has been strictly tested and practiced. Our editors love researching and using computers and testing software, and are willing to help computer users with their problems