
Written byCharlesUpdated on Jul 01, 2026
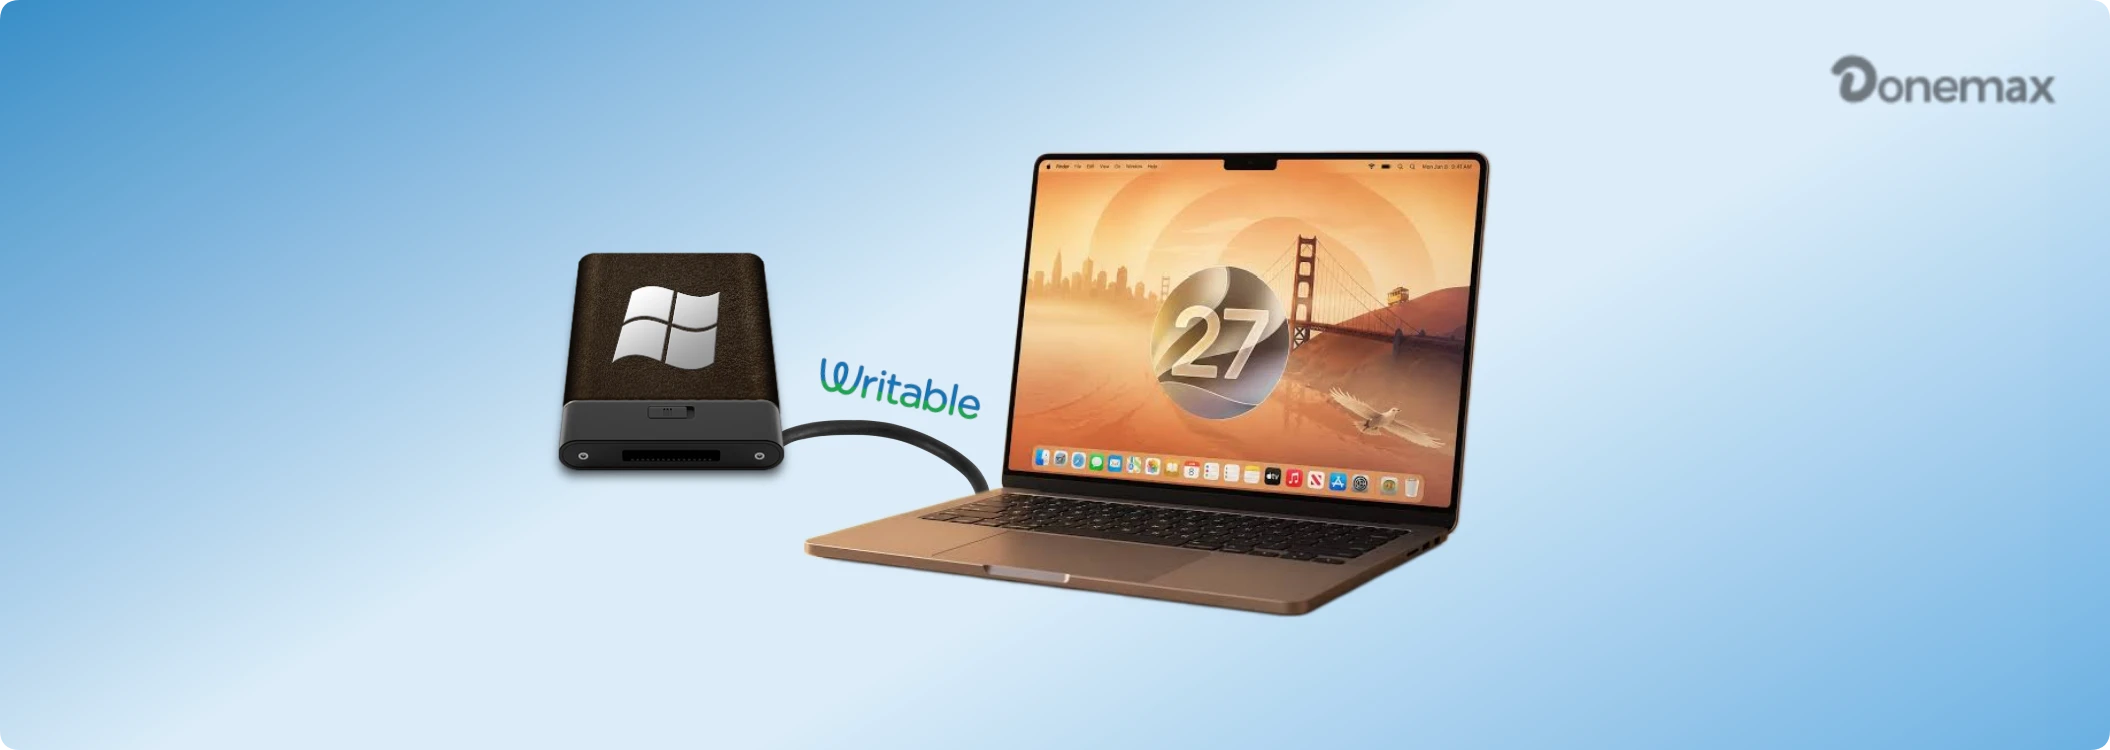
NTFS Driver for macOS 27: Read and Write NTFS Drives Easily
Approved byGerhard Chou
Before we start: If you are facing the issue cannot write to NTFS drive on macOS 27 Golden Gate, don't panic. It is completely normal. By default, Apple's operating systems have never allowed users to write data to NTFS drives directly out of the box. They only let you look at the files. You can use Donemax NTFS for Mac to make the NTFS drive writable on macOS 27.
PAGE CONTENT:
Have you just updated your Mac to the beautiful new macOS 27 Golden Gate? You plug in your reliable NTFS external hard drive or USB thumb drive to copy some important files over, but something feels wrong. You can open your files, view your photos, and read your documents perfectly fine. But when you try to drag a new file into the drive, or edit an existing one, nothing happens. The option to paste or save is completely missing.
Fortunately, resolving this conflict is simple. All you need is a reliable NTFS driver for macOS 27 Golden Gate to unlock full read-write access. In this comprehensive guide, we will walk you through exactly why this happens and show you the easiest way to solve it without compromising your Mac's built-in security.
Why Can't macOS 27 Golden Gate Write to NTFS Drives?
To understand why this happens, we need to talk briefly about file systems. Think of a file system as an organizational method for a hard drive. Windows computers primarily rely on a format called NTFS (New Technology File System). It is robust, fast, and handles massive file sizes beautifully.
On the other side of the fence, Apple uses its own proprietary formats, mainly APFS (Apple File System) for modern macOS versions. Because these systems are built by different companies, they do not speak the same language fluently.
When you plug a Windows-formatted NTFS drive into macOS 27 Golden Gate, the system understands how to read the data so you can access your work. However, Apple disables the write capability to prevent potential data corruption or compatibility bugs. This cross-platform limitation can be an enormous headache if you constantly switch between Windows PCs at the office and your Mac at home.
The Challenge with Traditional NTFS for Mac Solutions
In the past, advanced users would look for workarounds to force macOS to write to NTFS drives. Some would open the Terminal app and type complex command lines to activate a hidden, experimental feature inside Apple's operating system. Others would download complicated open-source utilities.
However, with modern operating systems like macOS 27 Golden Gate, Apple has significantly tightened its security framework to shield users from malware and system stability issues. Trying to use old manual workarounds can be incredibly risky. A single mistyped command in the Terminal could accidentally wipe your external hard drive or crash your operating system.
Furthermore, many older third-party utility tools require you to shut down your Mac, boot up into Recovery Mode, and lower your system security policies just to install a basic driver. For everyday users who just want to move their family photos or work assignments, this process is intimidating, tedious, and unsafe.
Make NTFS Drive Writable on macOS 27 with Donemax NTFS for Mac
If you want a safe, smooth, and incredibly easy fix, using a dedicated tool like Donemax NTFS for Mac is the way to go. Donemax has developed a highly optimized NTFS driver for macOS 27 Golden Gate that bridges the gap between Windows and Apple seamlessly.
What makes Donemax stand out from the crowd is its absolute simplicity. It was designed from the ground up for regular folks who do not want to deal with complex tech jargon or complicated installation processes.
With Donemax, you get lightning-fast read and write speeds that feel just as fast as using a native Mac-formatted drive. You can seamlessly drag and drop files, create new folders, modify documents, and safely eject your drive without a single hitch.
Why Donemax is Perfect for macOS 27 Golden Gate
When comparing Donemax to other software alternatives on the market, several major benefits stand out clearly:
- No Changes to Security Policies: Unlike traditional drivers, Donemax works perfectly right after installation. You do not have to restart your computer in Recovery Mode or change your Mac's secure system integrity policies.
- User-Friendly Interface: The interface is remarkably clean, intuitive, and distraction-free. You do not need any special technical knowledge to handle your storage drives.
- Blazing Fast Performance: Donemax delivers super-fast transfer rates. Whether you are transferring 4K video projects or thousands of small documents, the process finishes in seconds.
- Full Compatibility: It fully supports the latest macOS 27 Golden Gate operating system, ensuring perfect stability and preventing your external drives from experiencing unexpected disconnection issues.
Step-by-Step Guide: How to Use Donemax NTFS for Mac
Ready to get started? Unlocking your external hard drive with Donemax takes less than a couple of minutes. Just follow these simple steps below:
Step 1: Download the installation package for Donemax NTFS for Mac. Double-click the downloaded file and follow the straightforward on-screen instructions to install it onto your Mac. Take your NTFS external hard drive or USB flash drive and plug it into your Mac computer.
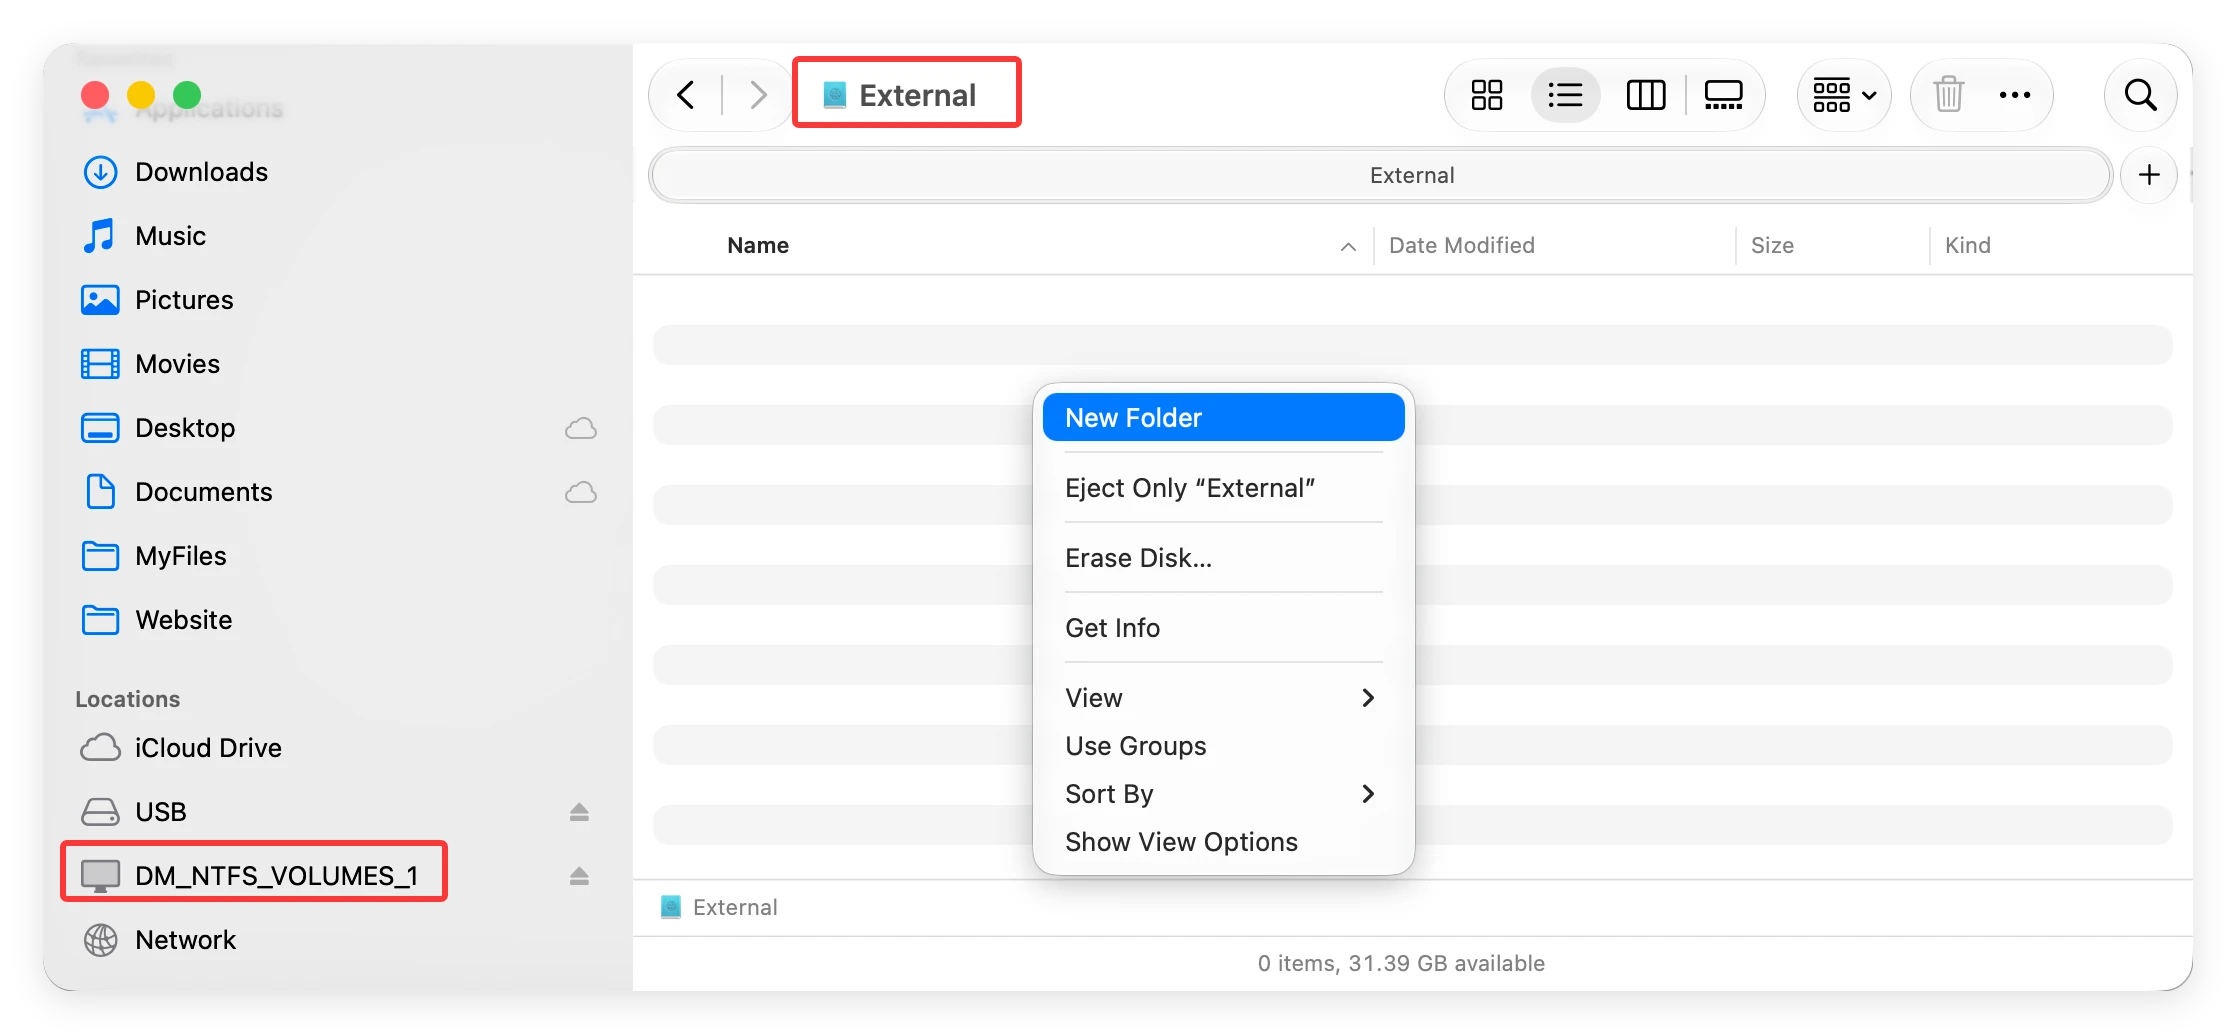
Step 2: Launch the Donemax application from your Applications folder. You will see a list of all connected drives on the left panel. Simply select your NTFS drive and click the Enable Writable button. The software will instantly grant your Mac full access to modify everything on the drive.

Step 3: Once enabled, you can minimize the app and use your NTFS drive exactly like a normal Mac drive. Feel free to copy, edit, delete, and save files directly to it whenever you want.
💡 Tip: How to make NTFS drive auto-mounted? The software can only mount NTFS drive while it's running. If you don't want to ran the software each time manually to make NTFS drive writable, you can add the software to login items. Then it can open at start up and auto mount NTFS drive as writable.
Frequently Asked Questions (FAQs)
Yes, it is entirely safe if you use a trusted software program like Donemax NTFS for Mac. It provides a stable environment that securely transfers your data without any risk of corruption. Avoid using outdated manual terminal commands, as those can put your files at risk.
No, you do not. One of the best advantages of Donemax NTFS for Mac is that it bypasses the annoying requirement to enter Recovery Mode. You do not need to modify your Mac's default system security settings at all. It installs cleanly and works immediately.
Yes, Donemax NTFS for Mac includes built-in disk management tools. If you have an old drive formatted for Mac and want to change it to NTFS so it can work perfectly on Windows computers, Donemax can help you format it with just a single click.
Not at all. Donemax utilizes a high-speed driver engine that matches the native data transfer performance of your Mac. You will enjoy rapid speeds whether you are reading from or writing to the external storage device.
Without an NTFS driver, your Mac will treat the drive as a 'Read-Only' device. You can open files and copy them onto your Mac's desktop, but you will be completely blocked from adding new files, editing documents, or deleting anything stored on that drive.
Wrapping Up
Discovering that you cannot write to your external hard drive after updating to macOS 27 Golden Gate can be incredibly annoying. Fortunately, it is a very common issue with a very straightforward answer. You do not need to be a software wizard or risk your system security with dangerous terminal codes to fix it.
By downloading Donemax NTFS for Mac, you can instantly break down the barrier between Windows and Mac file systems. It gives you the freedom to read and write to any NTFS drive effortlessly, saving you valuable time and eliminating technical frustration. Download Donemax today and get back to managing your files with ease!
Related Articles
- Jan 30, 2024How to Fix Toshiba External Hard Drive Read-Only on Mac?
- Jan 22, 2026How to Format an APFS Drive to NTFS on Mac?
- Dec 25, 2024NTFS Extension for Mac, NTFS Driver for Mac, NTFS Plugin for Mac
- Dec 03, 2024How to Format a Seagate or WD External Hard Drive to NTFS on Mac?
- Dec 18, 2024How to Mount BOOTCAMP NTFS Partition with Read-Write Access?
- May 19, 2025Fix External Hard Drive Read-Only on M1 Chip Mac

Contributing Writer
Charles
Charles, who lives in Sydney, Australia, is an editor & writer of Donemax Team. He is good at writing articles related with Apple Mac computers, Windows operating systems, data recovery, data erasure, disk clone and data backup, etc. He loves reading and playing tennis in his spare time and is interested in testing new digital devices such as mobile phones, Macs, HDDs, SSDs, digital cameras, etc.

Editor in chief
Gerhard Chou
In order to effectively solve the problems for our customers, every article and troubleshooting solution published on our website has been strictly tested and practiced. Our editors love researching and using computers and testing software, and are willing to help computer users with their problems