
Written byChristinaUpdated on May 14, 2026
Why Internal Drives Fail Without Warning and How to Protect Data
Approved byGerhard Chou
Before we start: To avoid data loss and decrease the down time after internal hard drive failure, it's important to create a full clone for your internal drive. You can use Donemax Disk Clone to clone and back up your data and system.
PAGE CONTENT:
We've all been there—you're in the middle of a project, and suddenly, the spinning wheel of death appears. Or worse, the screen goes black. An internal hard drive can fail at any time without warning. It's a gut-wrenching moment because, unlike a car that might squeak before the brakes go, a modern SSD or HDD often dies in total silence.

Once that hardware is damaged or the system crashes, you aren't just looking at lost files; you're looking at a massive restoration project. Reinstalling the operating system and reconfiguring your entire software environment—the plugins, passwords, and custom settings—often takes dozens of hours.
In this guide, we'll dive into the "why" behind these internal hard drive failures and, more importantly, the professional logic used to ensure you never lose a second of productivity.
The Hidden Reality of Data Loss
Why do we emphasize "without warning"? Because statistics tell a grim story. According to hard drive reliability reports from companies like Backblaze, about 35% of data loss originates from system-level disasters. These aren't just "deleted files"; these are catastrophic failures where the computer simply refuses to wake up.
In these scenarios, traditional cloud backups or simple file copying are fundamentally incapable of system disaster recovery productivity within a short period of time. This is where the concept of a "Backup Avatar" comes in.
The "One-Click Self-Rescue": Disk Cloning
Compared to inefficient file-by-file backups, directly cloning your internal disk to an external one is the only true "one-click self-rescue" solution. It completely mirrors your system, settings, and programs, instantly turning your external disk into a ready-to-boot "backup avatar". If your internal drive dies, you simply plug in your clone and boot from it. You are back to work in minutes, not days.
The Professional Logic of Cloning
If you want to do this like a pro, you need to follow a specific four-step logic to ensure the data integrity of your "avatar".
Step 1. Preparing the "Container" and "Channel"
Cloning isn't just a fancy "copy and paste"; it is a block-level data migration.
- Capacity Parity: The total capacity of the external disk must be greater than or equal to the used space of the internal disk.
- The Channel: Use a USB 3.1/3.2 or Thunderbolt interface to ensure the transmission efficiency of hundreds of gigabytes of data.
Step 2. Environment Switching
Cloning an active operating system from within that same operating system can sometimes encounter conflicts with files being occupied.
- Mount & Format: Ensure the system identifies the external disk; for macOS, ensure the format is compatible (e.g., APFS).
- Silence the Background: Close all heavy software. Changes in the temporary cache during the process might lead to checksum errors in the final image.
Step 3. Execute the Disk Cloning
To ensure absolute safety and simplicity, we recommend Donemax Disk Clone. Why choose this software?
- Deep Optimization: It is optimized for macOS disk permissions and handles complex boot volume mounting for Apple Silicon chips automatically.
- Zero Learning Curve: It simplifies complex terminal logic into three steps: "Select Source Disk - Select Target Disk - Start".
- All-in-One Utility: Beyond system migration, it provides sector-level disk erasure to securely clear old data after your clone is complete.
Here is how to make an exact clone for your internal hard drive with the software:
1. Download the software and install it on your computer.
Donemax Disk Clone
- Most reliable disk cloning software to Windows and Mac.
- Create an exact copy of your hard drive with all data.
- Make a full and bootable clone backup for system.
2. Run the software and choose Disk Clone option (OS Clone for Mac version). Choose the internal system disk as source and another external disk as target. To clone each sector, tick "Sector by sector clone."

3. After clicking the Next button, you can preview the disk layout before executing the cloning process. If you want, you can edit the layout of the destination disk depending on your needs. If the target drive is an SSD, tick "Check the option if the destination is SSD."

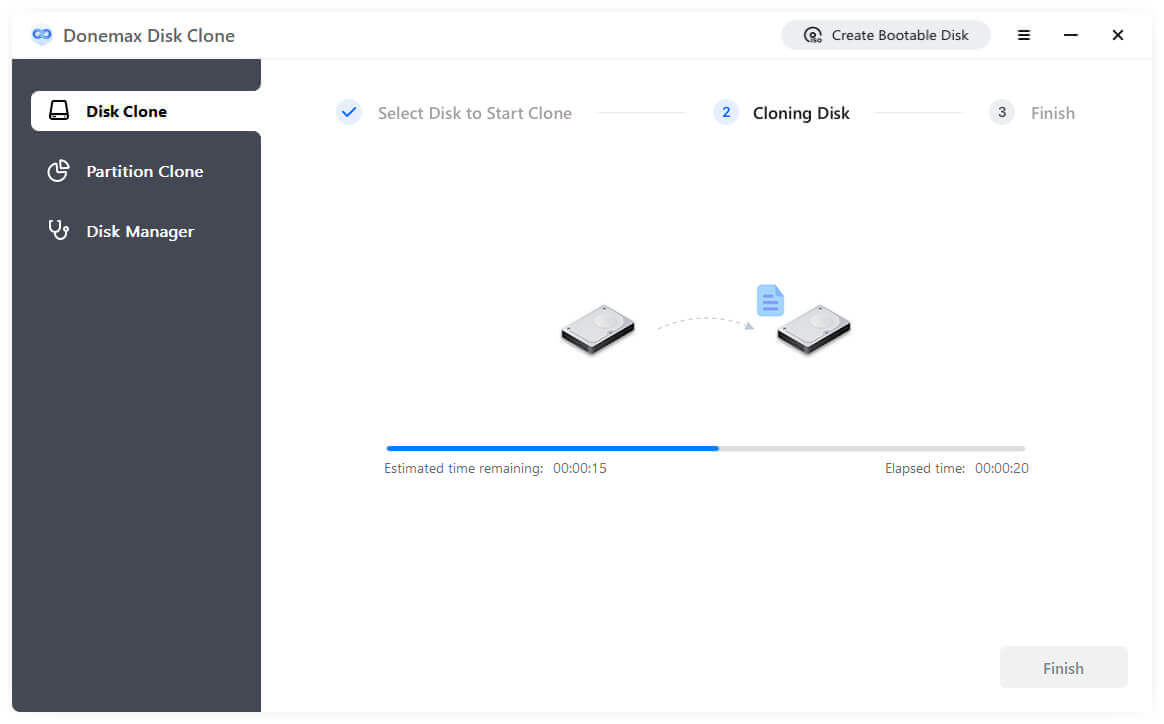
4. Click the Clone button and the software will start to cloning the internal drive to the external drive.
Step 4. The Boot Test: Validating Your Avatar
After cloning is complete, you must verify the "avatar" by restarting the computer and entering the startup options:
- Windows: Usually, press and hold F1, F2, F10, F12, Esc or others upon startup.
- Apple Silicon Macs: Press and hold the power button until "Loading startup options" appears.
- Intel-chip Macs: Press and hold the Option (Alt) key upon startup.
Create Sector-Level Backup on Mac (Advanced)
With the goal of precisely synchronizing every bit of data from the internal disk to the external disk, you can make a sector by sector clone. While GUI tools are convenient, using terminal commands (taking macOS as an example) allows you to see the underlying logic more intuitively:
Step 1. Locate the Disk Identifier: Open the terminal and enter diskutil list. Accurately identify the internal disk (usually /dev/disk0) and the target external disk (for example, /dev/disk4).
💡 Note: Once the wrong target disk identifier is entered, data will be irreversibly erased.
Step 2. Execute the Clone Command: Use the asr (Apple Software Restore) command for volume replication; it is lower-level than a common cp and supports boot block repair: sudo asr restore --source /dev/disk0s2 --target /dev/disk4s2 --erase
- --source: The path to the source disk.
- --target: The path to the target external disk.
- --erase: Instructs the system to erase the target disk before performing the block-level replication.
Step 3. Verify Integrity: As the command executes, the system will calculate the checksum of the source disk and compare it with the data written to the external disk, ensuring there are no write failures caused by bad sectors.
💡 Caution: Using the terminal carries an extremely high risk of accidentally erasing data if an incorrect disk identifier is entered.
FAQs about Internal Hard Drive Failure
It is best to "silence the background". Closing heavy software prevents cache changes that could lead to checksum errors or a corrupted clone.
Cloning requires the source drive to be readable. If your drive has already failed without warning, you may need data recovery. This is why creating a "backup avatar" before failure is the best insurance.
A backup saves files; a clone mirrors the entire system, settings, and programs, making it ready to boot immediately.
This often happens due to incorrect formatting or security settings. Professional tools like Donemax Disk Clone automate the complex mounting process to avoid these boot failures.
Conclusion
An internal hard drive failure doesn't have to be a digital catastrophe. By understanding that hardware can fail without warning and that traditional backups often fall short during system-level disasters, you can take a proactive stance.
Whether you are upgrading your hardware or simply safeguarding your work, creating a bootable "backup avatar" through disk cloning is the most reliable way to ensure you can recover in minutes. For a balance of professional-grade precision and home-user simplicity, leveraging a tool like Donemax Disk Clone provides the ultimate peace of mind for every heavy digital user.
Donemax Disk Clone
An award-winning disk cloning program to help Windows users and Mac users clone HDD/SSD/external device. It also can create full bootable clone backup for Windows PCs and Macs.
Related Articles
- Jun 06, 2025How to Use KIOXIA Portable SSD on Mac?
- Jul 01, 2024How to Format and Unformat XQD Card on Windows PC or Mac?
- Dec 25, 2024External Hard Drive Is Not Mounting on macOS Catalina: Fix It Now
- Nov 18, 2024External Hard Drive Not Working on M4 Mac, Fix It Now
- Feb 21, 2025How to Fix Overheated Hard Drive?
- Dec 12, 20244 Methods to Fix Seagate External Hard Drive Read-Only on Mac

Contributing Writer
Christina
Christina is the senior editor of Donemax software who has worked in the company for 4+ years. She mainly writes the guides and solutions about data erasure, data transferring, data recovery and disk cloning to help users get the most out of their Windows and Mac. She likes to travel, enjoy country music and play games in her spare time.

Editor in chief
Gerhard Chou
In order to effectively solve the problems for our customers, every article and troubleshooting solution published on our website has been strictly tested and practiced. Our editors love researching and using computers and testing software, and are willing to help computer users with their problems