
Written byStevenUpdated on Feb 10, 2026
How to Clone HFS/HFS+ Hard Drive on Mac?
Approved byGerhard Chou
Before we start: To clone HFS/HFS+ hard drive on Mac, you can choose Disk Utility which is macOS built-in tool. If you need advanced features and make bootable clone for HFS/HFS+ Mac drive, using Donemax Disk Clone for Mac instead.
PAGE CONTENT:
HFS and HFS+ are old file systems for Mac. However, they are still used by some users on old Mac system. Also, some external storage devices use HFS/HFS+ file system. In some case, it's necessary to clone HFS/HFS+ hard drive on Mac.
When there are issues with the HFS/HFS+ hard drive, you need to clone the drive to another one to save the important data. Cloning HFS/HFS+ hard drive is another way to back up the data on the drive. Before upgrading the macOS, you may also clone the HFS/HFS+ system drive in case there are issues during macOS upgrading.
There are several methods available to clone HFS/HFS+ drive. From the macOS built-in tool to third-party Mac disk cloning software. This guide will introduce different methods to clone HFS/HFS+ hard drive in detail steps.
Clone HFS/HFS+ hard drive using Disk Utility on Mac
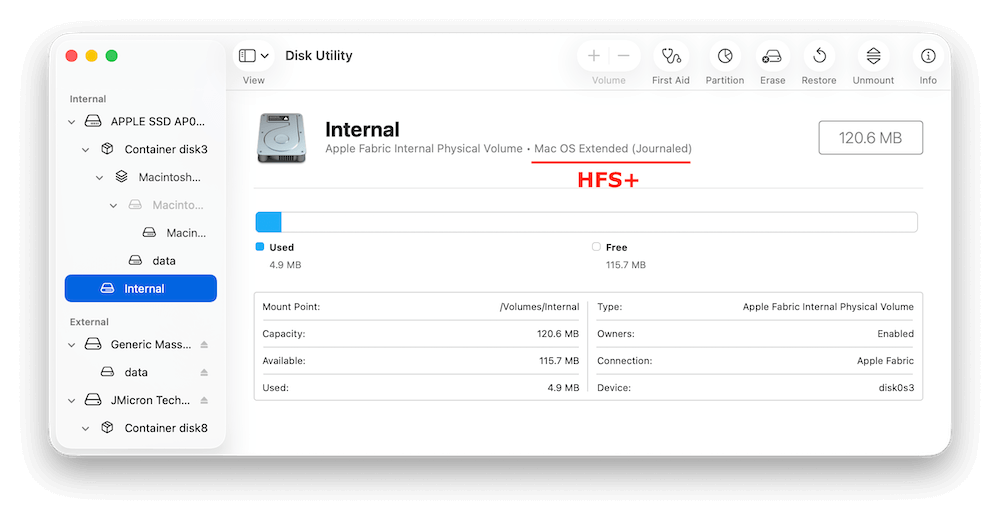
The first choice might be Disk Utility for many Mac users to clone HFS/HFS+ hard drive on Mac. This Mac disk management tool offers a simple way to clone hard drive. To clone HFS/HFS+ hard drive, first check and confirm which is the drive you want to clone.
Open Disk Utility from Applications → Utilities folder. Click a drive from the left sidebar, then you will see the file system information. If you see "Mac OS Extended," it's HFS+ file system.
Then you can follow the steps below to start cloning the HFS or HFS+ hard drive to another drive.
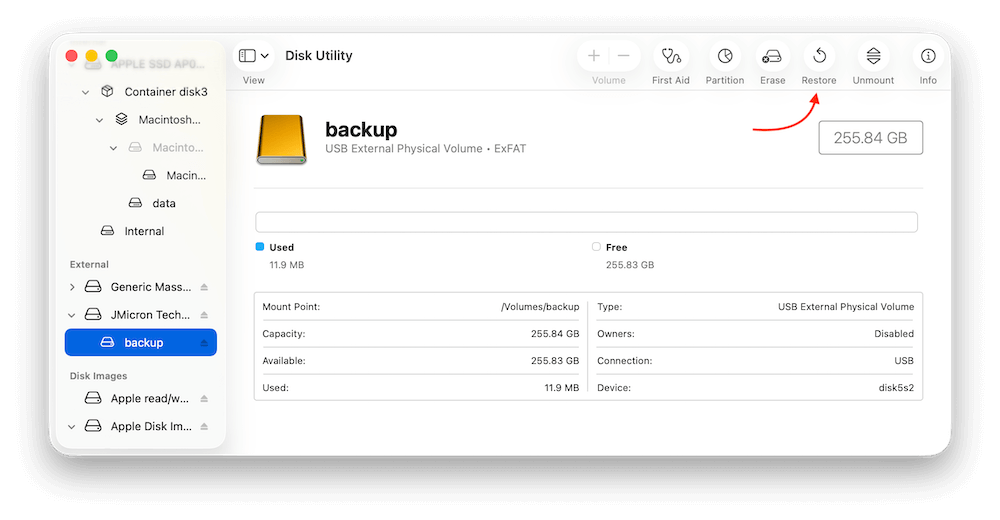
Step 1: Connect an external hard drive to Mac and select it. Then click the Restore option at the top corner of the Disk Utility's window.
💡 Note: The destination drive will be overwritten, so use an empty drive as destination.
Step 2. A popup window will appear. There you can select the HFS/HFS+ drive in the drop-down menu of "Restore from:" field. Click the Restore button to start cloning the HFS/HFS+ hard drive to the target disk.
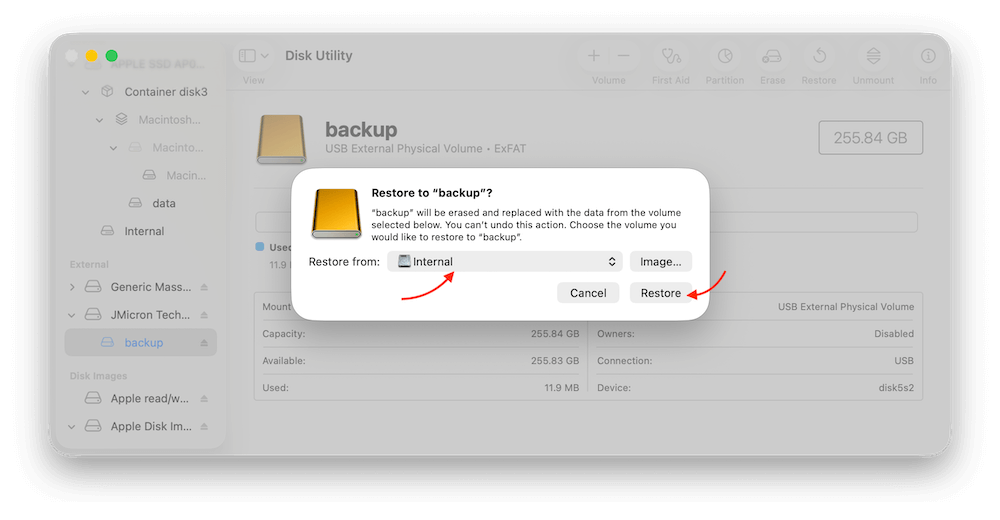
It will take a while if the source disk is big and too much data. Check the destination disk after the disk cloning process is done. If the source HFS/HFS+ drive is a startup disk on Mac, this method cannot guarantee the cloned drive is bootable. To create a bootable clone for Mac system drive, you may have to try other tools, like Donemax Disk Clone for Mac.
Clone HFS/HFS+ Hard Drive with Cloning Software on Mac
To copy HFS/HFS+ hard drive on Mac more effectively, you might look for a good third-party disk clone software. Donemax Disk Clone for Mac is one of the best HFS/HFS+ disk cloning software which is fully compatible with macOS and OS X. It supports to clone SSD, HDD, USB drive, memory card on Mac. When you need to clone a HFS/HFS+ hard drive on Mac, just download and install it on your Mac.
Donemax Disk Clone for Mac
- Support cloning HFS/HFS+, APFS, exFAT, FAT32, etc.
- Make an exact copy of data from your hard drive on Mac.
- Create bootable and full clone backup for Mac hard drive.
HFS/HFS+ are old file systems of OS X. Some of hard drives are still using HFS/HFS+ file system. When you are going to clone a HFS/HFS+ hard drive, just run Donemax Disk Clone for Mac from Launchpad or Applications, then choose a mode to help you securely and easily clone the HFS/HFS+ hard drive.
Mode 1: Copy HFS/HFS+ hard drive data on Mac.
Disk Copy - choose this mode and copy HFS/HFS+ hard drive on Mac. It is a quick and secure process. Then, you need to follow these steps:
Step 1: Choose the source and destination drive.
Just choose the source drive and the destination drive. Select the HFS/HFS+ hard drive as the source drive and you need to select a destination drive.
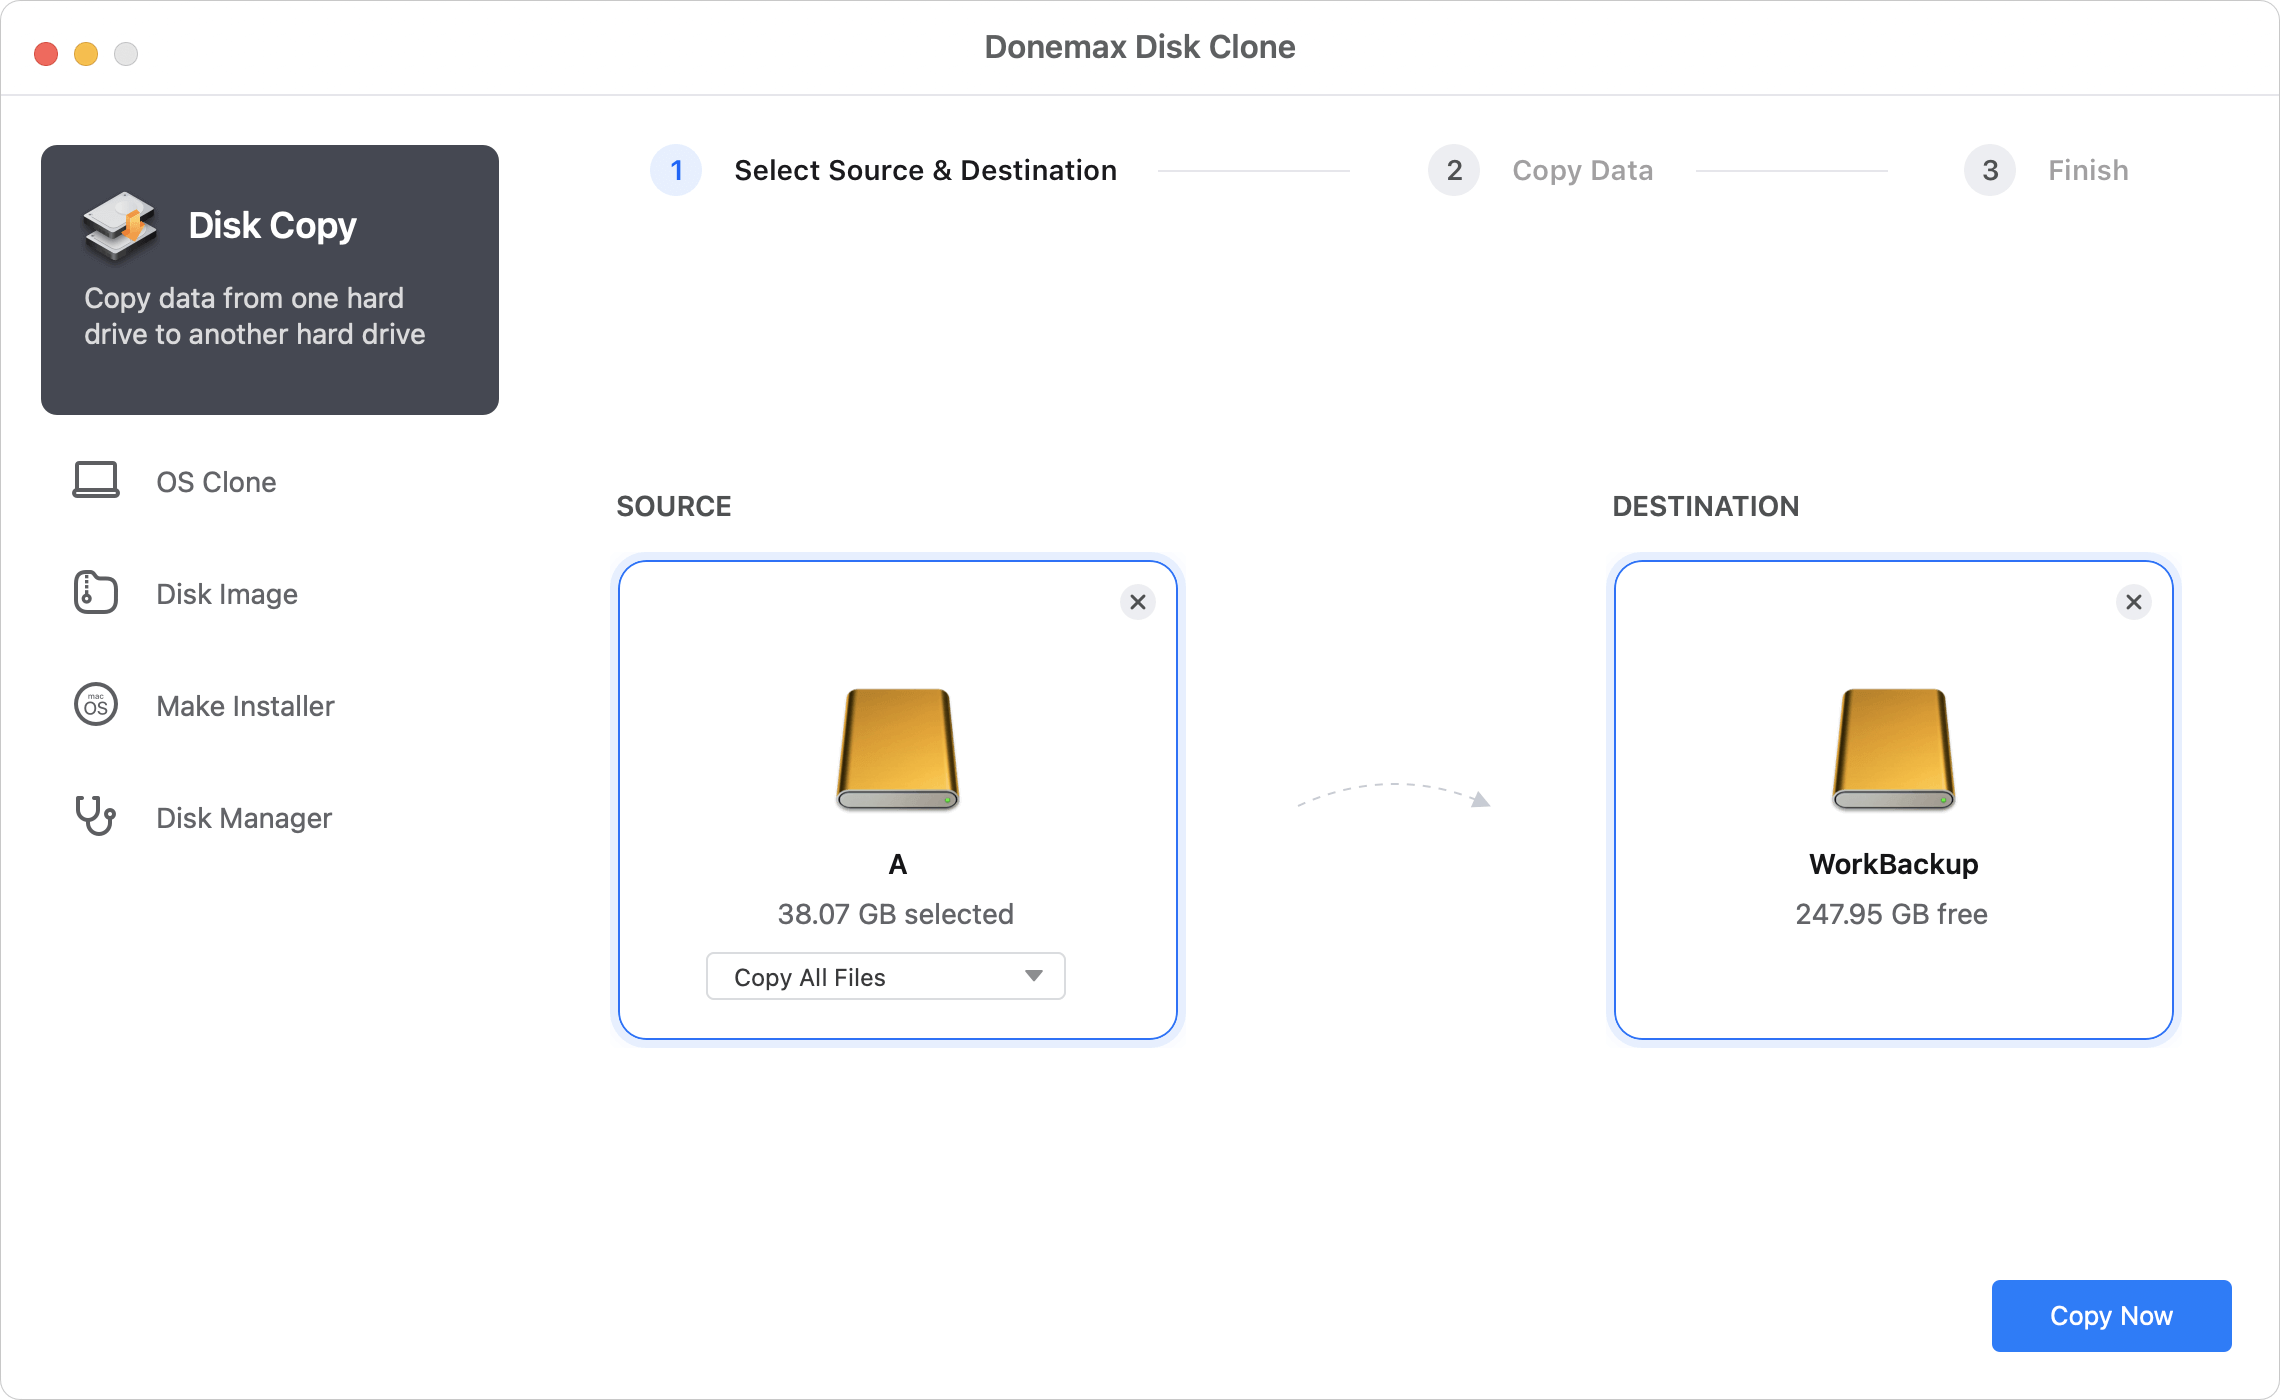
Step 2: Clone HFS/HFS+ hard drive on Mac.
Here, you have to click on Copy Now button and Donemax Disk Clone for Mac will clone HFS/HFS+ hard drive on Mac to the destination drive.
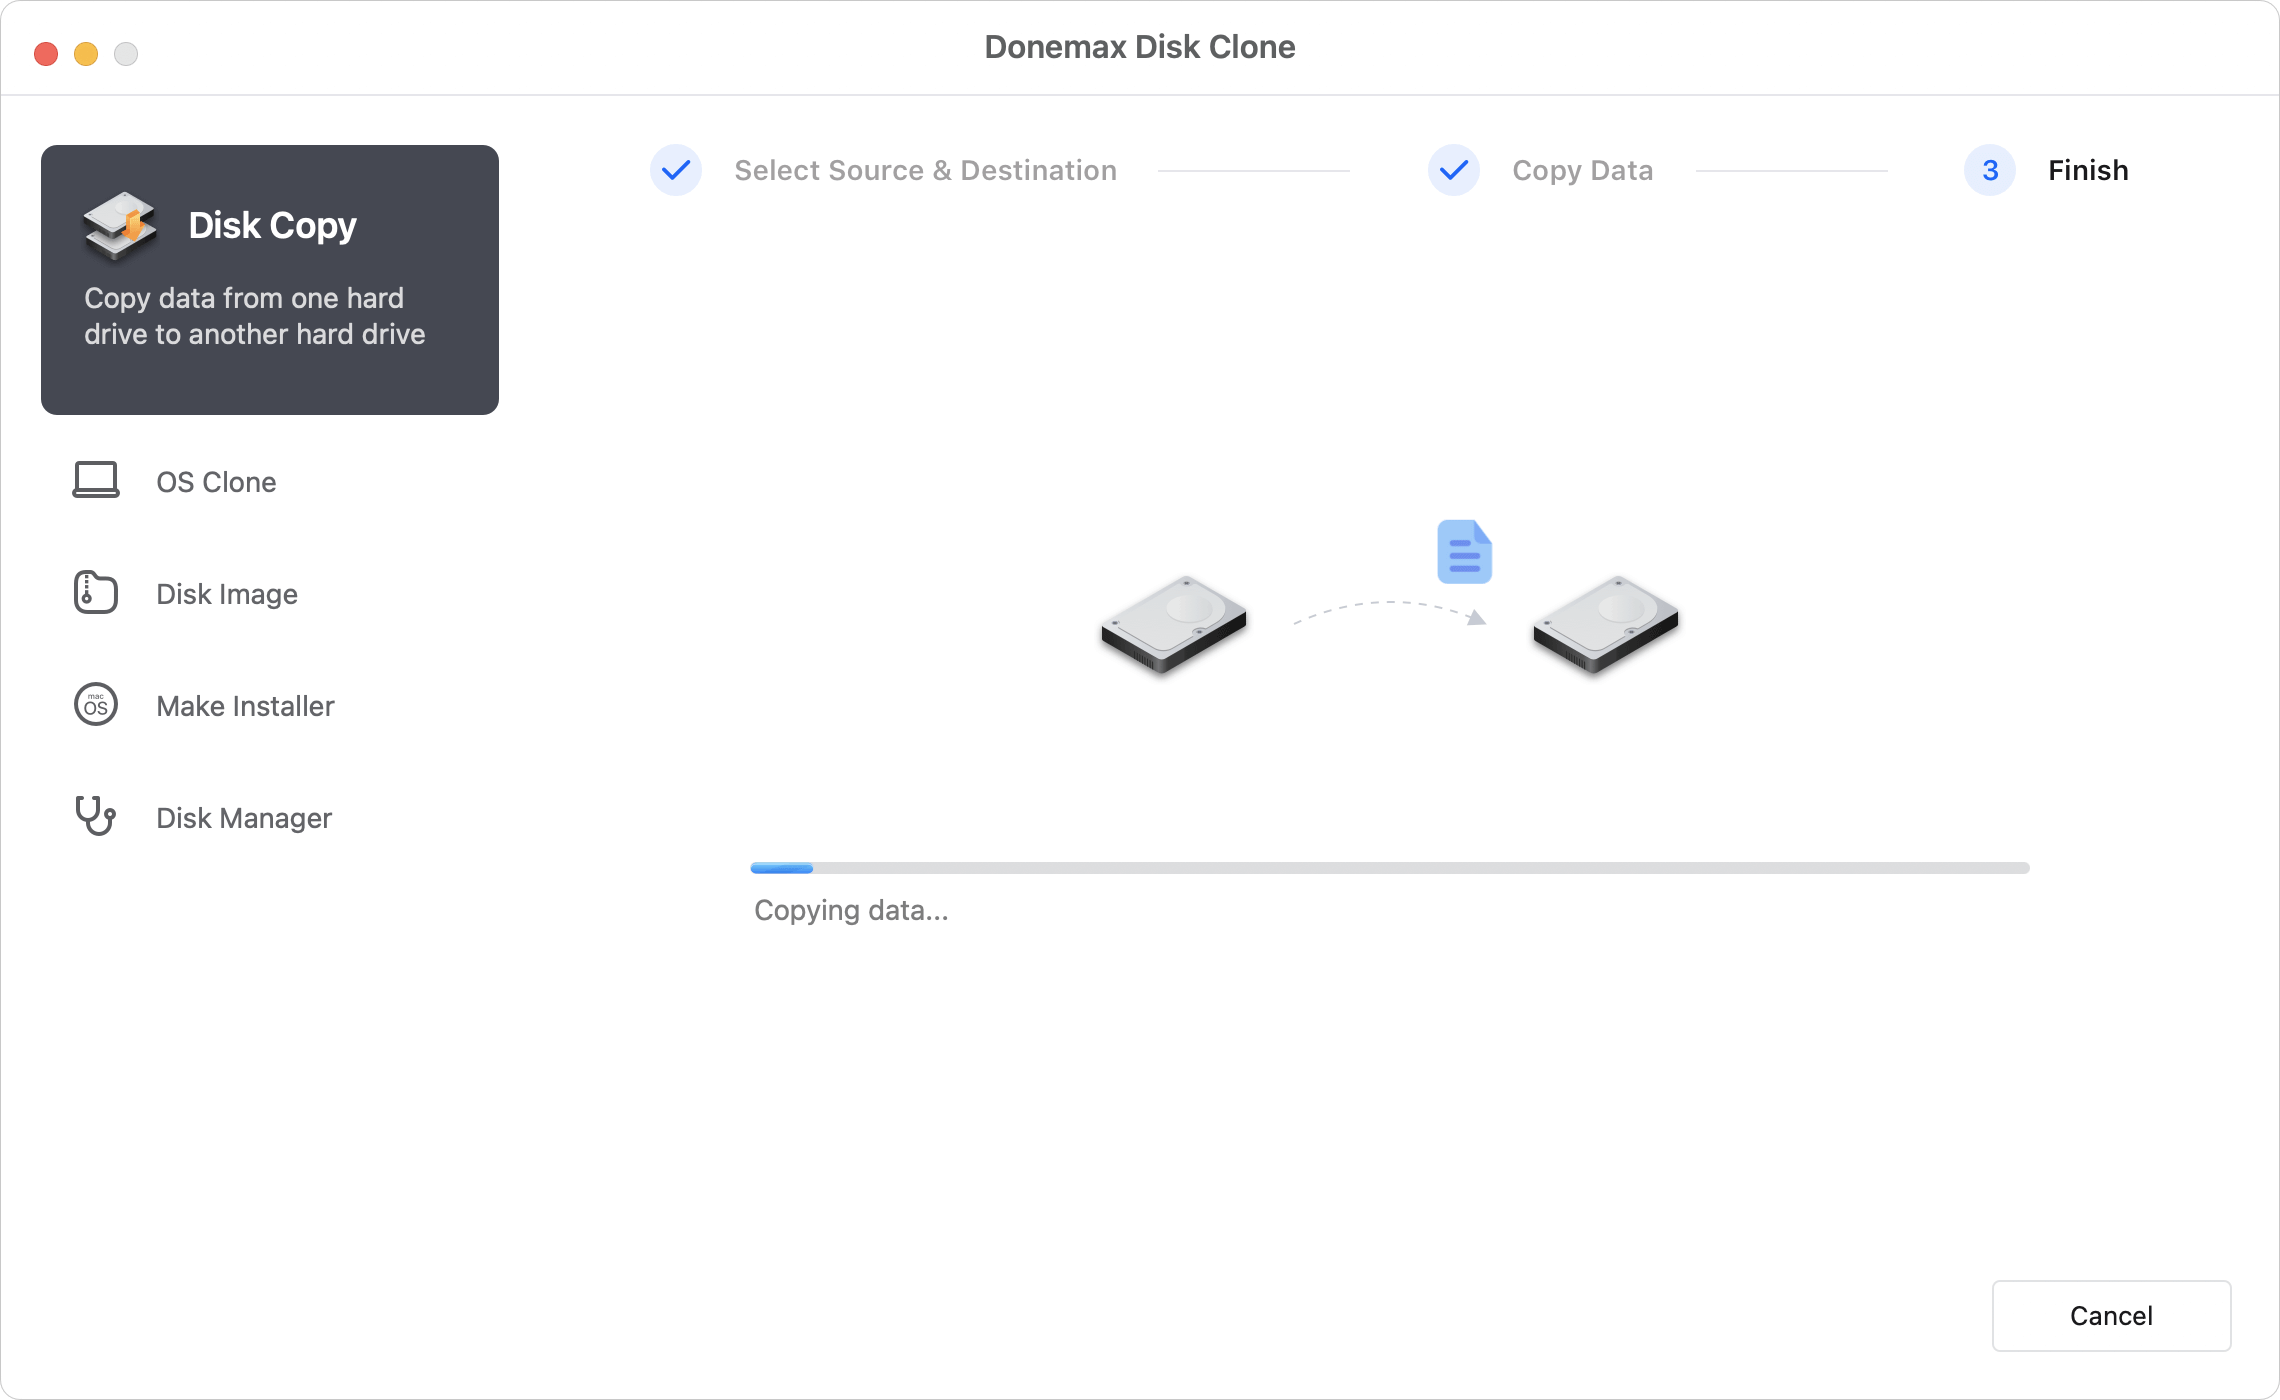
Step 3: Check the cloned data on Mac.
Once the disk clone has finished, you can check cloned data on destination drive and verify all data have been copied successfully. The cloned files will be placed into a folder on the destination disk and keep the original folder structures.

Mode 2: Clone HFS/HFS+ Startup Hard Drive on Mac
OS Clone - This mode is used to clone the startup disk for a Mac. If you are using an old version of Mac operating system and the startup disk is in HFS/HFS+ format, you can use this mode to create a bootable copy for the Mac drive. Here is how:
Step 1. Choose the destination disk.
When you change to this mode, you will find the Mac startup disk is selected as source automatically. You just need to select the destination disk.

Step 2. Start to cloning the macOS drive.
Click on the Clone Now button, the software will start to clone macOS data, installed programs, user data and settings to the destination drive.
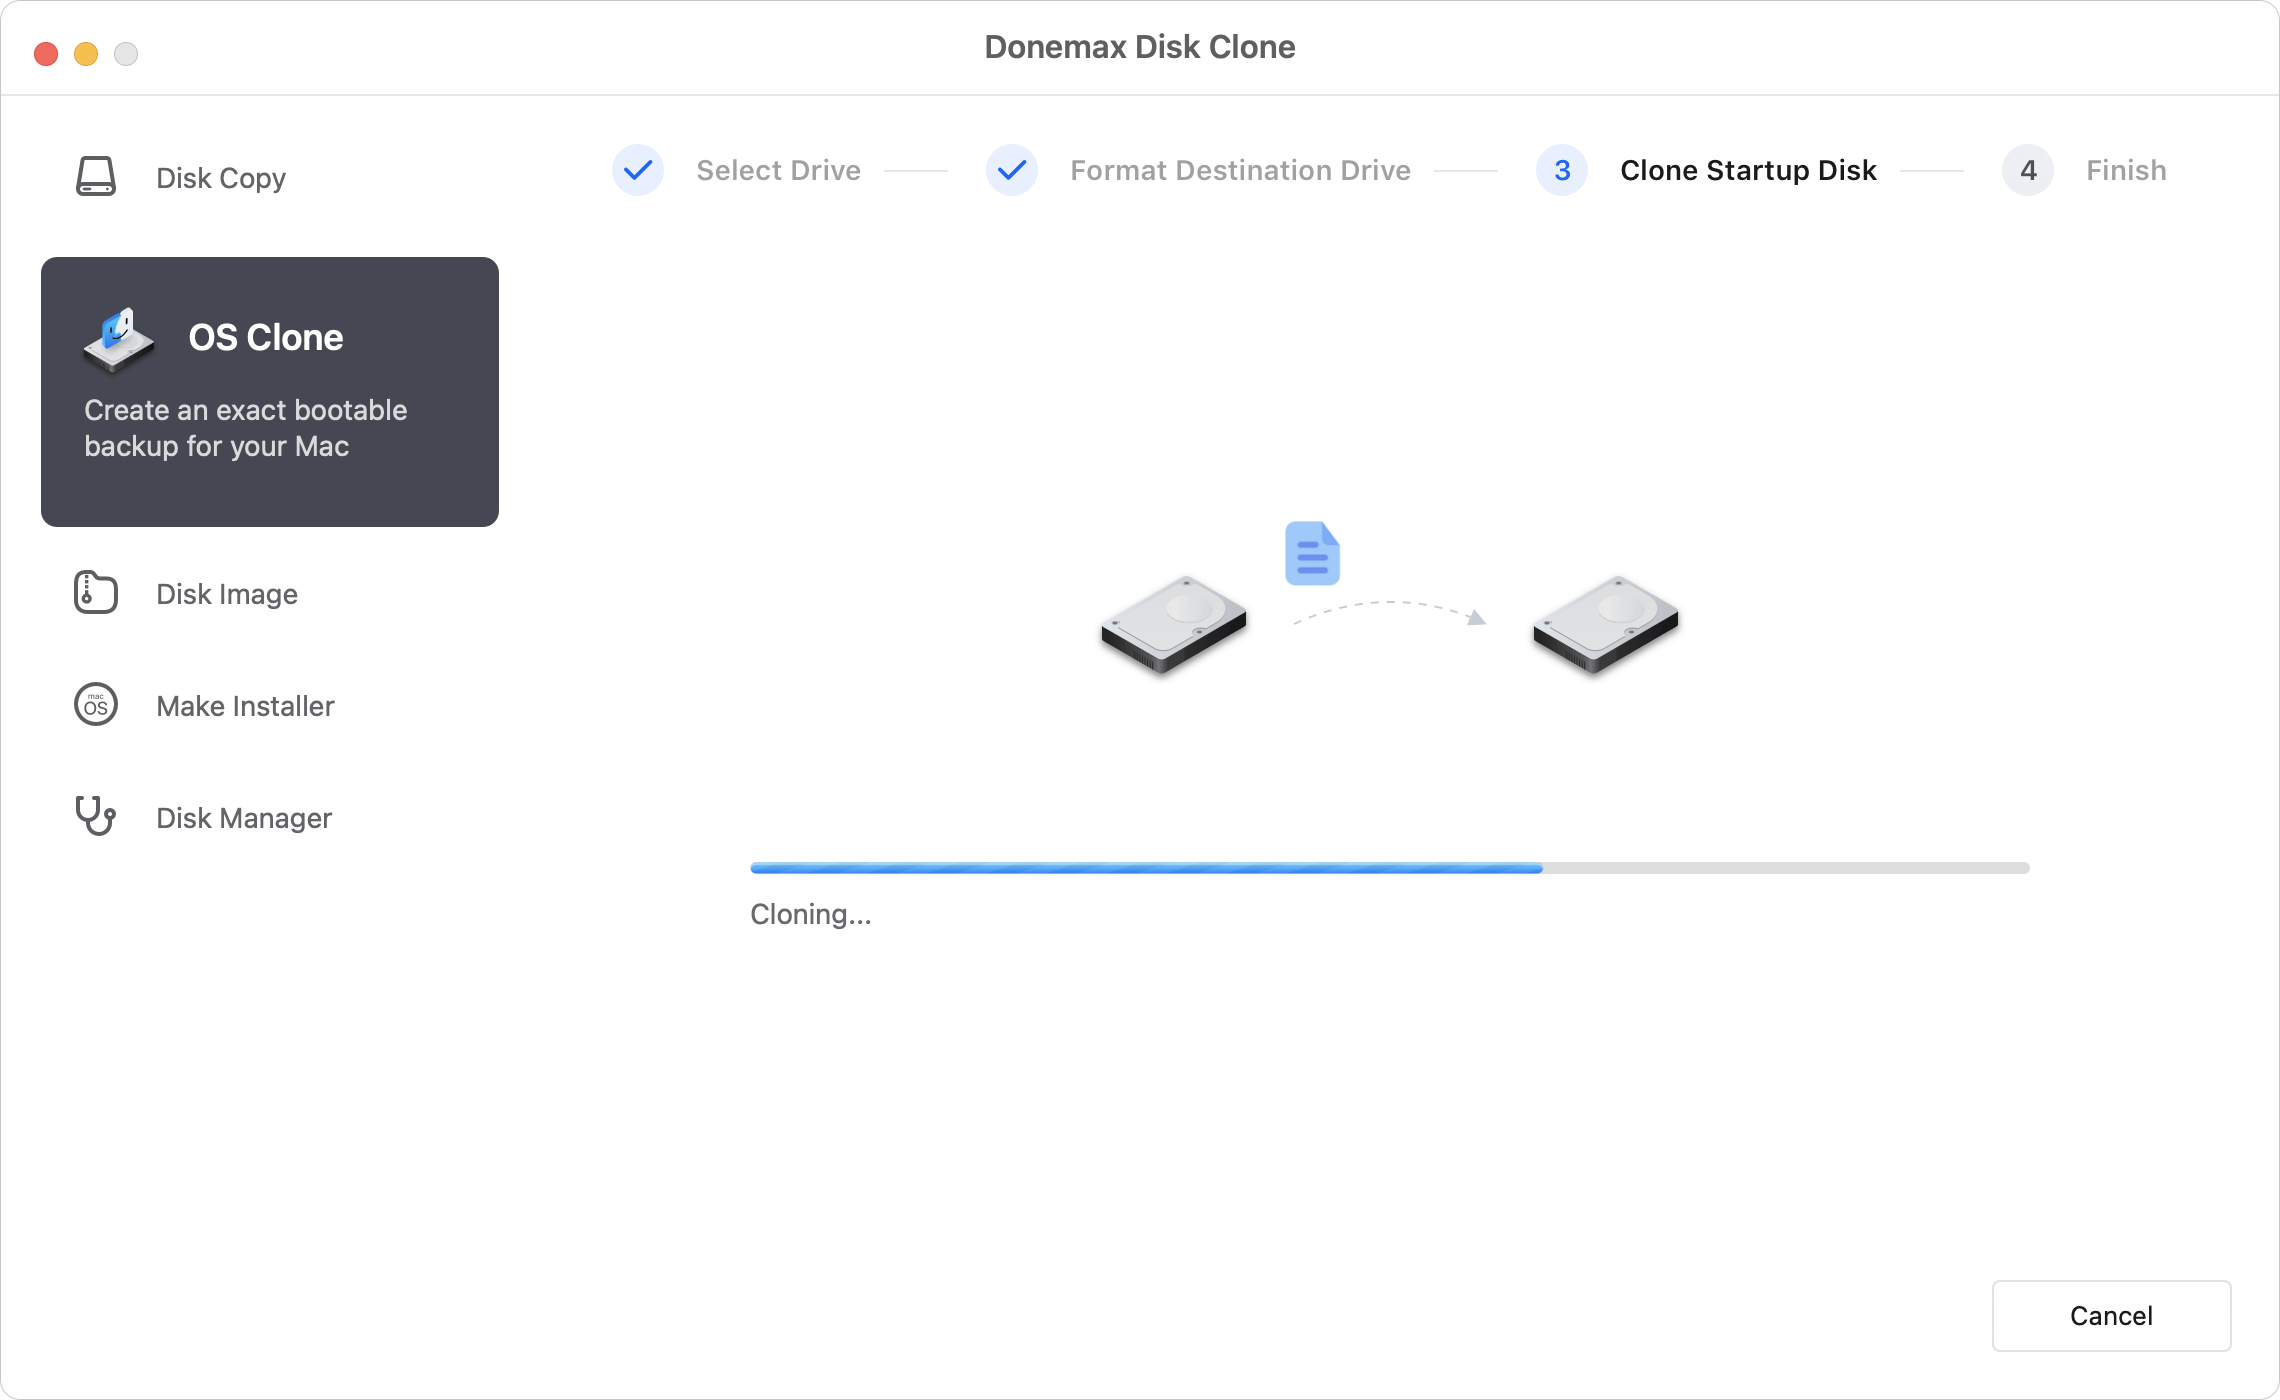
Step 3. Check the data on the cloned disk.
After a while, the process will be done. Everything is cloned from the HFS/HFS+ system disk to the target disk. Now you can go to the destination drive and check the data.

After cloning the HFS/HFS+ system disk, you can check if the cloned drive is bootable. You can change the startup disk to the cloned drive and confirm if the Mac will start normally from the cloned disk.
💡 Note: The target disk will be overwritten in this mode. So it's essential to check and back up the important files from the destination disk first. Or you can use a new or empty external drive as destination.
Mode 3: Create disk image of HFS/HFS+ hard drive on Mac.
Disk Image - this third mode helps you create disk image of HFS/HFS+ hard drive and save it on another hard drive. Here, there are some steps you have to follow:
Step 1: Choose the source and destination drive.
First, you have to select this mode and then HFS/HFS+ hard drive as the source drive and select a hard drive as the destination drive to save the disk image.
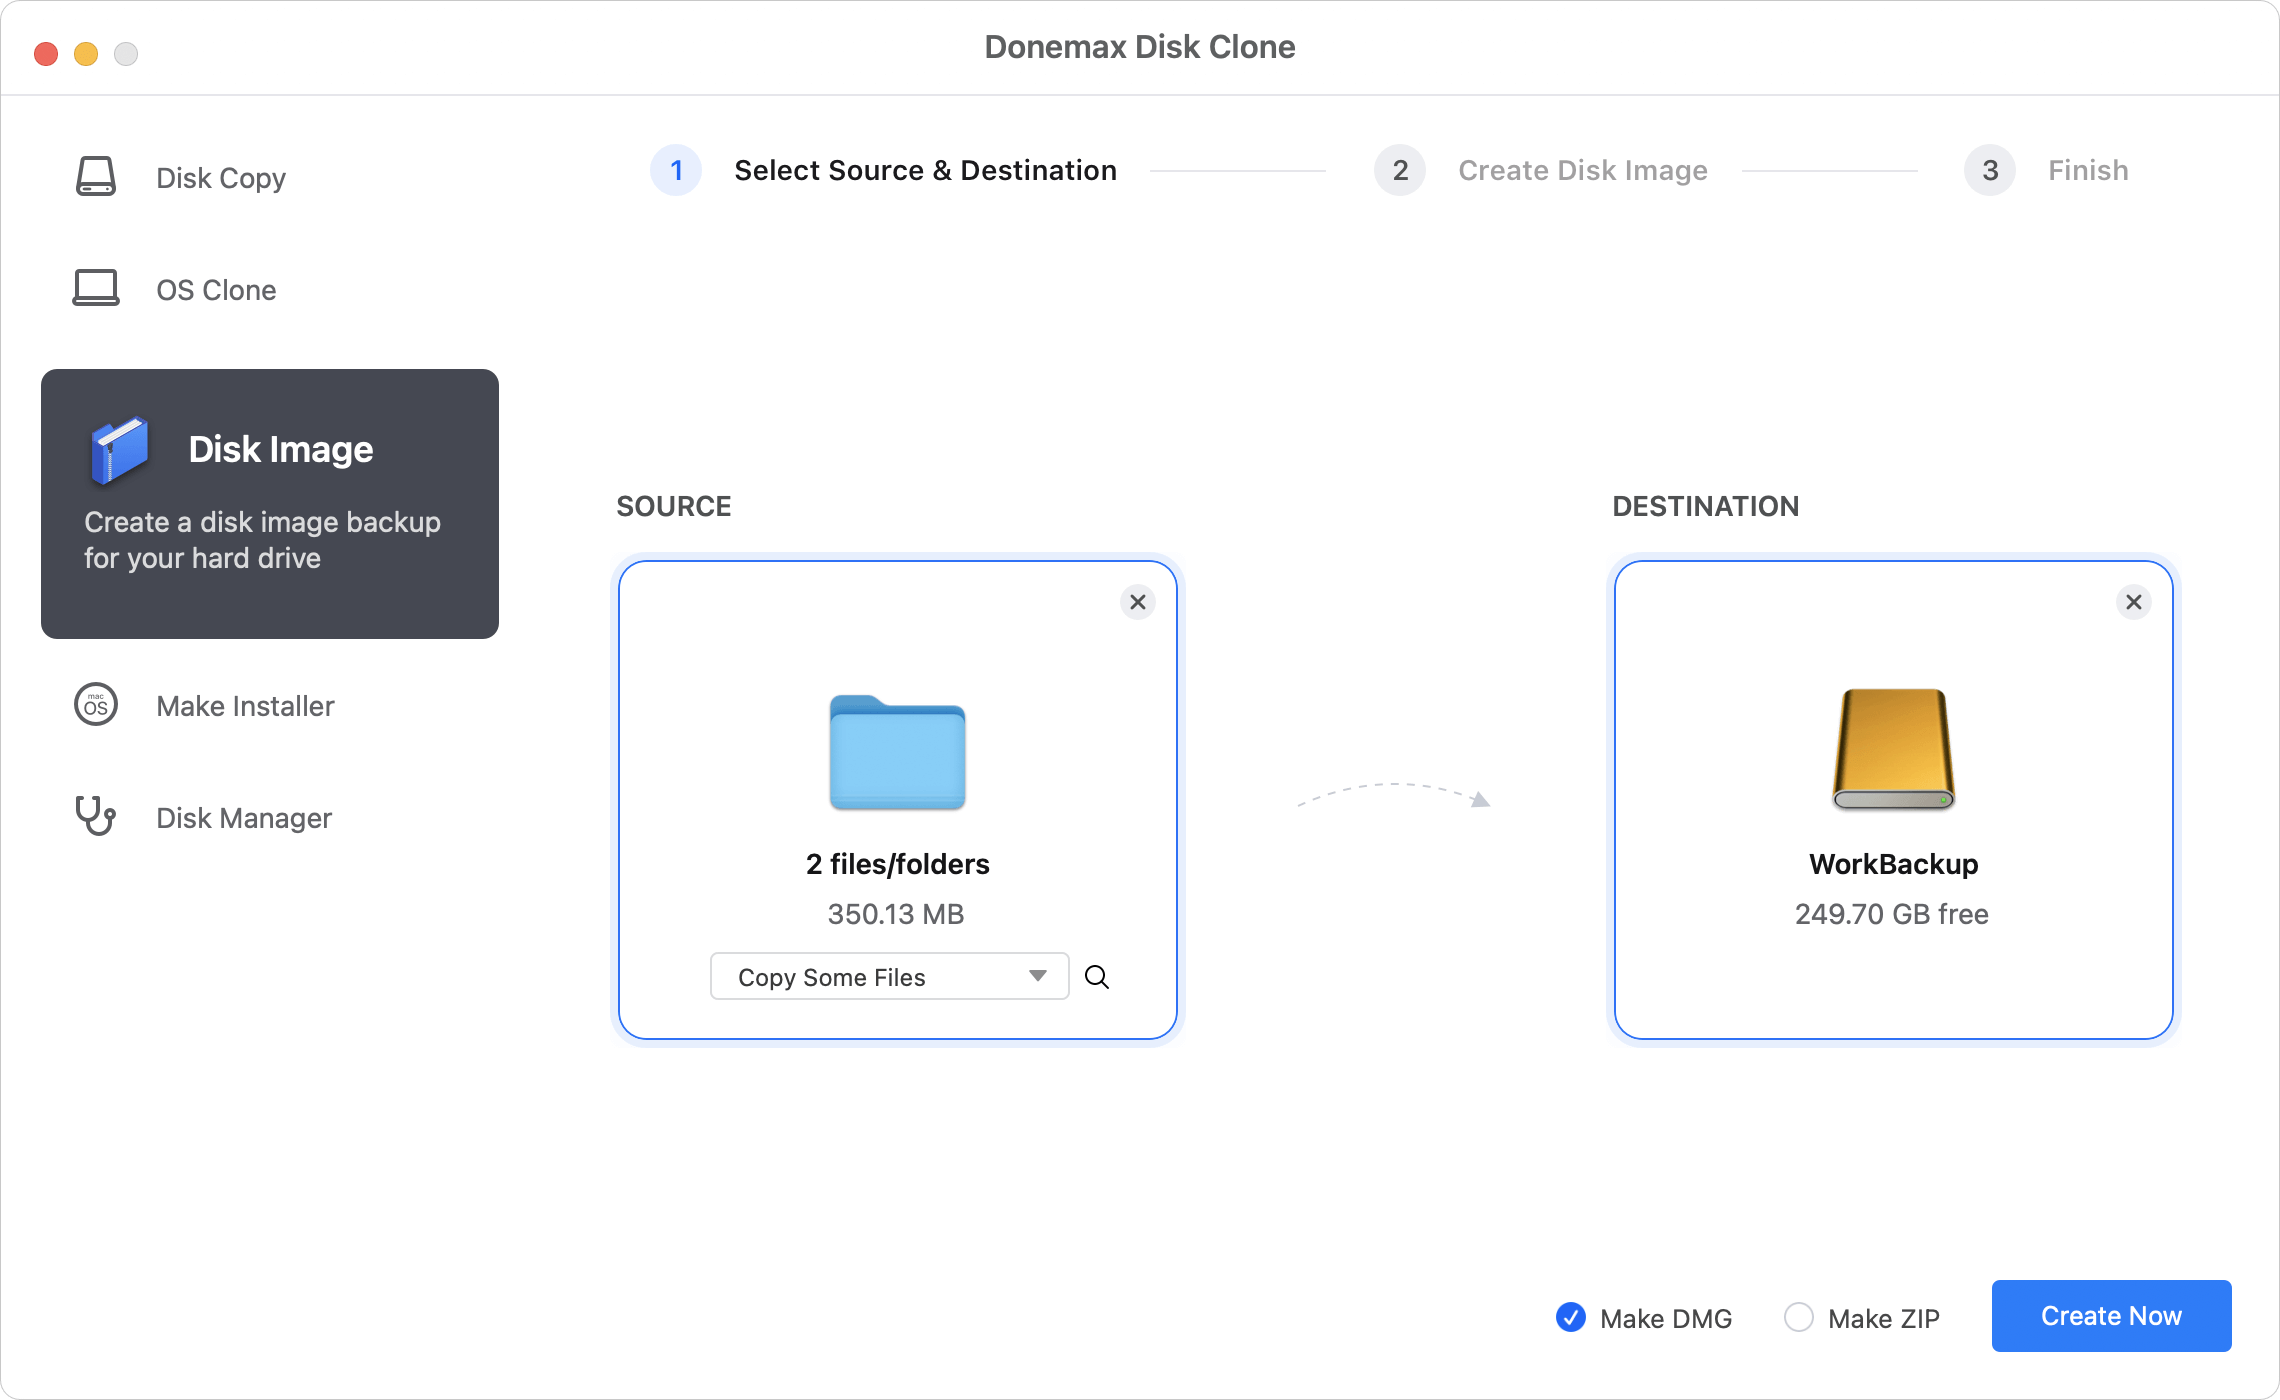
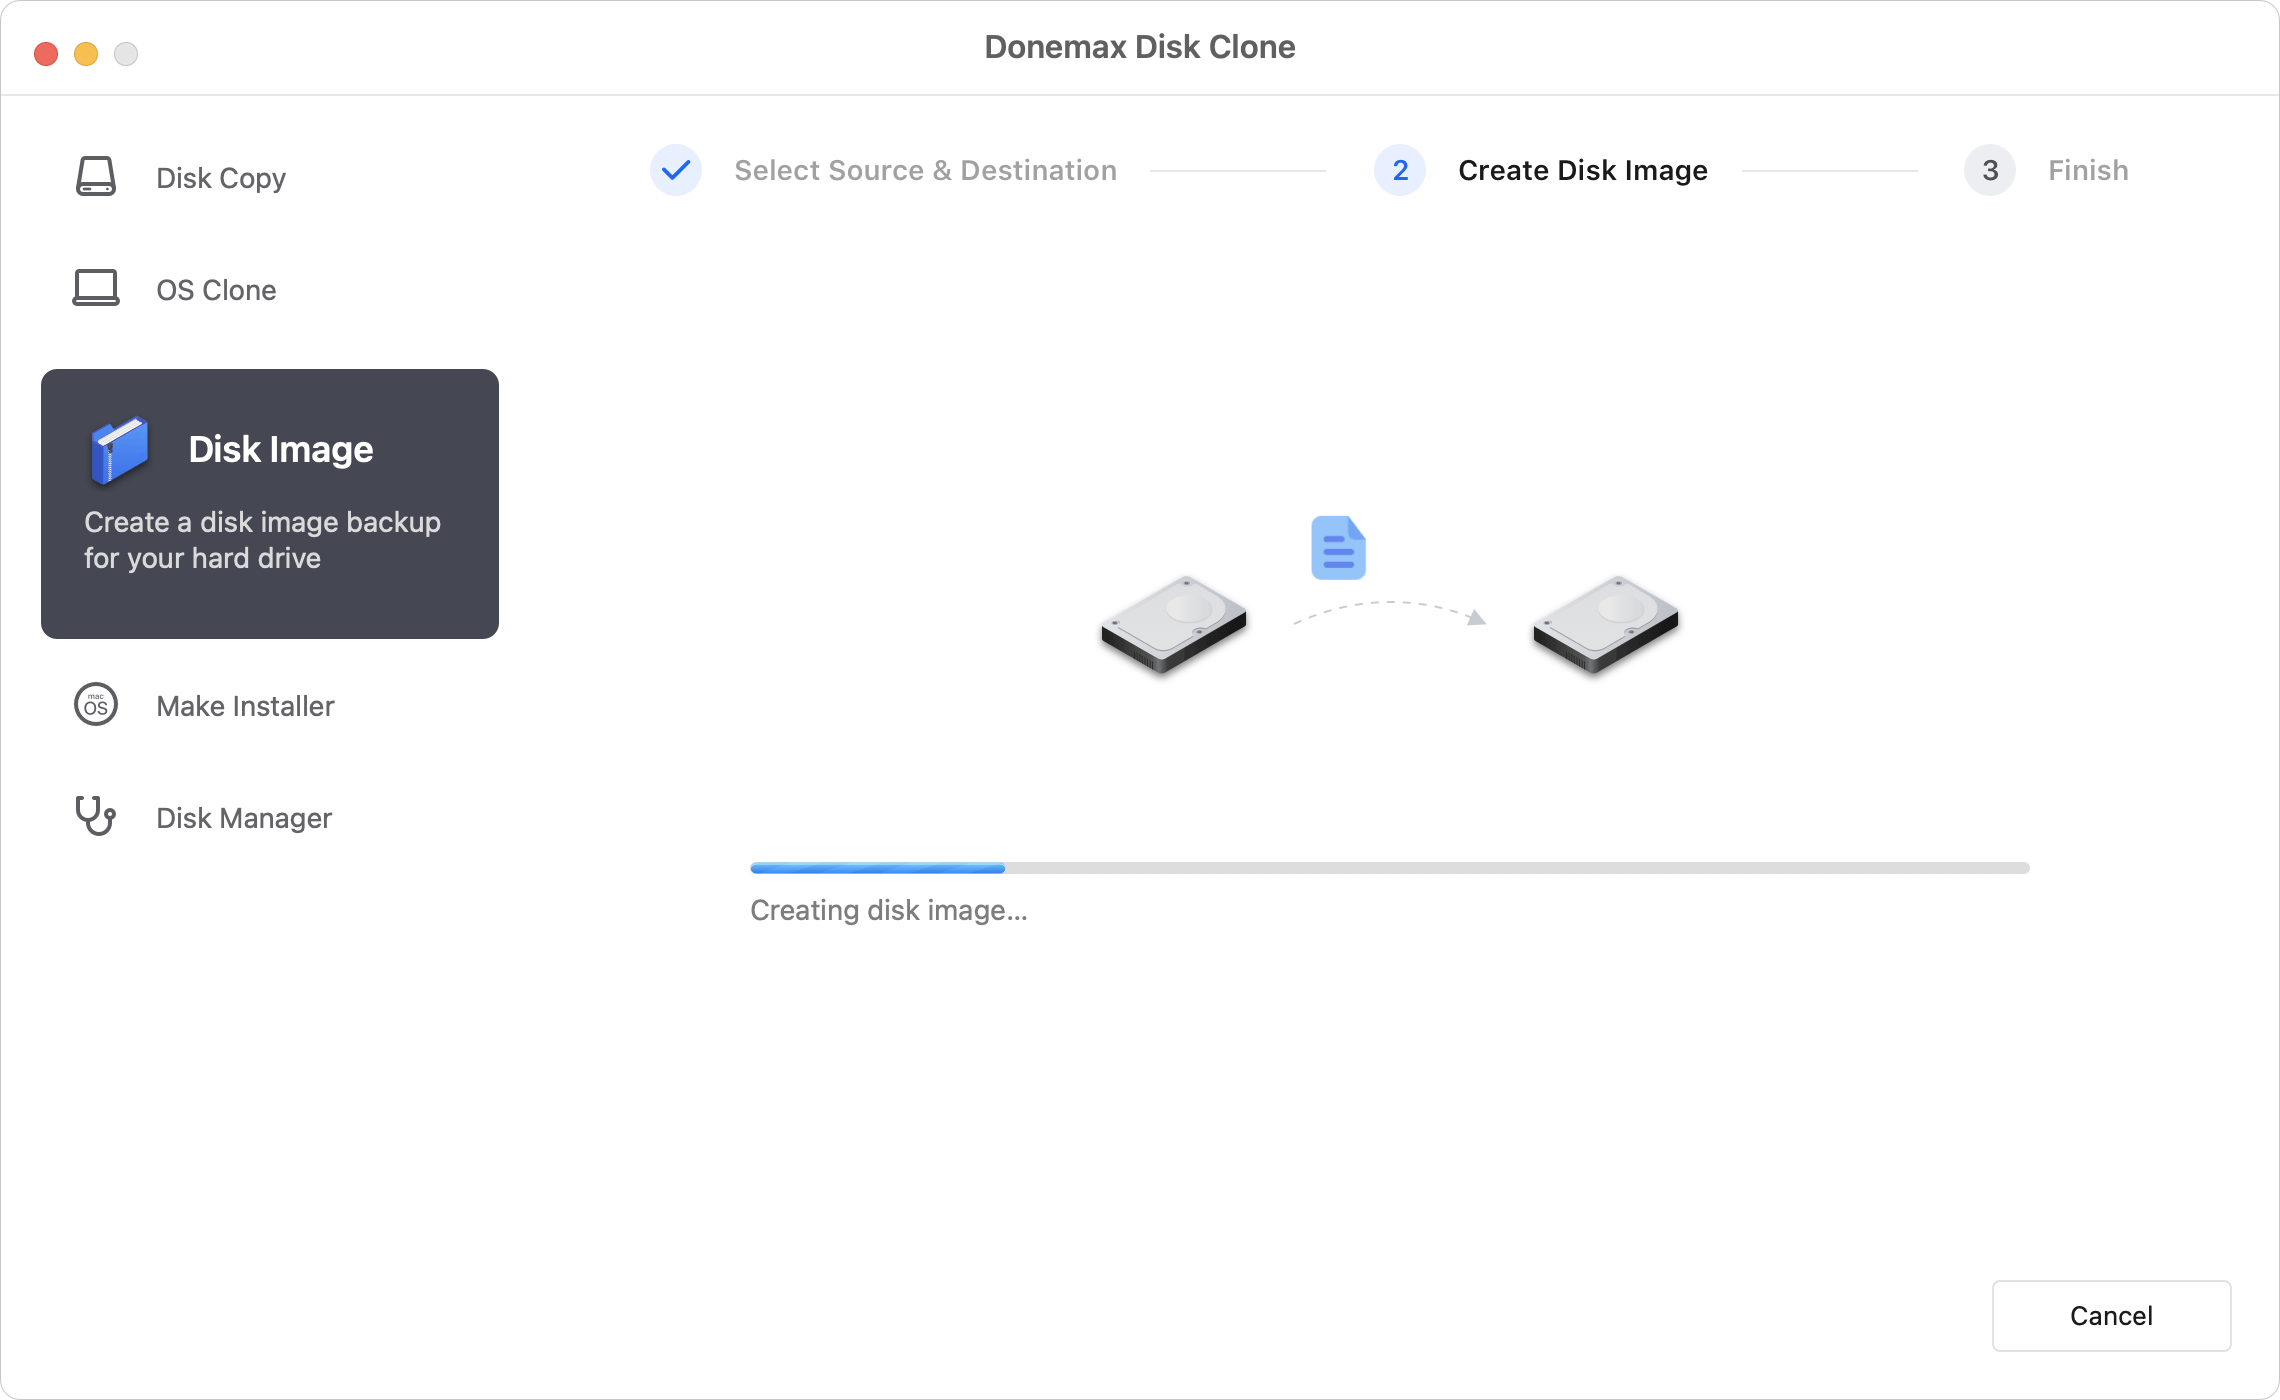
Step 2: Create disk image of HFS/HFS+ hard drive.
Second, you need to click on Create Image button. Donemax Disk Clone for Mac will create a DMG or ZIP copy of HFS/HFS+ hard drive and save it on destination drive.
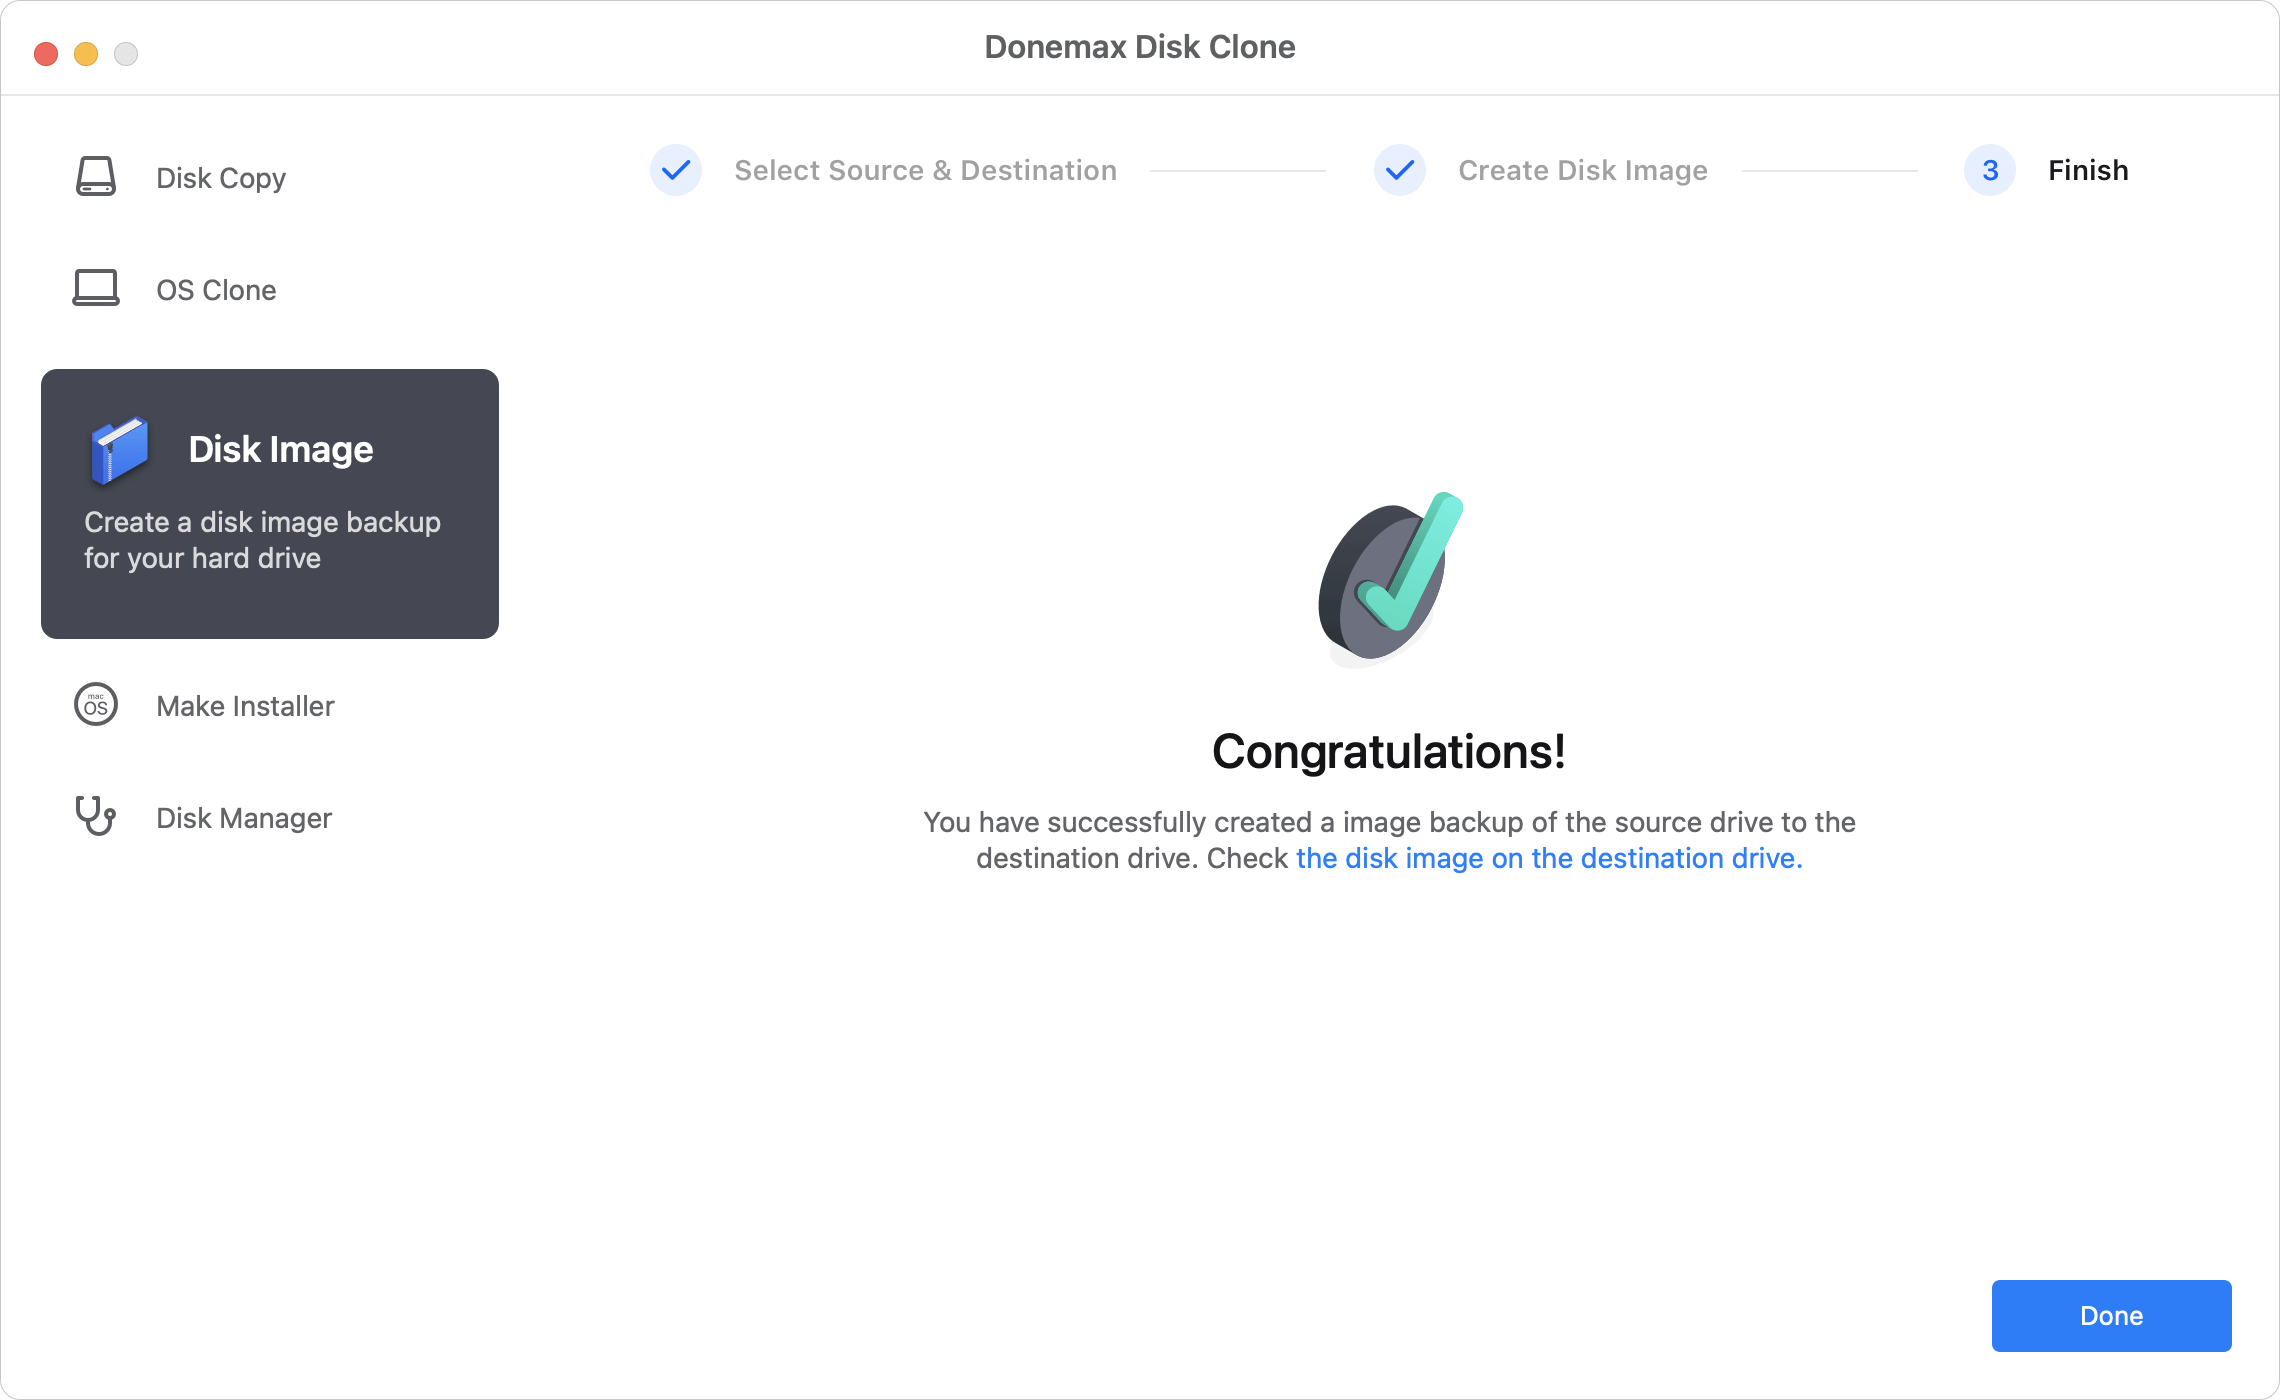
Step 3: Check the disk image.
Finally, it is advisable to review disk image on destination just to see the image was created successfully. You can mount the DMG disk image to check if the files are intact. For the ZIP format disk image file, you can use any compression tool to access it in different operating systems.
Donemax Disk Clone for Mac is one of the most powerful Mac disk cloning software. It will help you securely copy HFS/HFS+ hard drive to another hard drive or create a disk image of the HFS/HFS+ hard drive. It is recommended to make a backup of your Mac data to prevent data loss. Download Donemax Disk Clone for Mac here:
Donemax Disk Clone for Mac also can help you clone NTFS, APFS, exFAT hard drive on Mac. With its user-friendly interface, Mac users can easily and quickly clone hard drive with this disk cloning software.
Conclusion:
Cloning hard drive is a good supplementary for backup solutions on Mac. It can create a full copy of all data from a hard drive. When you want to clone HFS/HFS+ hard drive on Mac, the first thing you need is to get a proper destination disk with enough space. Then you need a reliable disk cloning software.
Disk Utility is usually an ideal choice to clone hard drive if you don't care about if it's bootable. It can easily make a full copy of the drive and all data. But if you need to make a bootable copy of the HFS/HFS+ system disk on Mac, it's highly suggested to use Donemax Disk Clone for Mac. The software can guarantee making a bootable clone for the Mac startup disk.
Donemax Disk Clone for Mac
An award-winning disk cloning program to help Mac users clone HDD/SSD/external device. It also can create full bootable clone backup for Macs.
Related Articles
- Feb 11, 2025Disk Copy on macOS Sequoia – 1:1 Copy Disk on macOS Sequoia
- Aug 06, 2025Disk Clone for Mac mini with Apple Silicon M2/M2 Pro Chip
- Apr 07, 2024How to Clone Mac Data To WD My Passport External Hard Drive?
- Jan 01, 1970How to Clone NTFS Hard Drive on Mac?
- Jun 21, 2023Free Download EaseUS Disk Copy for Mac Alternative Software
- Nov 02, 2023How to Create a Bootable USB Installer for MacOS Sonoma?

Contributing Writer
Steven
Steven has been a senior writer & editor of Donemax software since 2020. He's a super nerd and can't imagine the life without a computer. Over 6 years of experience of writing technical solutions and software tesing, he is passionate about providing solutions and tips for Windows and Mac users.

Editor in chief
Gerhard Chou
In order to effectively solve the problems for our customers, every article and troubleshooting solution published on our website has been strictly tested and practiced. Our editors love researching and using computers and testing software, and are willing to help computer users with their problems