
Written byCoco LinUpdated on Jul 07, 2023
How to Install NTFS for Mac Driver and Write Data to NTFS Drive without Formatting?
Approved byGerhard Chou
Summary: As we have known that Mac users can’t write data to NTFS drive or edit files on NTFS drive since NTFS is a Windows-based file system. If you want to use an NTFS drive on Mac just like you use it on a Windows PC, you should download and install an NTFS driver on your Mac. Here is the the guide to download and install Donemax NTFS driver on Mac.
PAGE CONTENT:
Can’t write data to NTFS drive on Mac? Just install NTFS driver
“Have trouble saving, modifying, or erasing data from Microsoft NTFS-formatted disks on your Mac? It is because macOS only provides limited support for Windows volumes, allowing for reading but not writing or deleting. NTFS for Mac drivers allows Macintosh computers unrestricted read/write access to Windows-formatted Microsoft NTFS hard disks, solid-state drives (SSDs), and USB flash drives.”
Compared to other desktop operating systems, Macs provide unparalleled safety and a new twist on the operating system. Every macOS version brings many new features and its share of improvements and regressions. Unfortunately, after using an NTFS drive with Windows, the latest macOS version no longer recognizes it as an writable drive unless you have an NTFS driver installed on your Mac.
The NTFS drive can be read from, so you can access its files, but you can't make any changes to them or copy any of the folders or files on it. For Mac users, this creates an unnecessary hassle. You must do this step when a USB drive was previously used on Windows but is now unusable on your Mac. So, just install a reliable NTFS driver on your Mac to solve this issue.
Follow these steps to install and use NTFS Drivers on Mac
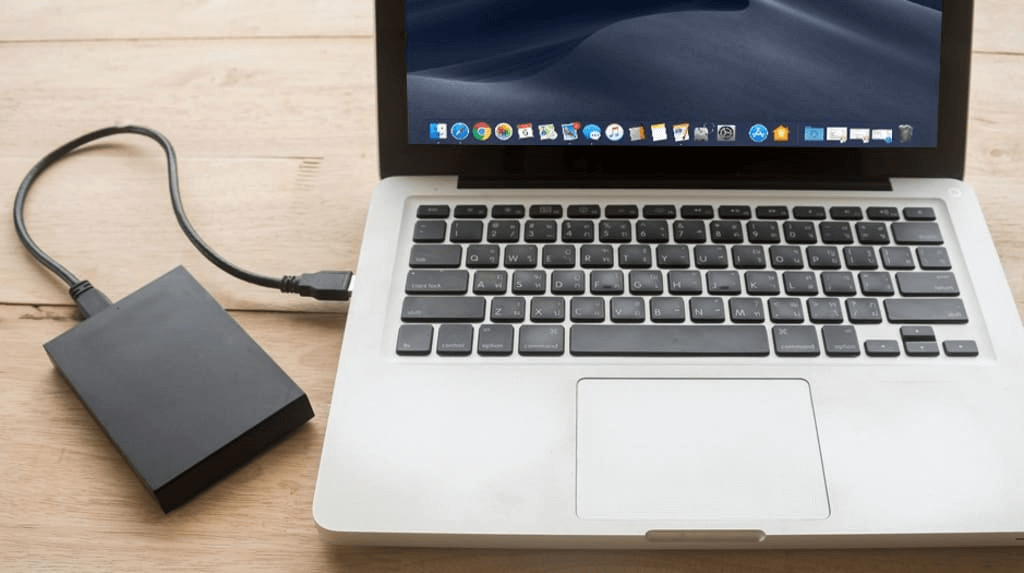
The previous explanation of the NTFS file system shows that it cannot be edited on a Mac. A Mac can access and read data from an NTFS drive. A USB-C cable, USB-C to USB-A adaptor, Thunderbolt, or Bluetooth can link the NTFS drive to your Mac.
You should be able to see the NTFS drive on your computer's desktop if it is connected correctly. Just double-click to access the Drive's contents.
Suppose the external Drive isn't visible on your Mac's desktop. In that case, you can access its contents by opening Finder, navigating to the location of the disk in question, and selecting it from the Finder sidebar.
The external NTFS drive can be visible on your Mac's hard drive desktop. Choose "External disks" under "Show these items on the desktop" by selecting the Finder menu > Settings > General.
When everything is OK, you can follow the steps below to download and install an NTFS driver on your Mac and grant the full read-write access to the NTFS drives.
Step 1. Download Donemax NTFS for Mac. It is one of the best NTFS drivers and can securely and quickly enable writable for all NTFS drives on your Mac.
Step 2. Open Donemax NTFS for Mac and make sure the NTFS drive has been connected to your Mac. Select the NTFS drive and click Enable Writable. Now, you can use the NTFS drive as a local drive on your Mac.

★ Features of Donemax NTFS for Mac:
- Mount and unmount NTFS drives and other drives on Mac.
- Enable writable for NTFS drives.
- Open any hard drive on Mac to check its content.
- Eject external hard drive in safe mode.
- Repair damaged hard drive by running First Aid on it.
- Format and rename external hard drive.
FAQs about installing NTFS driver on Mac
- Download and install Donemax NTFS for Mac and open it.
- Find the NTFS drive and select it.
- Click on Enable Writable button.
Apple's Bootcamp is a Windows emulator for Mac computers. Because of this, it may be used for reading and writing to NTFS drives. Everything required for operation on a Mac will be obtained. Unfortunately, it's not yet compatible with Big Sur and Monterey on macOS, while it is with 10.15 Catalina and earlier versions. All previous Time Machine backups will also be removed. When utilizing Time Machine to read and write NTFS on a Mac, be sure you don't have any crucial backup files.
To use Windows on a Mac, you need only download Bootcamp. Once that's done, you'll have quick read/write access to any files saved in NTFS.
Converting an NTFS disk to exFAT may resolve the issue of accessing the contents on both Windows and Mac platforms. This technique requires no special hardware and may be executed on any macOS machine. After that, the drive can be used cross-platform for reading and writing.
To write to NTFS disks on macOS using this approach, perform these steps:
- The first thing to do is use Spotlight to launch Disk Utility.
- Second, select the "Erase" tab for the Drive you want to work on in Disk Utility. (When switching formats, a disk must be empty.)
- Click "delete" and then "ExFAT" in the drop-down menu. If you follow the on-screen instructions, you can finish up quickly.
- The data loss on the disk is the biggest drawback of this procedure, so be sure to make a backup copy before attempting it.
Conclusion:
Mac OS may read the NTFS file system used by Windows without any problems. It includes external hard drives, USB flash drives, and memory sticks. If you want to write data to the NTFS drive or modify any file on it, you should download and install an NTFS driver on your Mac. We have shown you how to install a reliable NTFS driver on your Mac, now you can use NTFS drives on your Mac without any limitation.
Related Articles
- Nov 20, 2024Fix NTFS Drive is Read-Only on macOS Big Sur
- Jan 06, 2025Top 6 NTFS software for mac
- Oct 23, 2025Best NTFS for Mac Software for M5 Mac
- Oct 11, 2025Format A Hard Drive for Both Windows and Mac
- Nov 19, 2024How to Use NTFS Drive on macOS Catalina?
- Feb 11, 2026Which Disk Format is Compatible with Both Mac and Windows

Contributing Writer
Coco Lin
Coco has been a writer and a chief programmer at Donemax software since 2018. Over 10 years of experience of writing troubleshooting articles in the software industry, she is passionate about programming and loves to providing solutions to Windows and Mac users. Also she enjoys music and palying tennis in her free time.

Editor in chief
Gerhard Chou
In order to effectively solve the problems for our customers, every article and troubleshooting solution published on our website has been strictly tested and practiced. Our editors love researching and using computers and testing software, and are willing to help computer users with their problems