Written byMariaUpdated on Aug 04, 2026

Before we start: macOS natively supports reading NTFS drives on M5 Apple Silicon Macs, but write access is disabled by default. The easiest and safest way to get full read and write access without formatting or losing data is to use Donemax NTFS for Mac. Alternatively, you can reformat the drive to exFAT for cross-platform compatibility or use cloud storage as a bridge.
PAGE CONTENT:
Did you just upgrade to a powerful new Apple M5 Mac and plug in your Windows-formatted external hard drive, only to realize you cannot copy, edit, or delete any files? If so, you are not alone. By default, macOS allows you to open and view files on Microsoft NTFS formatted drives, but it blocks you from saving new files or making changes.
When you try to copy a document, edit a photo, or drag a video onto an NTFS drive on your M5 Mac, you will notice that the drive is set to 'Read-Only'. This compatibility gap between Windows and macOS can be frustrating, especially when working with large hard drives or transferring data between different systems.
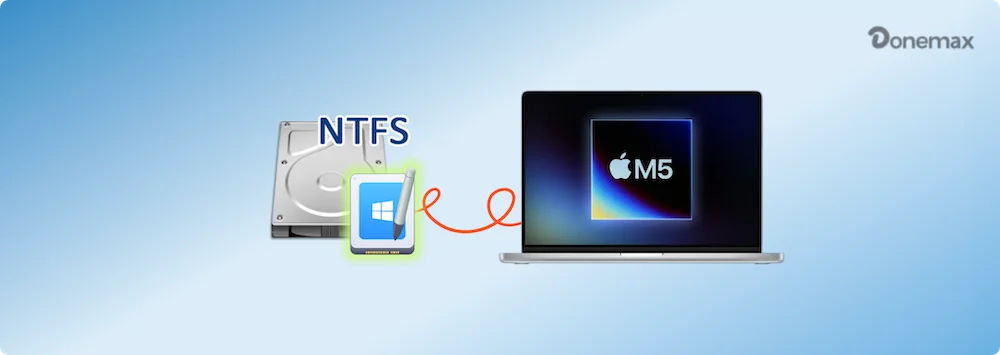
The good news is that enabling full read write NTFS external hard drive M5 Mac support is simple when you use the right approach. In this comprehensive guide, we will break down 4 reliable methods—ranging from seamless one-click software like Donemax NTFS for Mac to built-in formatting options—so you can choose the best solution for your needs.
To understand why your M5 Mac restricts you from modifying files on an NTFS external hard drive, it helps to understand how file systems work:
Here is a quick breakdown of the available methods so you can decide which option suits your workflow:
|
Method |
Write Support |
Data Safety |
Ease of Use |
Best For |
|---|---|---|---|---|
|
1. Donemax NTFS for Mac |
Full Read/Write |
100% Safe (No Data Loss) |
Super Easy (1-Click) |
Fast, permanent & secure access |
|
2. Format |
Full Read/Write |
Wipes All Data |
Moderate |
Empty or non-critical drives |
|
3. Cloud File Transfer |
Indirect Write |
100% Safe |
Slow / Internet Needed |
Occasional small file transfers |
If you want to read write NTFS external hard drive M5 Mac instantly without wiping your existing files, Donemax NTFS for Mac is the ultimate solution. It seamlessly mounts all NTFS external hard drives, SSDs, and USB flash drives in full read-write mode automatically whenever you connect them to your M5 Mac.
Why Choose Donemax NTFS for Mac?
Step-by-Step Instructions to Enable Write Access:
Step 1: Download and install Donemax NTFS for Mac on your M5 Mac.
Step 2: Connect your NTFS external hard drive or USB drive into your M5 Mac.
Step 3: Launch Donemax NTFS for Mac. The software will automatically detect your NTFS drive.
Step 4: Select your NTFS drive from the list and click the 'Enable Writable' button. (Once enabled, the status changes to Writable).
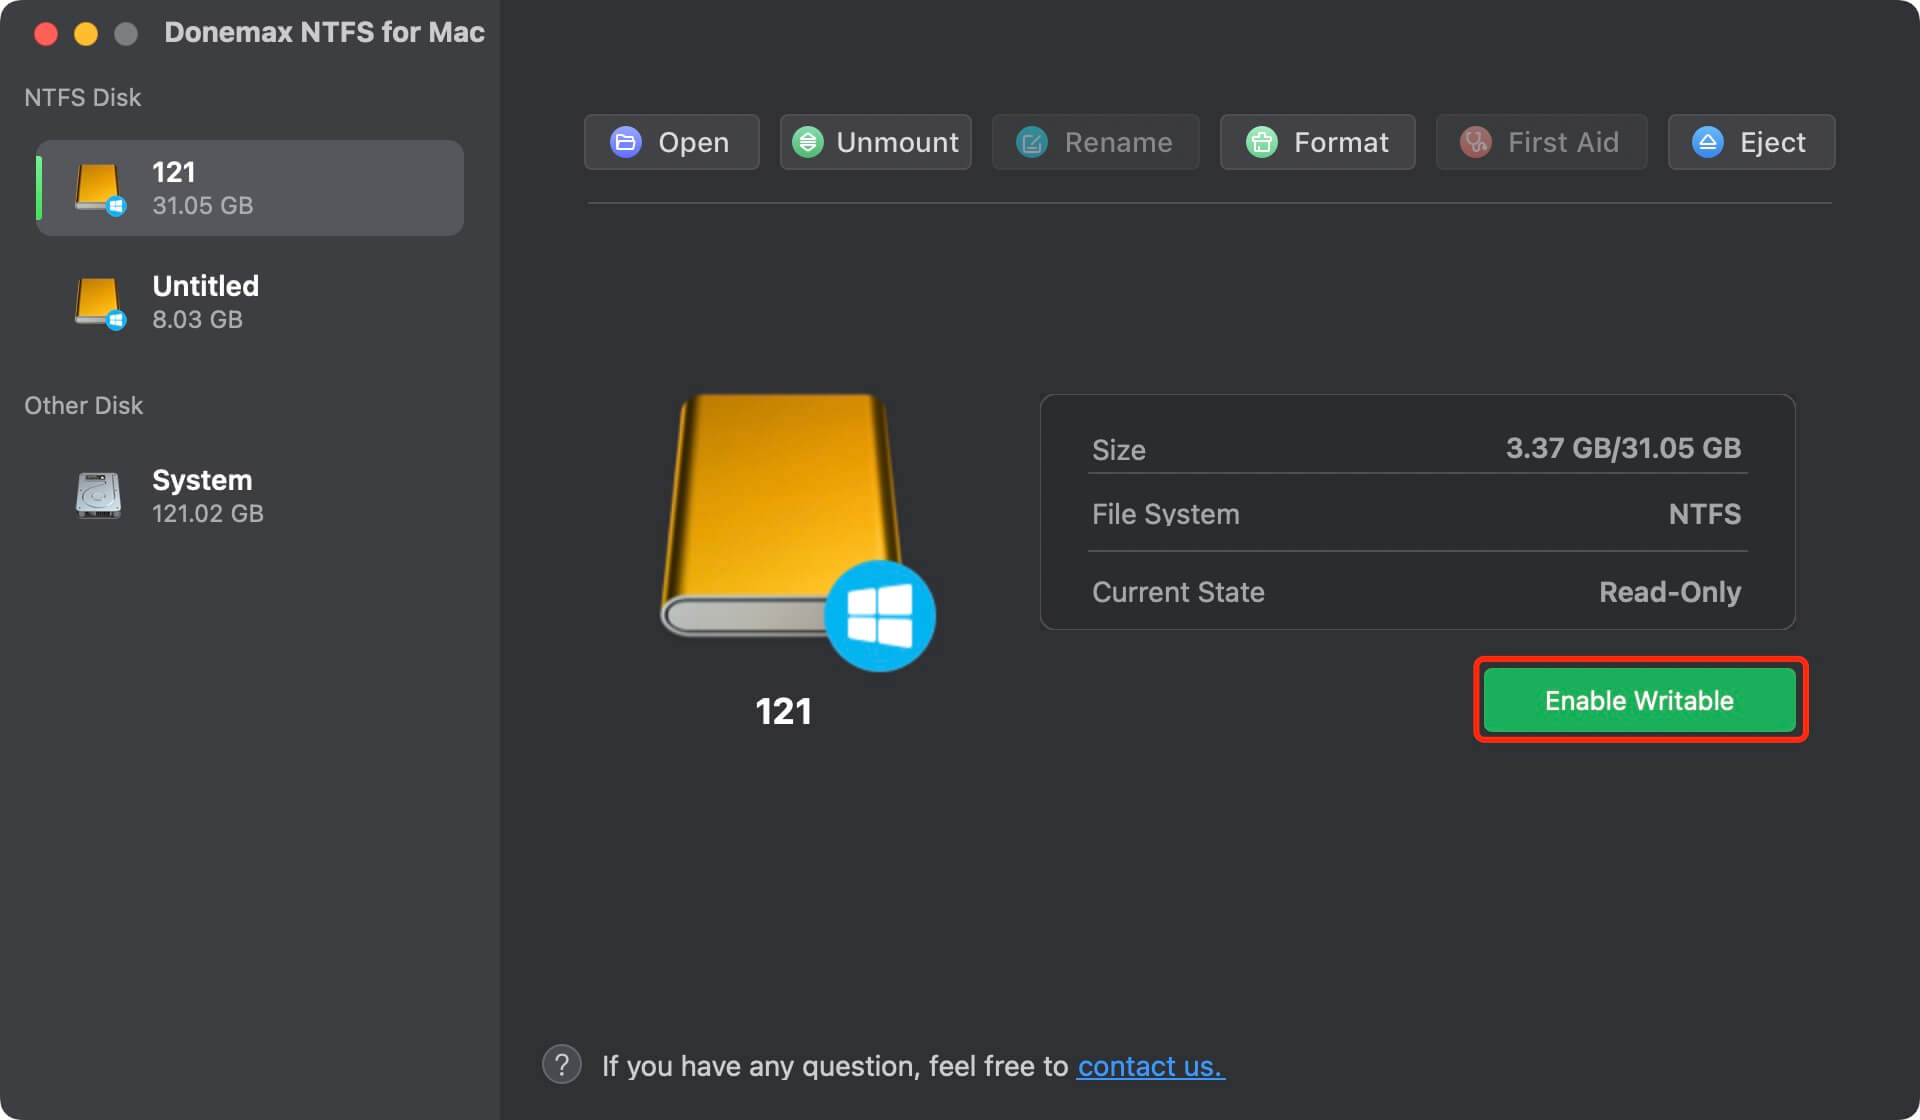
Step 5: Open Finder, and you can now seamlessly drag, drop, edit, save, rename, and delete files on your NTFS drive just like a native Mac drive!
If your external hard drive is brand new, empty, or contains files you have already backed up elsewhere, you can reformat the drive to exFAT. The exFAT file system is natively supported with full read and write permissions on both Windows and macOS.
If you plan to use your external hard drive exclusively with your M5 Mac and never need to plug it into a Windows PC, formatting it to Apple File System (APFS) offers the highest performance, snapshots, and encryption features.
📍 Important Warning: Formatting erases ALL existing data on the drive permanently. Always back up your files before proceeding with this method!
Step-by-Step Instructions:
Step 1: Plug your external hard drive into your M5 Mac.
Step 2: Open Finder > Applications > Utilities, and double-click 'Disk Utility' (or search for it via Spotlight with Cmd + Space).
Step 3: In Disk Utility, click 'View' in the top-left corner and select 'Show All Devices'.
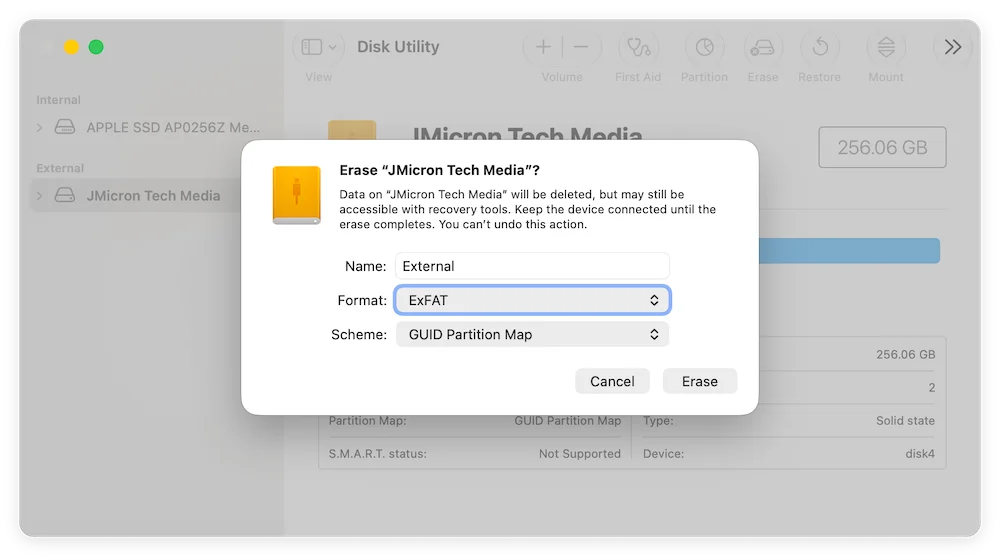
Step 4: Select the top-level external hard drive from the left sidebar and click the 'Erase' button in the toolbar.
Step 5: Set a name for your drive, choose 'exFAT' or 'APFS' as the Format, and select 'GUID Partition Map' as the Scheme.
Step 6: Click 'Erase' to confirm. Once finished, your drive will work on M5 Mac with full read and write access.
If you only need to modify or transfer a few small documents from an NTFS drive occasionally and do not want to install software or reformat the drive, you can use a cloud bridge service like Google Drive, OneDrive, or Dropbox.
Step-by-Step Instructions:
Step 1: Plug the NTFS drive into your M5 Mac and open the files in read-only mode.
Step 2: Upload the required files from your NTFS drive to your Google Drive, OneDrive, or iCloud account.
Step 3: Edit the files on your Mac or sync them back down to your local storage.
Step 4: If you need the modified file back on the NTFS drive, connect the drive to a Windows PC and download the updated file from your cloud account.
Getting full read write NTFS external hard drive M5 Mac capability is essential for anyone who works across both Windows and Mac environments. While macOS limits NTFS drives to read-only mode by default, you do not have to suffer from restricted functionality or risk losing your files through formatting.
For the vast majority of users, Donemax NTFS for Mac is the easiest, fastest, and most reliable solution. It grants instant, seamless read and write access to all NTFS drives on your M5 Mac while keeping your data 100% safe. Download Donemax NTFS for Mac today and unlock full control over your external drives!
Maria
Maria is one of the senior writers & editors of Donemax who lives and works in Sydney, Australia. She loves PC, Mac and Internet Technology. She has 6 years of writing articles about data recovery on PC/Mac, disk cloning solution, data eraser and computer OS optimization, etc. She is also interested in testing various software and digital products.
Gerhard Chou
In order to effectively solve the problems for our customers, every article and troubleshooting solution published on our website has been strictly tested and practiced. Our editors love researching and using computers and testing software, and are willing to help computer users with their problems