Written byMariaUpdated on Oct 16, 2026

Before we start: NTFS drive is read-only on Mac. If you want to transfer high definition video from MacBook to NTFS drive safely, you can use Donemax NTFS for Mac to make NTFS drive is fully read-write on Mac first.
PAGE CONTENT:
Have you ever tried plugging your external hard drive into your MacBook, only to find out you cannot copy your stunning 1080p or 4K videos onto it? If your drive is formatted in NTFS—which is the standard file system for Windows—you are not alone. This is one of the most common roadblocks video editors, creators, and everyday Mac users run into.
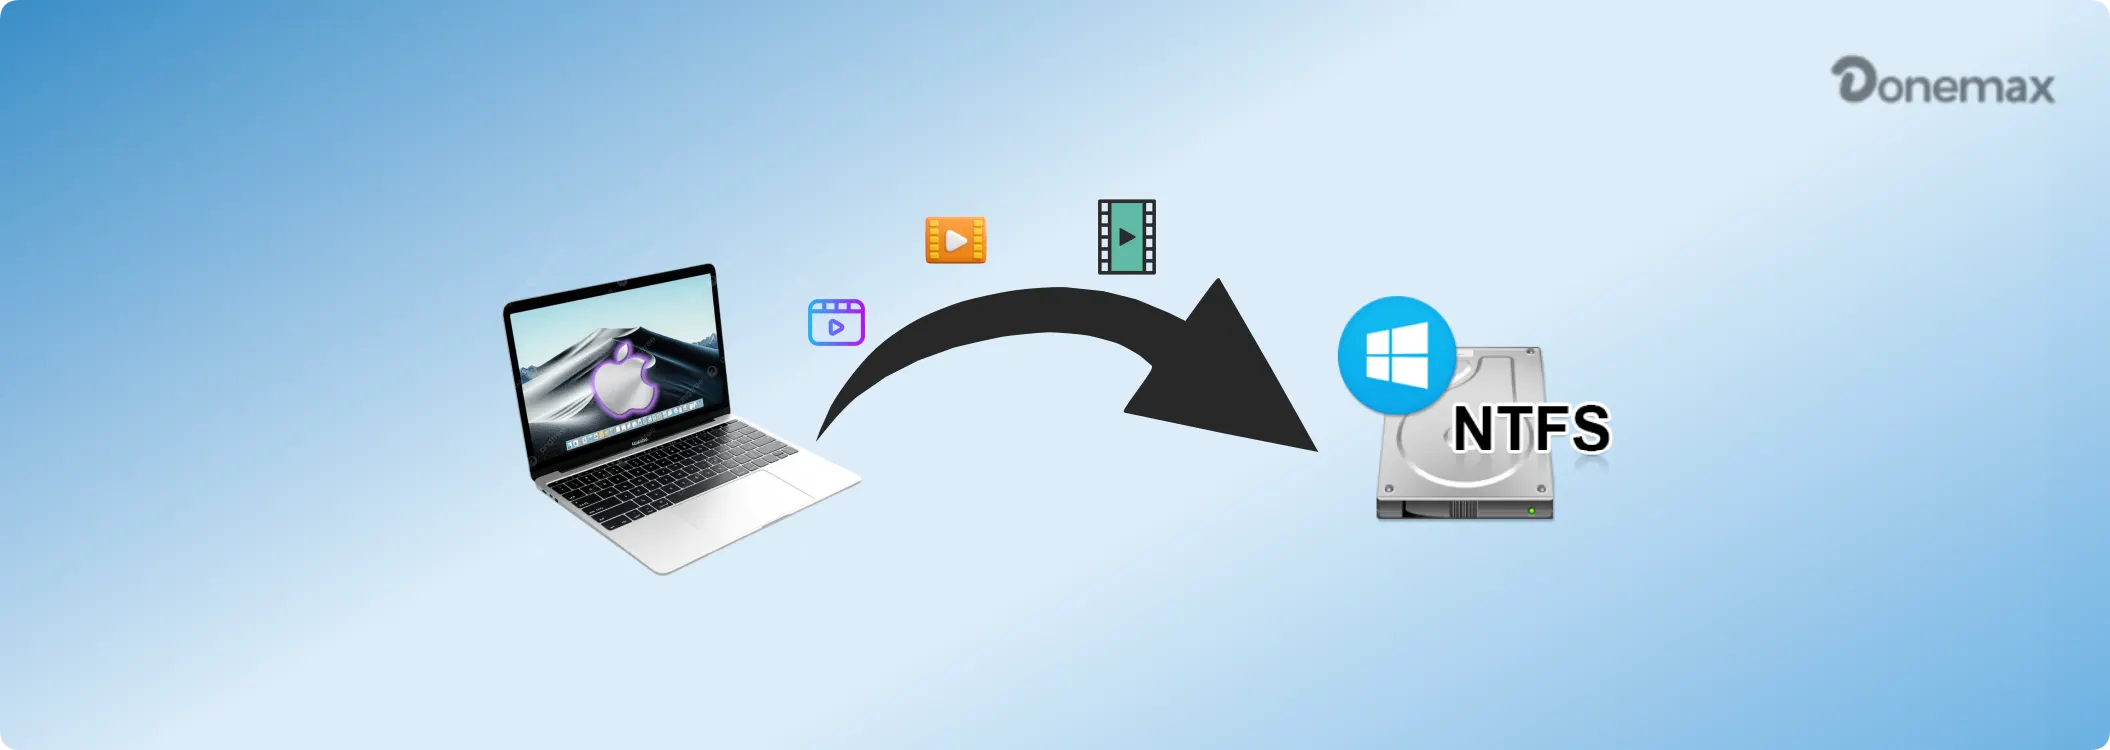
macOS lets you plug in an NTFS drive and watch videos stored on it, but it blocks you from editing, deleting, or moving new files onto it. When you are dealing with massive, high-definition video files, this limitation can be incredibly frustrating. You might be wondering: How can I transfer high definition video from MacBook to NTFS drive safely without reformatting the drive and losing all my existing data?
In this comprehensive guide, we will walk you through everything you need to know. We will explore why this restriction happens, examine the best ways to bypass it, and show you a foolproof, step-by-step method to move your precious video projects safely.
When you buy an external hard drive or SSD from stores like Western Digital, Seagate, or Toshiba, it is almost always pre-formatted in NTFS (New Technology File System). Windows computers love NTFS because it handles large files smoothly and keeps data secure.
Apple's macOS, however, operates on its own file system architecture (like APFS and Mac OS Extended). While Apple built macOS with built-in NTFS 'read' support so you can open files, it disabled native 'write' support by default. That means every time you drag a large HD video from your MacBook desktop onto your NTFS external drive, macOS simply refuses the action or greys out the option.
Some users immediately think about reformatting the drive to exFAT or APFS. While that sounds simple, reformatting completely wipes the drive clean. If you have gigabytes of important backups or video files already stored on that drive, formatting is out of the question unless you have a second backup drive handy. That is why using a reliable, safe NTFS writing solution is the smartest choice.
High-definition and 4K video files are massive. A single 20-minute project exported in ProRes or high-bitrate MP4 can easily exceed 15GB to 50GB. When moving files of this size, data integrity is everything.
If a file transfer is interrupted due to software crashes, unmounted drives, or faulty workarounds, your video file can become corrupted. A corrupted video file will refuse to play, showing black screens, missing audio, or freezing playback halfway through.
When you transfer high definition video from MacBook to NTFS drive safely, you need a method that guarantees 100% stability, fast transfer speeds, and zero risk of file corruption.
To bridge the gap between macOS and your Windows-formatted drive without formatting, professional video editors rely on dedicated NTFS driver software. One of the most reliable, lightweight, and user-friendly tools available today is Donemax NTFS for Mac.
Donemax NTFS for Mac acts as a secure bridge. Once installed, it automatically detects any NTFS-formatted external hard drive, USB flash drive, or solid-state drive you plug into your MacBook and mounts it with full read and write permissions. You can drag, drop, edit, and delete video files just as easily as you would on a native Mac drive.
Getting started takes less than a minute. Follow these simple steps to set up your Mac and transfer your HD videos safely:
Step 1: Download and Install Donemax NTFS for Mac. Head over to download the lightweight installer package, and follow the simple on-screen instructions to install it on your MacBook. A quick system restart may be required depending on your macOS version to enable full driver extensions.
Step 2: Connect Your NTFS External Drive. Plug your external hard drive, USB flash drive, or portable SSD into your MacBook using a stable USB-C or Thunderbolt cable. Ensure the connection is secure so the drive doesn't accidentally disconnect during large file transfers.
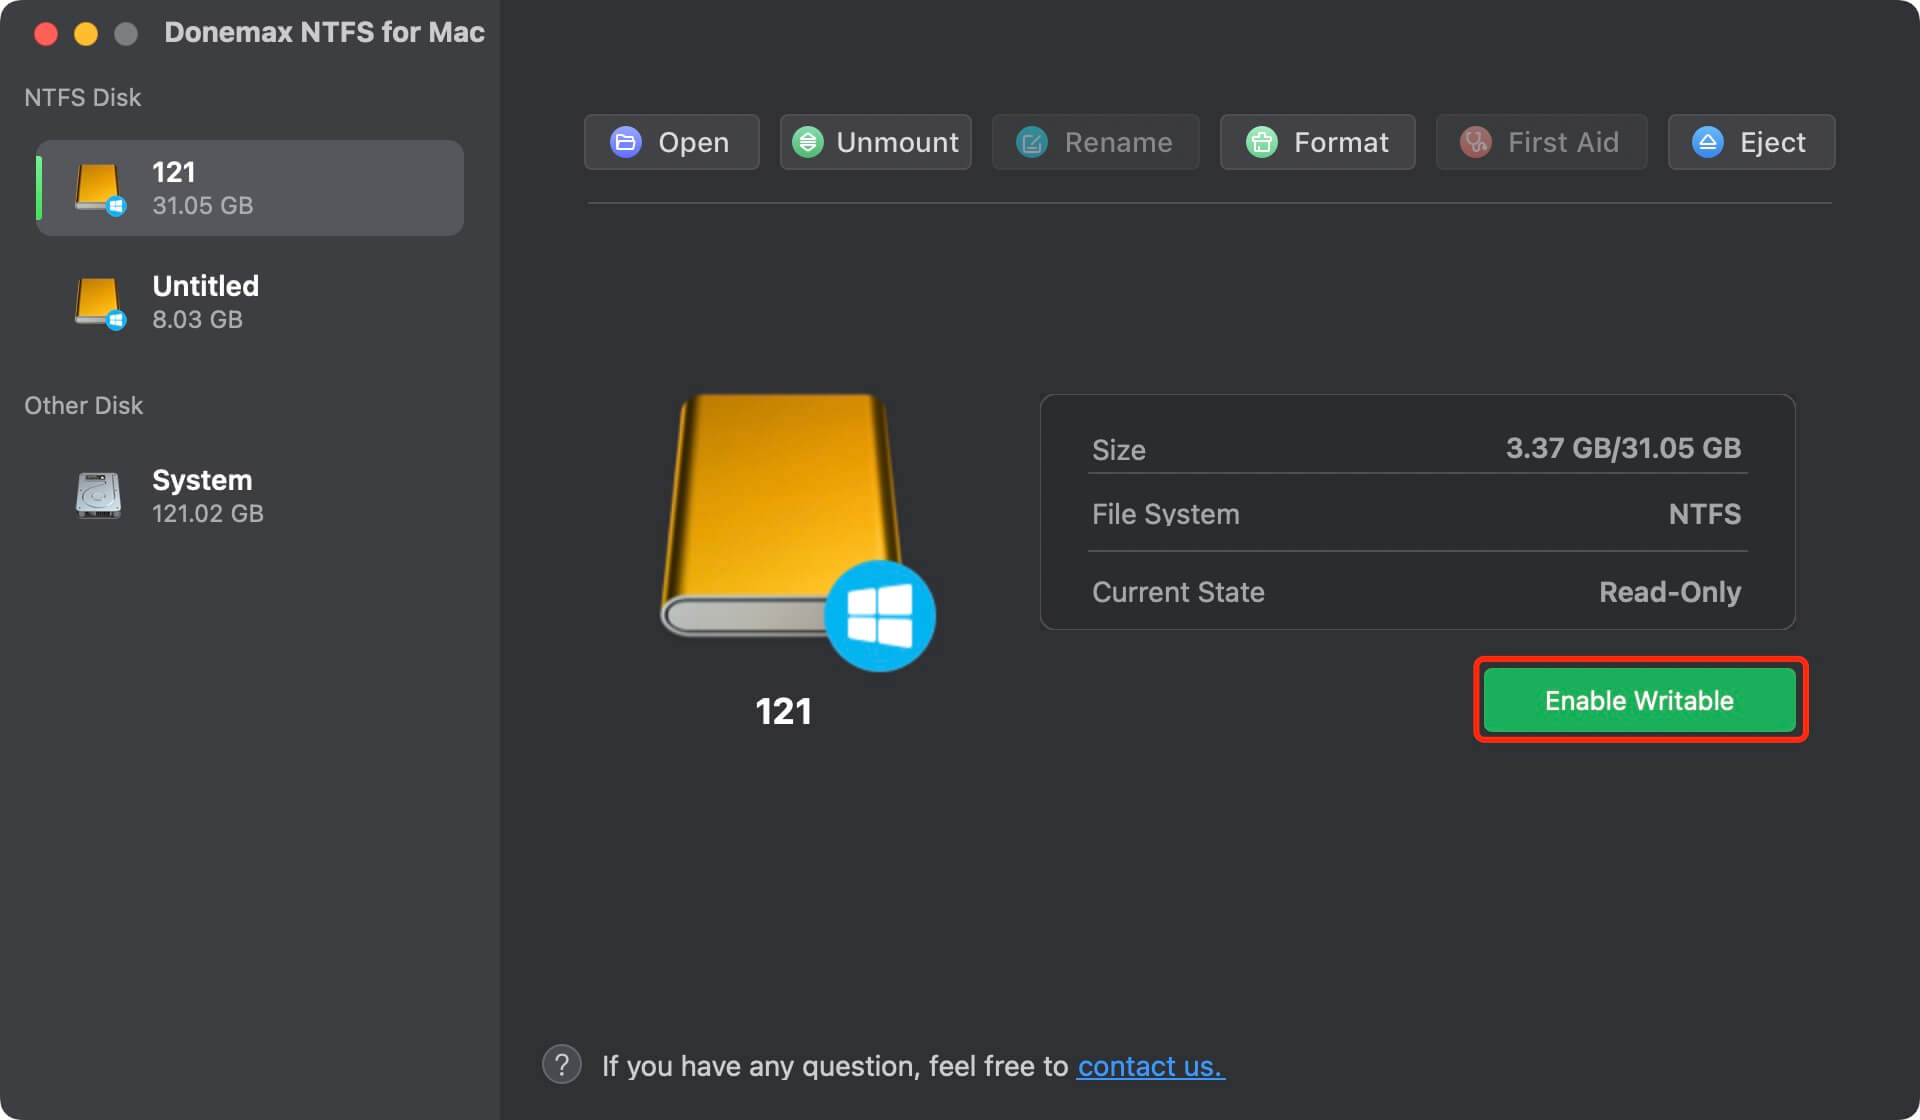
Step 3: Enable Write Access with One Click. Launch Donemax NTFS for Mac from your Applications folder. You will see your external drive listed in the interface. Click on the drive and select 'Enable Write' (or mount it with read-write permissions). The status will immediately update to show that full writing is enabled.
Step 4: Drag and Drop Your HD Videos. Open Finder and locate your high-definition video files. Simply drag and drop your video files from your MacBook's internal SSD directly into the NTFS external drive folder. Because Donemax provides native-level speeds, your large video files will transfer rapidly.
Step 5: Eject the Drive Safely. Once the file transfer progress bar is fully complete, never just pull out the USB cable. Always right-click your drive icon in Finder or on your desktop and select 'Eject', or safely unmount it through the Donemax app. This ensures all cached video data is fully written to the disk, preventing file corruption.
While dedicated NTFS software is the safest and most convenient option for keeping your drive formatted in NTFS, it is helpful to understand other available methods.
Some advanced users attempt to enable experimental NTFS write support using the Mac Terminal. However, Apple's hidden experimental writing commands are notoriously unstable, prone to data corruption, and can even lock your drive permanently. For valuable HD video projects, Terminal hacks are strongly discouraged.
Another option is formatting the drive to exFAT. exFAT is readable and writable by both Windows and Mac without extra software. The catch? You must back up all existing data, reformat the drive, and exFAT file systems are much more prone to directory corruption during massive file transfers compared to NTFS.
To ensure your video transfer process goes off without a hitch, keep these best practices in mind:
Transferring high-definition videos from your MacBook to an NTFS external drive doesn't have to be a stressful experience. While macOS restricts native writing to Windows-formatted drives, tools like Donemax NTFS for Mac eliminate that barrier completely. By following the secure steps outlined in this guide, you can protect your valuable video projects, enjoy lightning-fast transfer speeds, and work seamlessly across both Windows and Mac environments.
Maria
Maria is one of the senior writers & editors of Donemax who lives and works in Sydney, Australia. She loves PC, Mac and Internet Technology. She has 6 years of writing articles about data recovery on PC/Mac, disk cloning solution, data eraser and computer OS optimization, etc. She is also interested in testing various software and digital products.
Gerhard Chou
In order to effectively solve the problems for our customers, every article and troubleshooting solution published on our website has been strictly tested and practiced. Our editors love researching and using computers and testing software, and are willing to help computer users with their problems