
100% Effective data recovery software to completely recover deleted, formatted and lost files.
Quick Navigation:
If you're looking to buy an SSD or already have one installed on your computer, SSD TRIM is a feature you should be familiar with.
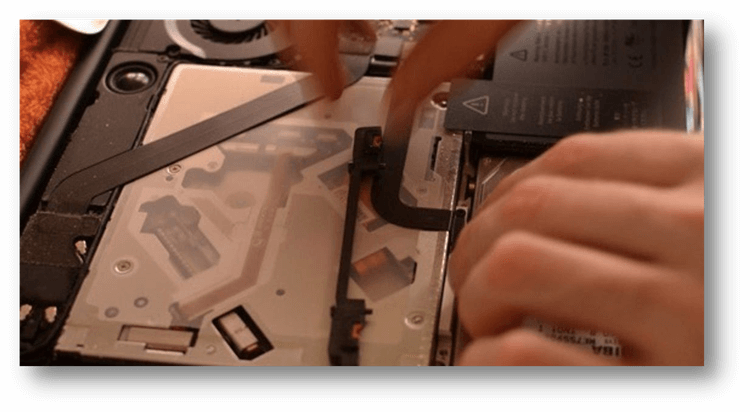
You know your Mac is faster if you upgrade its hard drive with an SSD. Mac OS doesn't enable TRIM for self-installed SSDs like Windows does. TRIM is activated by default on SSD-equipped Macs.
TRIM lets the operating system notify an SSD of data blocks that can be erased internally. It improves drive efficiency and longevity. Learn more here. To prolong SSD life, your Mac must perform TRIM.
What is TRIM?
If you imagine your data as papers in a file cabinet, then to delete a single empty page, you would have to remove every single folder in the cabinet, search for the page you wanted to delete, delete it, and then replace the complete folder. Spinning hard disks can only handle data in large, predetermined chunks called blocks, analogous to a folder, and cannot handle smaller data than a block. Because of how fast they rotate and the size of the blocks, it is most efficient to work on a complete folder at once.
As the SSD disk is unique, reading and writing one page at a time is far more efficient. It takes a while to deal with writing enormous data chunks. A solid-state drive (SSD) can use a TRIM command to destroy data one page at a time instead of erasing entire directories when deleting data from a hard disk.
How SSD TRIM works?
NAND SSDs read and write data in 128-page blocks. When writing or programming data to the SSD, a block of obsolete data must be deleted. Garbage collection simplifies SSD maintenance.
Garbage collection maintains storage space and handles discrepancies between erase unit size (block) and read/write unit size (page). Garbage collection removes valid data pages from a previously written block so that it can be removed. Trash collection may wait for drive activity, leaving obsolete SSD pages.
SSD TRIM complements garbage collection. The TRIM command lets the OS preemptively warn the SSD which data pages in a block can be wiped, helping the SSD controller better manage data storage space. TRIM reduces garbage collection time and SSD speed by not copying invalid or discarded data pages.
SSD TRIM indicates faulty data for garbage collection. The SSD has fewer pages to travel during trash collection, which minimizes the NAND flash media's P/E cycles and extends its lifespan. Reducing erases can extend SSD lifespan because the P/E cycle wears out NAND memory.
How to check that TRIM is enabled? (Windows)
A desk with a laptop and a hand typing a command into command mode.
Press the Windows key plus the letter X to open the command prompt, then click the "Search" button.
Choose "Run as administrator" from the menu after right-clicking "Command Prompt."
Press the Enter key after typing the fsutil behavior query DisableDeleteNotify.
DisableDeleteNotify = 1 means TRIM disabled on your SSD, whereas DisableDeleteNotify = 0 means TRIM is enabled.
How to enable SSD TRIM on a Mac?
Remember that the Mac's SSD TRIM can be tricky and incompatible with all SSDs. TRIM is turned on by default if your computer has an SSD.
Before putting an SSD in your Mac, double-check with your supplier to ensure it is compatible with the device.
To activate the terminal, you can search for it using Spotlight at the top right corner).
Press enter after typing the following command:
Sudo trim force
A password (for your Mac account) and a confirmation that you want to enable TRIM will be required. To respond "yes" to the questions presented (again, make sure your SSD supports the Mac). As soon as the machine reboots, TRIM will be activated.
How to disable TRIM on Mac?
Disabling the TRIM command on the SSD can increase the likelihood of data recovery if the data loss is recent. With data recovery software for Mac's Deep Scan tool, you can check to see if the file is still recoverable after you have disabled the TRIM command. To turn off TRIM, follow the instructions below.
Open your Mac's Terminal program.
Enter sudo trimforce disable and press Return.
When it's done, it'll ask whether you want to continue. It appears to be the case.
Press the Return key after typing Y.
If you disable the TRIM command, your SSD will run slower and wear out faster. After you have finished data recovery, you should re-enable the TRIM command on your Mac. The procedure is identical to disabling, except that the disable command is changed to sudo trimforce enable.
Conclusion:
SSD TRIM is a helpful tool that can increase the performance, functionality, and lifespan of your SSD, but it is not without its negatives. The biggest drawback is the inability to restore deleted files on SSDs with the TRIM command activated. While emptying Mac Trash, exercise caution.
FAQs:
1. Can I recover lost data from a SSD which TRIM is enabled?
Generally speaking, the lost data on a SSD which has turned on TRIM has been erased immediately. But, you still can try data recovery software to scan the SSD to check if you can recover all or some of the lost files.
2. Can I clone data to a SSD which TRIM is enabled?
Yes, you can clone data to a SSD whether the TRIM is enabled or not. Download a disk cloning program to help you clone HDD or SSD data to another SSD.
3. How to check if my Mac supports TRIM?
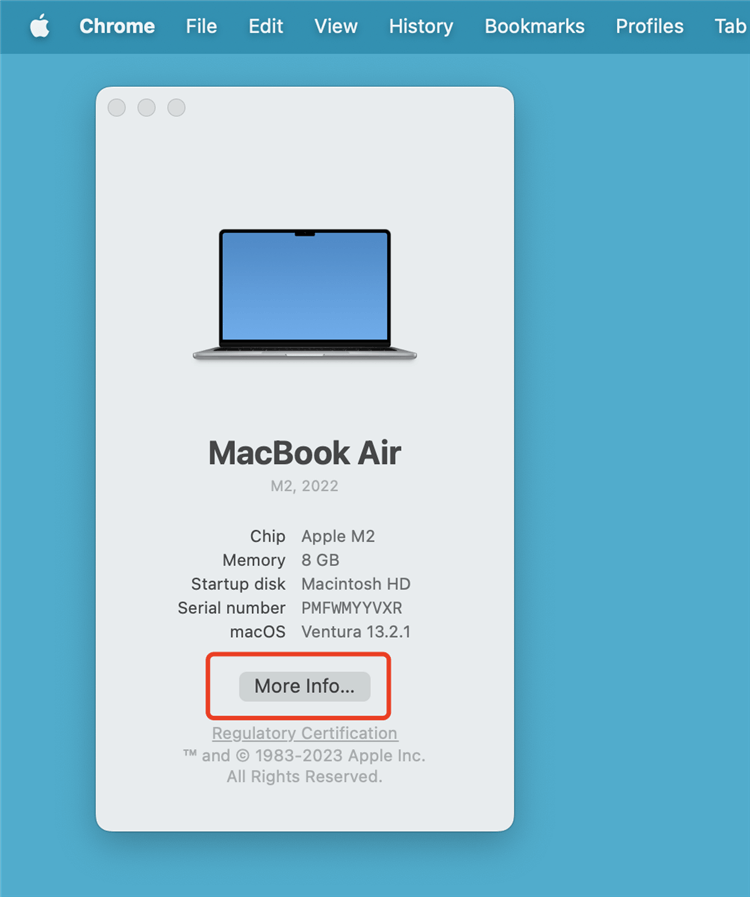
Click Apple logo, choose “About this Mac”
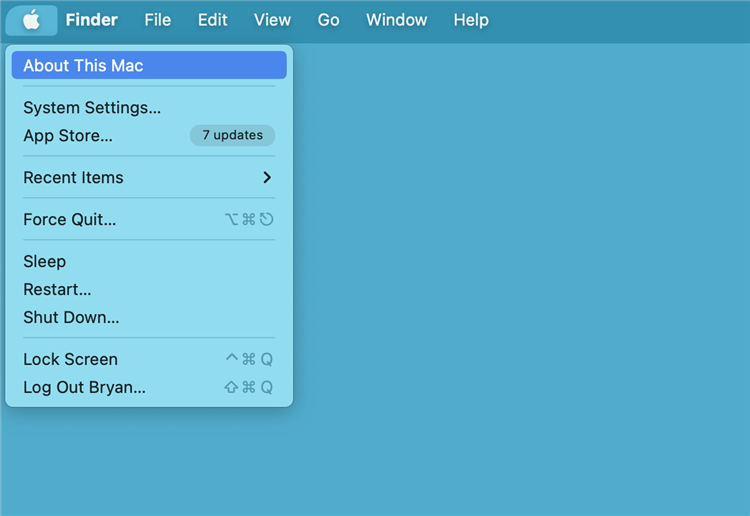
Click More Info...
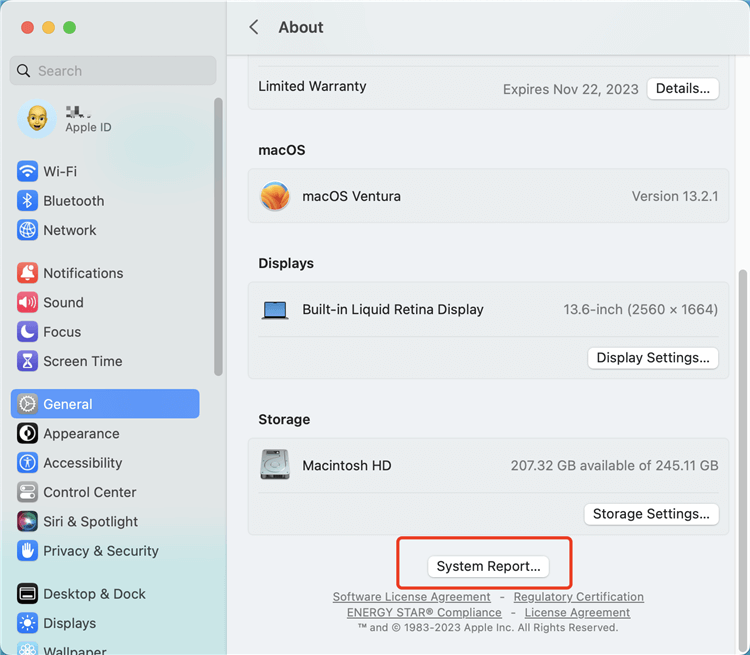
Go to General > System Report...
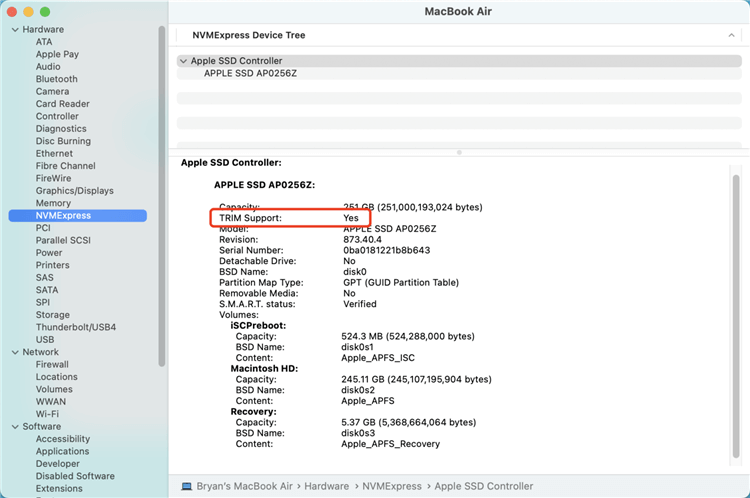
Find Hardware > NVMExpress, then you will see if your Mac supports TRIM.
Donemax Data Recovery
Hot Articles
- How to Install Windows 11 on Unsupported CPU(See What We Do)
- Everything About the EFI System Partition on Windows 11
- Guides on Windows 11 Checker, How to Use it
- What Should I Prepare for the Windows 11 Upgrade
- How to Enable Secure Boot for Windows 11(Complete Guide)
- How to Install Windows 11 from USB
- How to Improve Windows 11 Performance?
- How to Remove Password in Windows 11
- The Difference between Windows 11 and Windows 10| Windows 11 VS Windows 10
- Should You Upgrade to Windows 11? What Benefits of Windows 11?
Hot Donemax Products

Clone hard drive with advanced clone technology or create bootable clone for Windows/Mac OS.

Completely and easily recover deleted, formatted, hidden or lost files from hard drive and external storage device.

Certified data erasure software - permanently erase data before selling or donating your disk or any digital device.