
Written byStevenUpdated on Jul 16, 2026

Before we start: If there are files lost after upgrading to macOS 27 Golden Gate, what to do? First check if you have any backups available on Time Machine backup drive, iCloud, or other places. If not, use the software Donemax Data Recovery for Mac to get back the missing files as soon as possible.
PAGE CONTENT:
Upgrading to macOS 27 Golden Gate is an exciting step. It brings sleek design shifts, highly improved security features, and lightning-fast software refinements to your Mac. However, for some users, that excitement turns to instant panic when they log in for the first time. The Desktop is empty. The Documents folder is completely cleared out. Important work projects, family photos, and music files are nowhere to be found.
If you are looking for a way to recover lost files after upgrading to macOS 27 Golden Gate, you have come to the right place. First, take a deep breath. Just because your files are invisible right now does not mean they are gone forever. System updates sometimes change folder paths, conflict with iCloud settings, or create temporary hiccups that hide your files. Let us look at why this happens and explore the best ways to bring your files back safely.
Understanding why files disappear can help you pick the right recovery path. Major OS updates make deep-seated changes to your startup drive. Here are the most common reasons why files might seem lost on macOS 27 Golden Gate:
Before attempting any recovery, you must follow one critical rule to protect your lost data: Stop using your Mac's internal drive immediately. Do not download large apps, stream movies, or copy heavy file folders. When files go missing, their physical space on the SSD is marked as 'available.' Continued activity will overwrite that space, rendering those files permanently unrecoverable.
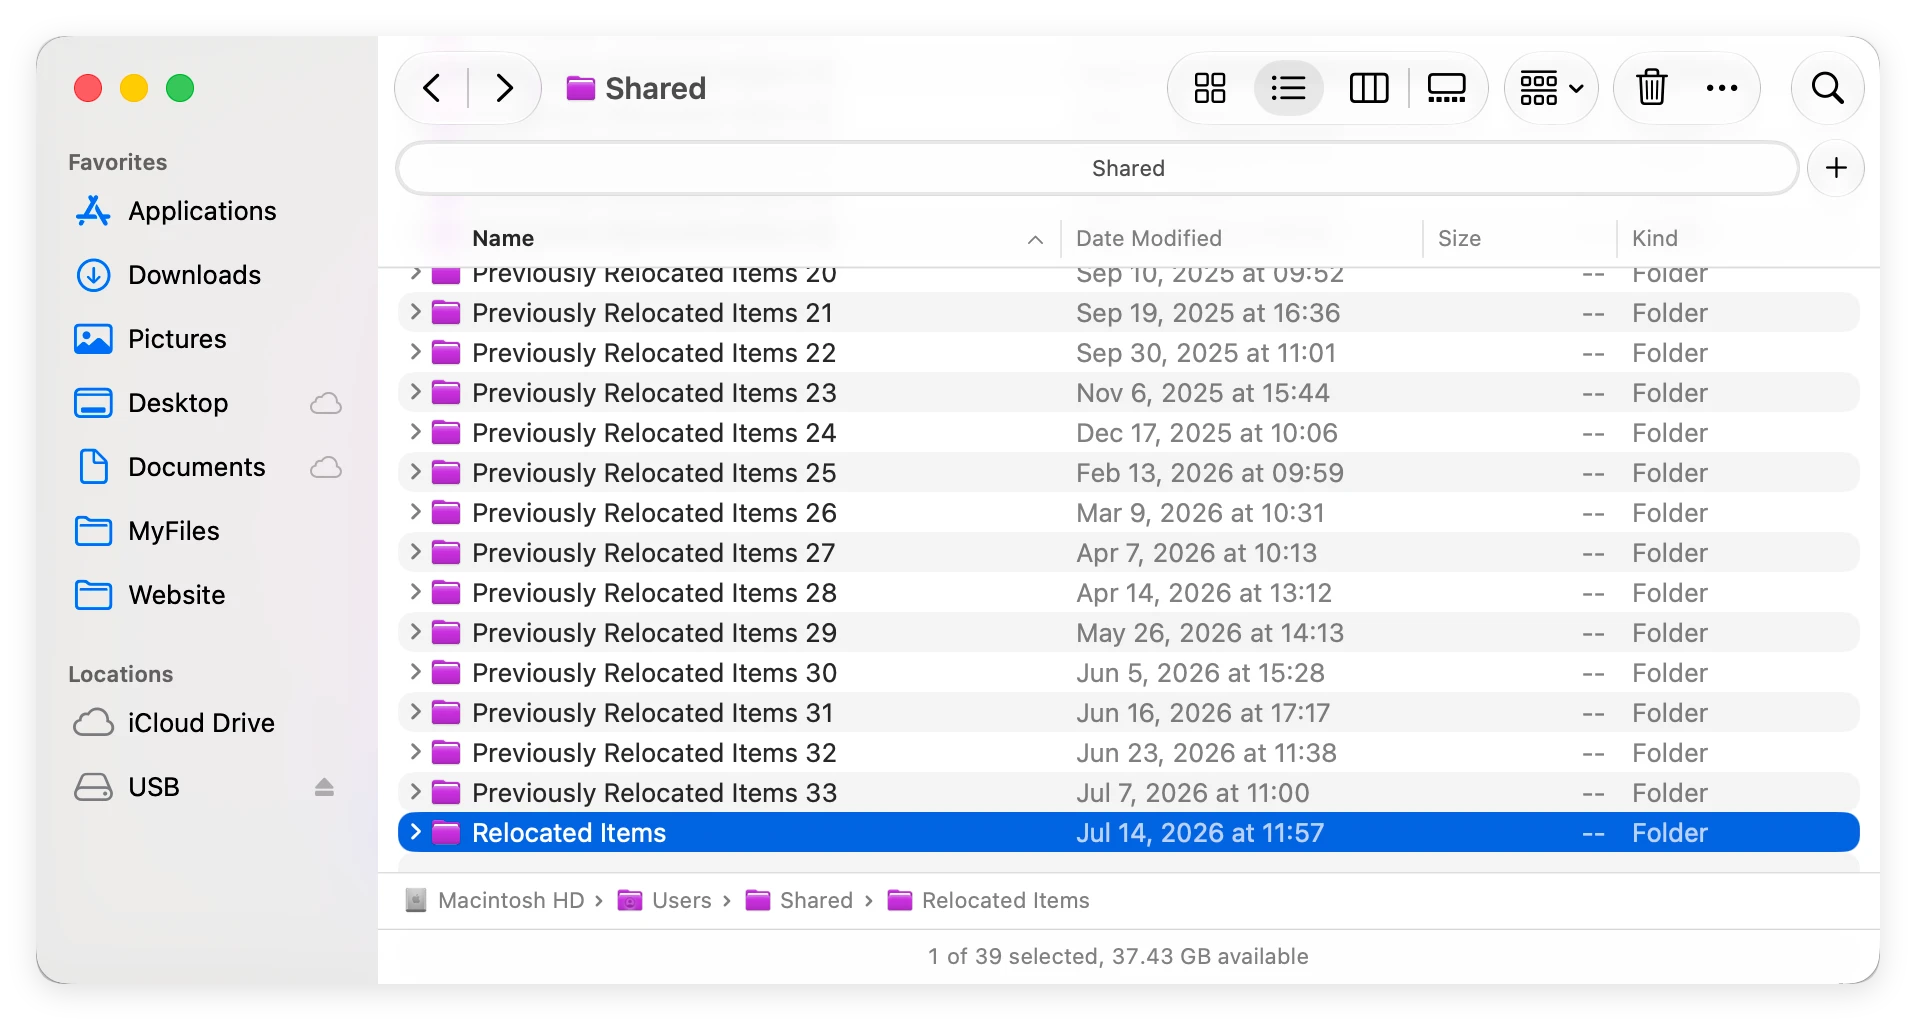
Sometimes files are not deleted; macOS simply moves them during the upgrade. If a file is deemed incompatible with macOS 27 Golden Gate, it is relocated to a designated folder.
You can check for these files using the following steps:
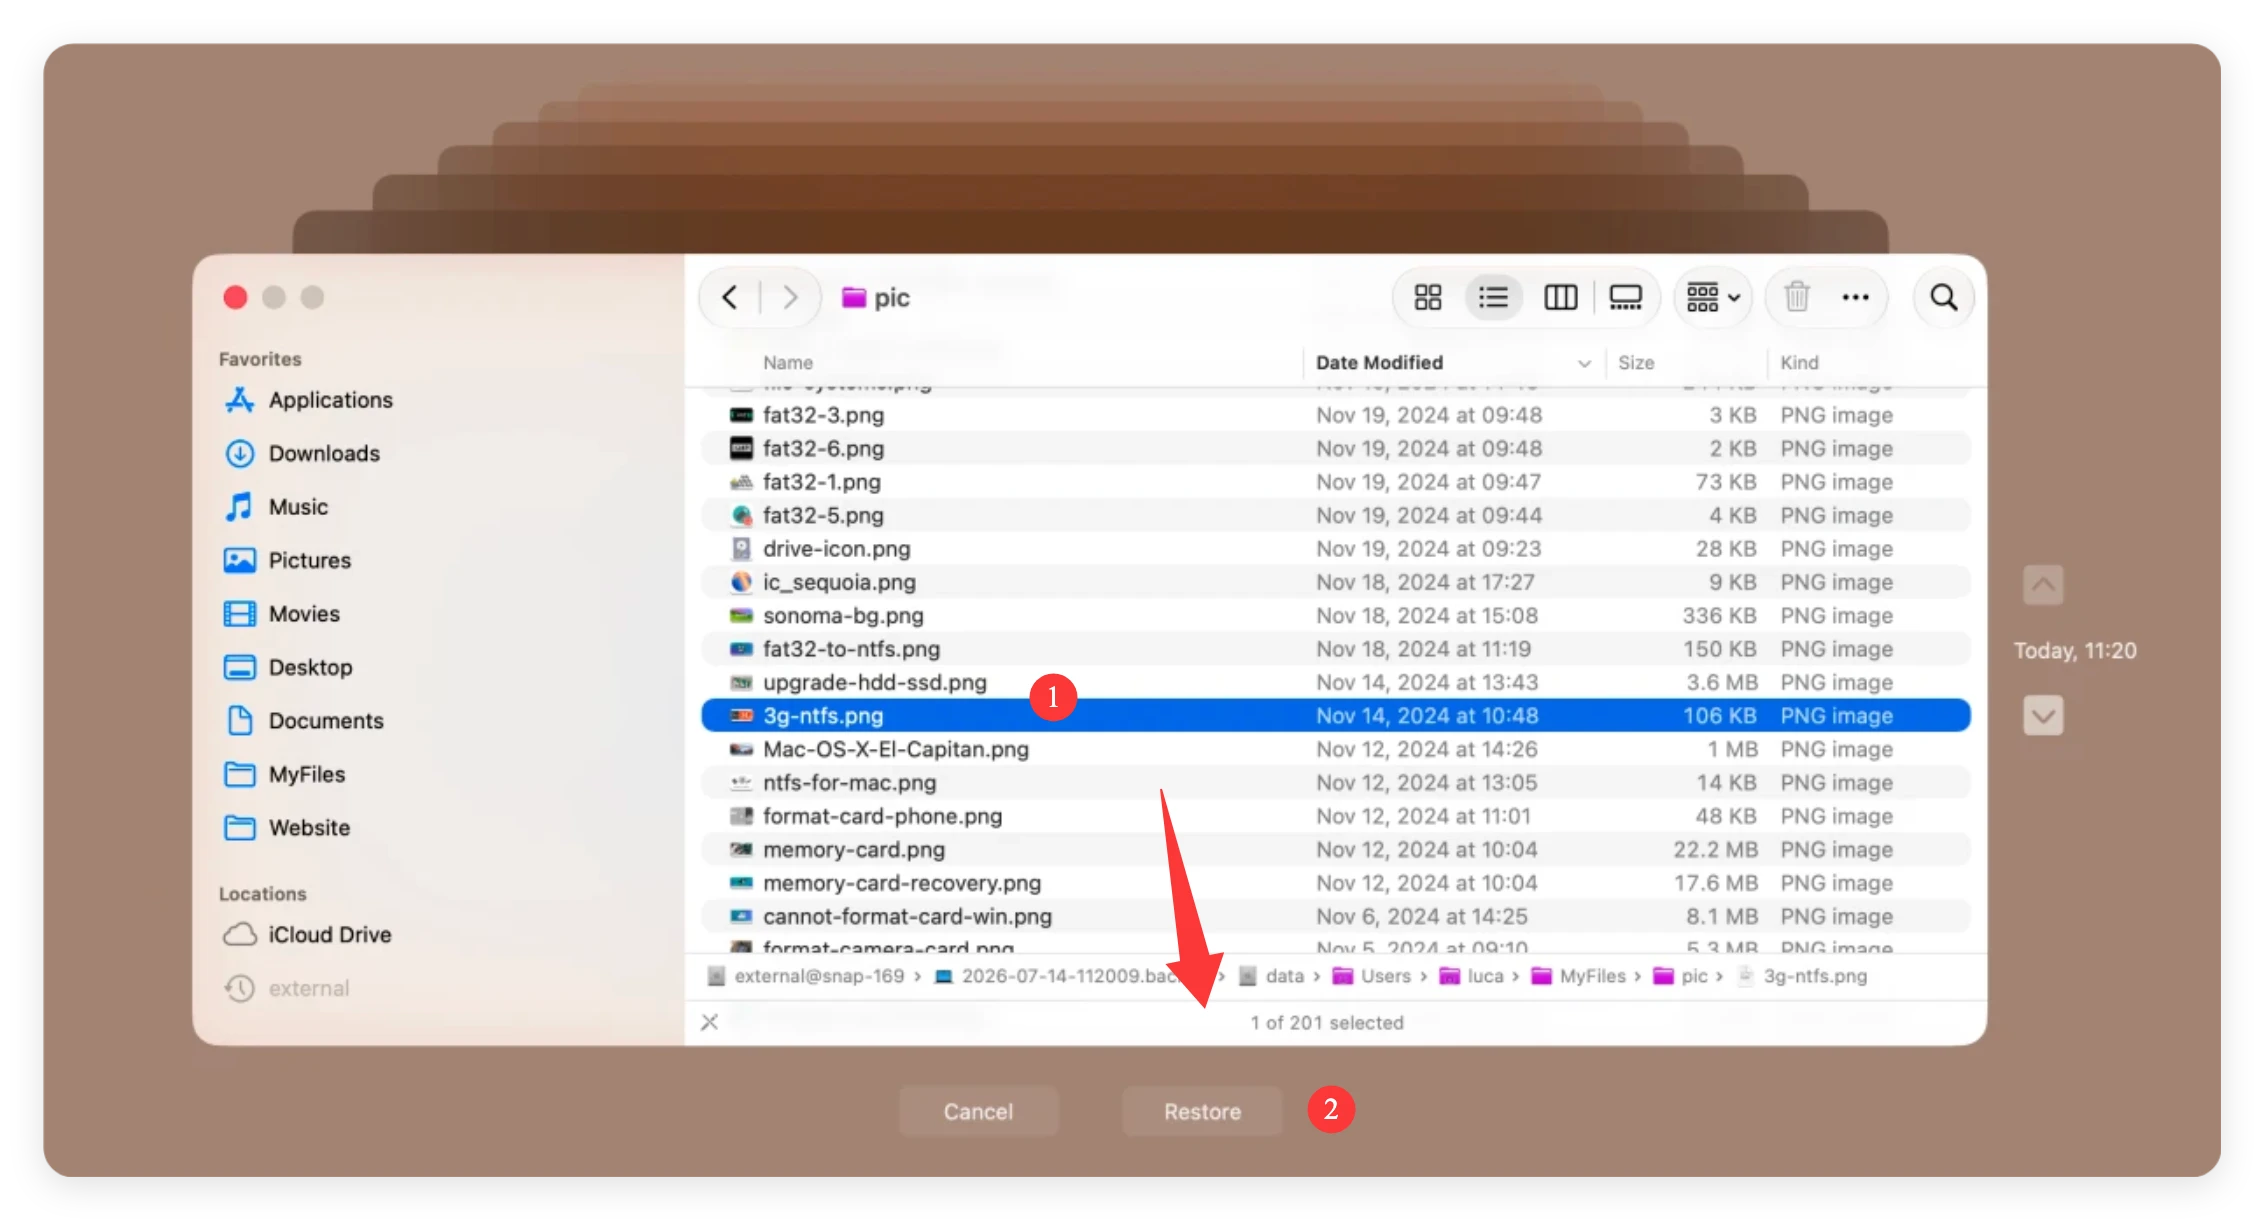
Time Machine remains the gold standard for restoring missing data if you created a backup before installing the macOS 27 Golden Gate update.
To restore files with Time Machine:
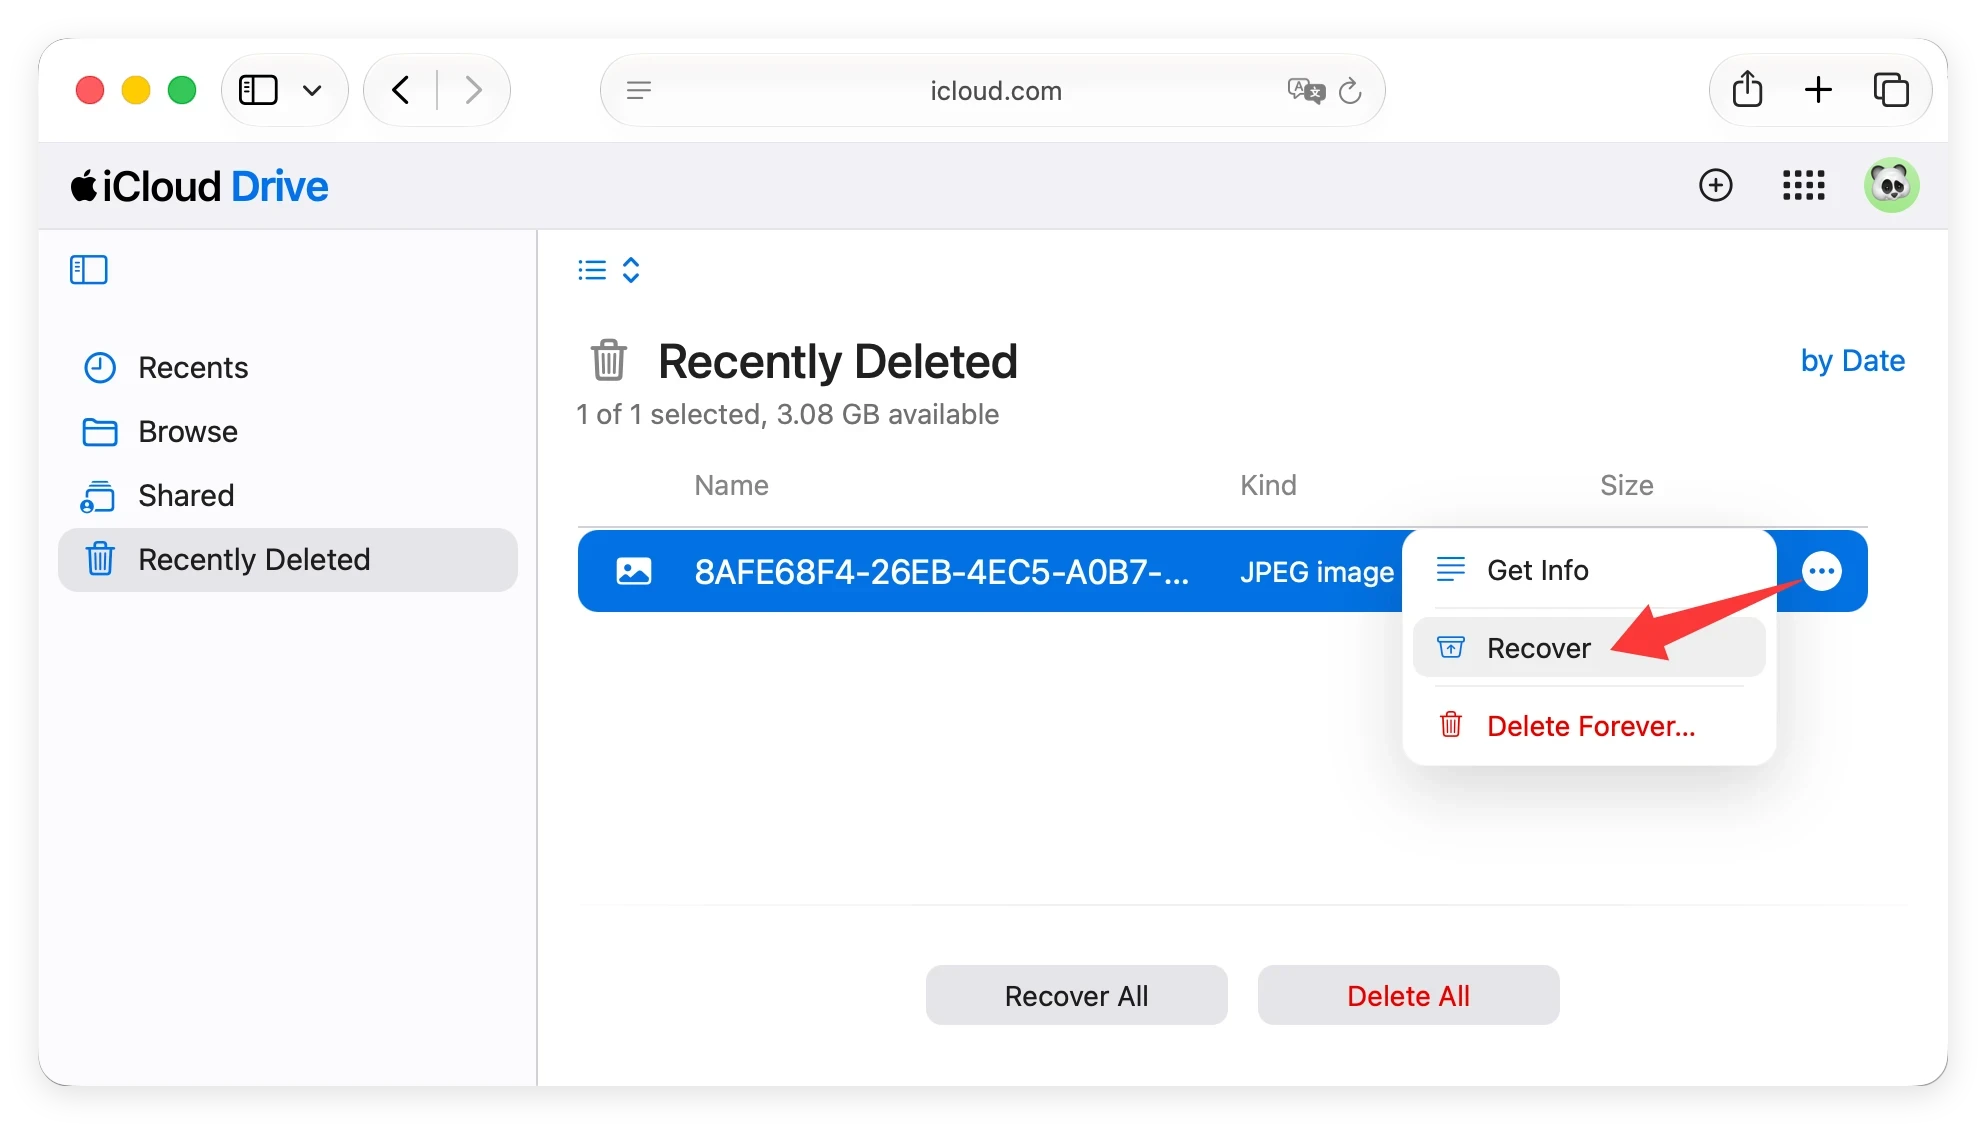
If your files disappeared but your internet connection has been active, they might have synced to your iCloud account during the upgrade setup. Let's check iCloud Drive:
If you do not have a Time Machine backup, or if you checked and your backup is corrupted, do not panic. Your files are still written on the solid-state drive; you just need a specialized tool to find them. The easiest and most reliable solution is using Donemax Data Recovery for Mac.
Donemax Data Recovery is a powerful, DIY data recovery software designed specifically to retrieve files lost due to macOS updates, accidental formatting, system crashes, or partition errors. It features a modern, user-friendly interface that requires zero technical skills, and it is fully optimized to work on macOS 27 Golden Gate and Apple Silicon chips.
Here is the simple step-by-step process to recover your data:
Step 1. Download and install Donemax Data Recovery for Mac (To prevent overwriting, try downloading this onto an external drive or a secondary device if possible).
Step 2. Launch the application and select your startup disk (usually labeled Macintosh HD or Macintosh HD - Data) from the available drives list.
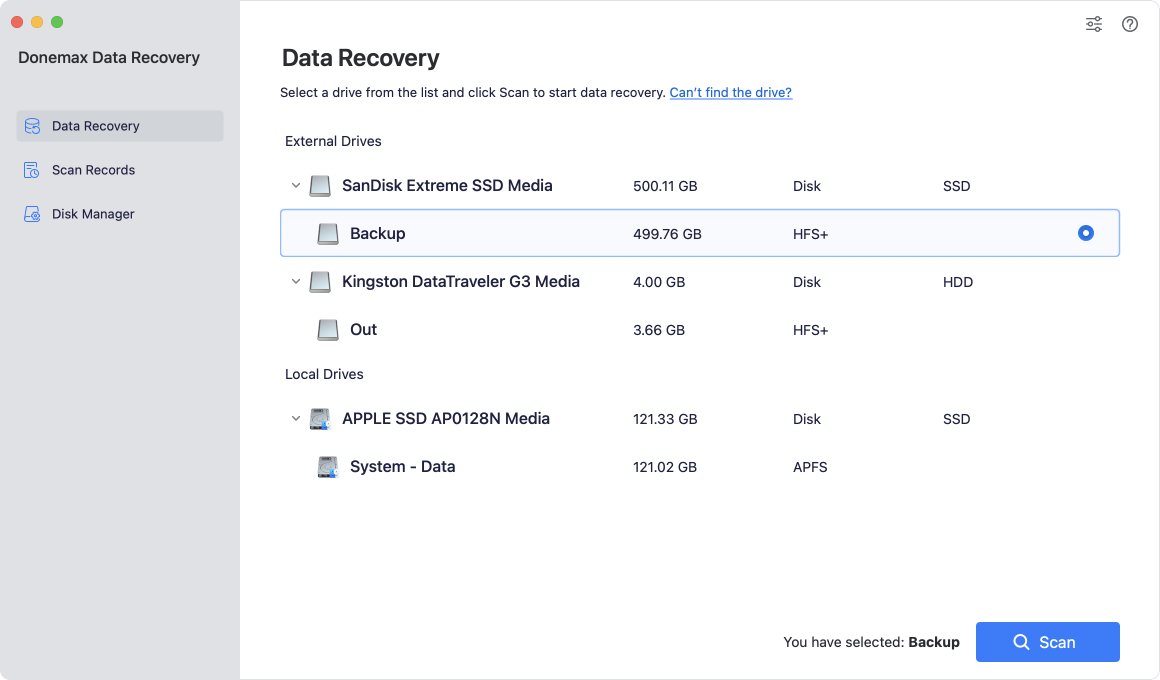
Step 3. Click the Scan button. The software will perform a deep scan of your system to locate lost, hidden, or deleted files.
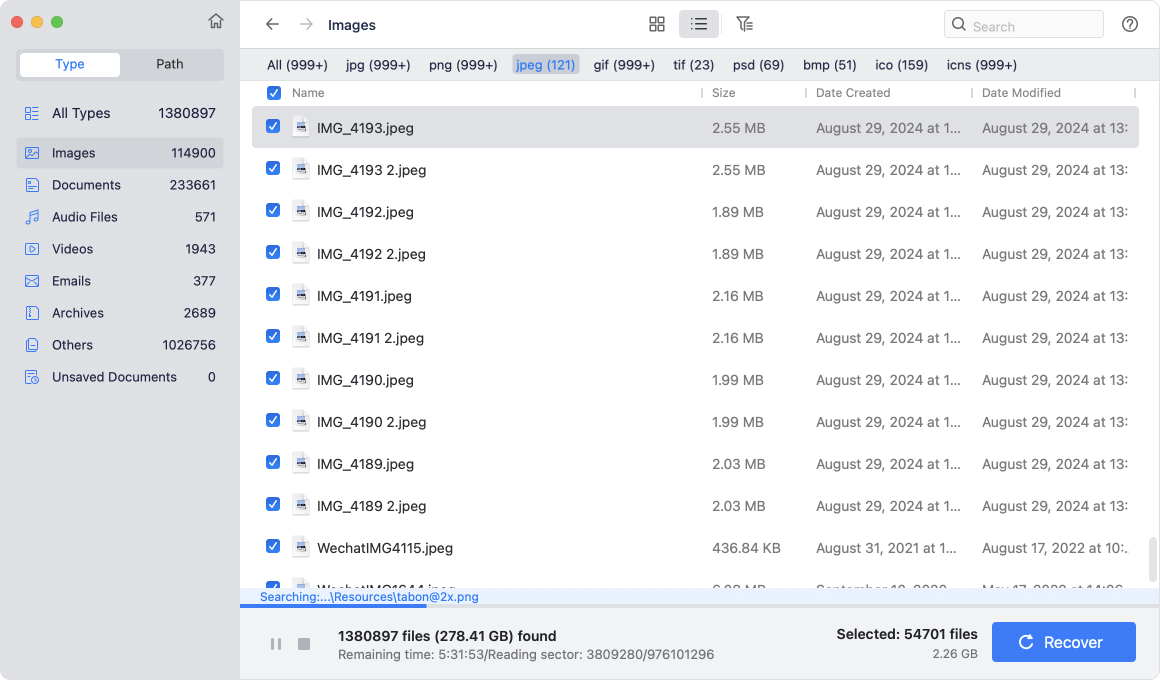
Step 4. Preview the discovered files (including photos, videos, Word documents, and PDFs) using the built-in preview tool.
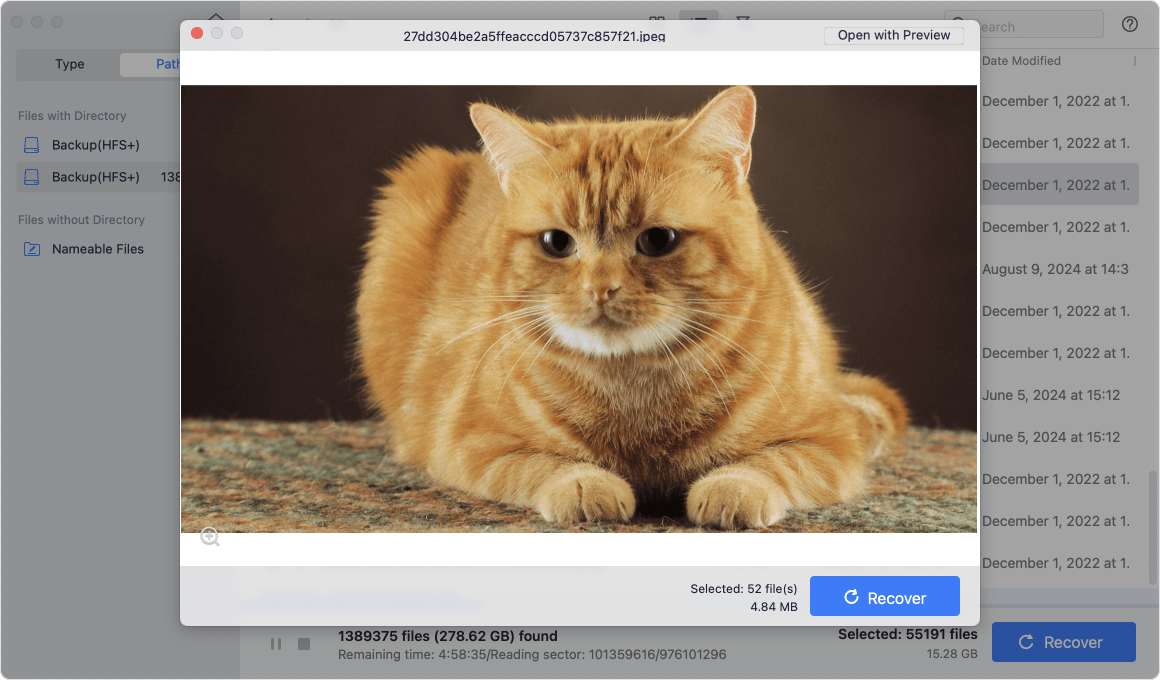
Step 5. Select the files you want to retrieve and click the Recover button. Make sure to save them onto an external drive rather than your internal disk to avoid file corruption.

Losing important files after upgrading to macOS 27 Golden Gate is stressful, but there are multiple paths to get them back. Whether you find them tucked away in the Relocated Items folder, restore them from a backup, or let Donemax Data Recovery for Mac perform a deep scan to salvage them, your data is highly salvageable. Act quickly, minimize new writes on your Mac, and retrieve your files today!
Donemax Data Recovery for Mac
Donemax Data Recovery for Mac is one of the best Mac data recovery software. It is easy-to-use and can help in recovering deleted, formatted, inaccessible or lost data from Mac HDD/SSD, external disk, USB drive, SD card, camera or other storage devices.
Steven
Steven has been a senior writer & editor of Donemax software since 2020. He's a super nerd and can't imagine the life without a computer. Over 6 years of experience of writing technical solutions and software tesing, he is passionate about providing solutions and tips for Windows and Mac users.
Gerhard Chou
In order to effectively solve the problems for our customers, every article and troubleshooting solution published on our website has been strictly tested and practiced. Our editors love researching and using computers and testing software, and are willing to help computer users with their problems