Written byCharlesUpdated on Jan 01, 1970
Move Data from Intel Mac to Apple Silicon Mac
Approved byGerhard Chou
Before we start: You can use different methods to migrate data from an Intel Mac to an Apple Silicon Mac. With Donemax Disk Clone for Mac, you can even make a bootable clone from Intel Mac to Apple Silicon Mac.
PAGE CONTENT:
People have found that an external startup volume used with an Intel Mac won't boot an Apple silicon Mac after acquiring one. For macOS volumes that manage Intel and Apple Silicon Macs, Apple has ordered hidden partitions that are a part of the starting process differently. No one has attempted to create a dual Intel/Apple Silicon bootable starter disk, as far as anyone is aware. (If you know differently, please let us know.)
That often isn't a significant issue. When that drive isn't set up as the usual startup drive, most users who aren't system leaders rarely need a way to start up a computer externally. The problem usually arises when you wish to utilize the same external drive to move data from from Intel Mac to Apple Silicon Mac. Still, you didn't buy a Mac with an internal volume big enough to use Migration Assistant to hold the contents of your external startup.
Transferring files from your old Intel Mac to your new Apple Silicon Mac laptops is one of the most crucial tasks for folks who have just purchased a new Mac with an Apple Silicon Mac.
If you learn the proper methods, it can be simple. I separate them into several segments depending on the files you wish to move or migrate, from the Intel Mac to the new Apple Silicon Mac.
Sync Data Using iCloud Account between Intel and Apple Silicon Macs
The most accessible element to remove is Mac programs (like Mail) and Apple services (like Apple Music), as everything will synchronize once you sign in with the correct account.
For me, as soon as I login in with my iCloud account, my desktop and documents stored in iCloud Drive, as well as the Apple apps I use, including Mail, Contacts, Calendar, Safari, Photos, and Notes, are instantly synced from my old Intel MacBook Air 2017 to my new Apple Silicon MacBook Air 2020.
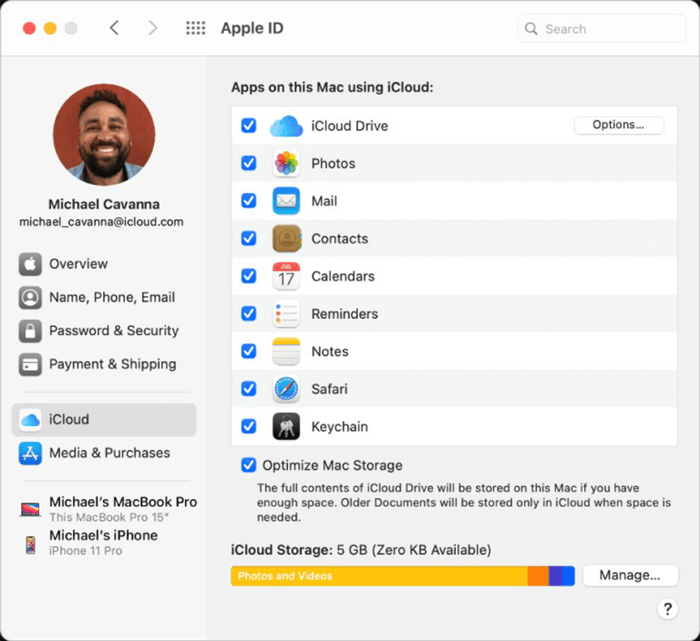
- On the Mac with Intel, try these steps:
- Choose Apple Account (ID) from the tab menu in System Preferences' upper right corner. It's the iCloud option in System Preferences for operating systems before macOS Catalina.
- Check off any features or apps you want to sync with the Apple Silicon Mac.
- Sign in with the same iCloud account you used on the Intel Mac on your Mac with the Apple Silicon chip, and you're done.
It's an excellent alternative for those who merely want a fresh installation of macOS on the Apple Silicon Mac based on prior usage.
Transfer Files Between Intel and Apple Silicon Macs Using Migrate Assistant
Migrate Assistant is built-in software that may be used to transfer files between Mac computers. It enables you to transfer all data from the source computer to a new Mac, including documents, programs, user accounts, and settings.
- Ensure that Migrate Assistant is set up on both Macs, then arrange them close to one another while connected to the same Wi-Fi.
- Select Apple menu > System Preferences > Sharing on your previous Intel Mac. Ensure that the computer name entry contains the name of your previous computer.
- Navigate to Applications > Utilities > Migration Assistant on the new Apple Silicon Mac computer, then click Continue.
- When Migrate Assistant prompts you with a transfer choice, choose "From a Mac, Time Machine backup, or startup disk" to continue.
- Open Migrate Assistant on your old Intel Mac, but this time you must select "To another Mac."
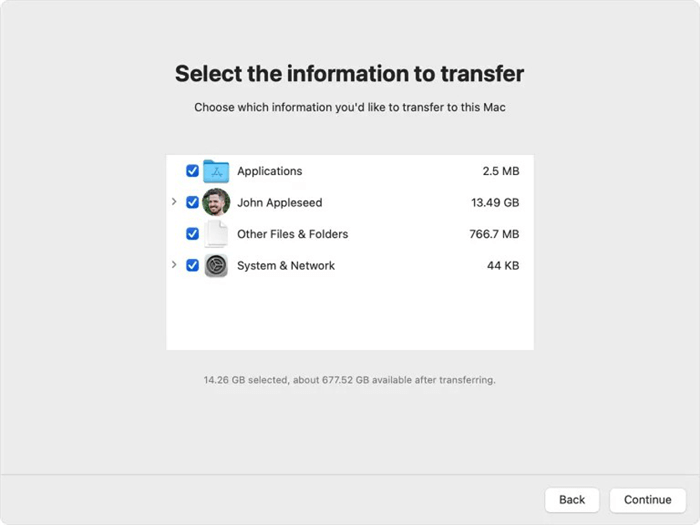
- When the new Apple Silicon Mac asks you to choose a Mac, Time Machine backup, or other startup drive, choose your Intel Mac.
- Then you can move files from the Mac with an Intel processor to your new Apple Silicon Mac by following the on-screen directions.
Transfer Data Between Apple Silicon and Intel Macs with Target Disk Mode
Target Disk Mode, which was previously present on Intel Macs but replaced by Sharing Mode on Apple Silicon Macs, can still be used to transfer data between two Macs. By converting the computer into an SMB file-sharing server through Mac Sharing Mode, another Mac can access user data at the file level.
Target Disk Mode, which makes the Mac with the Apple Silicon appears to the Intel Mac as an external hard disk, enables file transfers between two Mac computers.
To be clear, the Target Disk mode on Apple Mac is no longer the same as it once was. Instead, "Mac Sharing Mode" is the foundation for converting your Mac into an SMB network file share.
What is Mac Share Mode?
Target Disk Mode's successor, Mac Sharing Mode, looks like that feature. Only Apple Silicon Macs serving as source drives are covered by this configuration.
If you wish to copy your Apple Silicon Mac files to another Mac, you should use this mode. All that matters is that the source Mac has an Apple Silicon chip, such as the M1 or better; the other Mac could be an older Intel Mac.
Steps to transfer data via Target Disk Mode
Using the approach explained below, you may quickly transfer your files from an older Mac to a new Apple Silicon Mac. To find out how to accomplish it, continue reading.
- Connect the two computers using a USB, USB-C, or Thunderbolt connection.
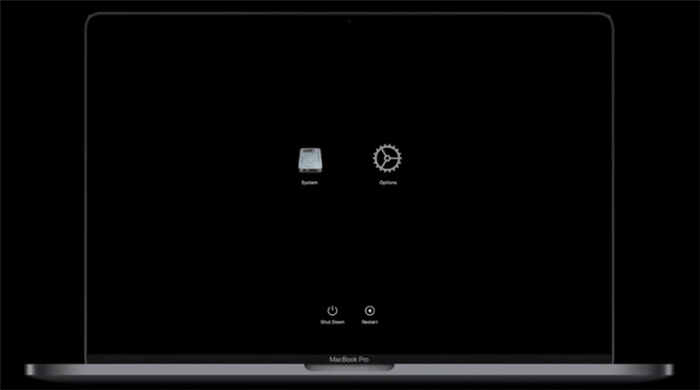
- After turning off the Apple Silicon Mac, hold the power button until the message "Loading startup options" appears.
- Your Apple Silicon Mac enters recovery mode when you select Options and then click Continue while entering your administrator account password.
![move data from Intel Mac to Apple Silicon Mac]()
- Choose Share Disk under Utilities.
- Click Start Sharing after selecting your Apple Silicon Mac's initial disk.
- Open the Finder on the Intel-based Mac and select Network from the Locations sidebar.
- Double-click the shared Apple Silicon Mac drive in the Network window, choose Guest in the Connect As dialogue and then click Connect.
- File transfer between the two.
- Right-click to eject the Apple chip's startup disk from the Intel Mac PCs once you have finished copying files from the Intel Mac to its startup drive.
Create Bootable Clone for Intel and Apple Silicon Macs
If you want to make a bootable clone for your Mac, just try Donemax Disk Clone for Mac, a powerful disk cloning application. You can copy data from Intel Mac to an external hard drive, then connect the external hard drive to your Apple Silicon Mac and then transfer data from the external hard drive to the Apple Silicon Mac.
Donemax Disk Clone for Mac
- Create bootable clone backup for Mac.
- Clone HDD, SSD and external device on Mac.
- Create disk image and copy hard drive on Mac.
Step 1. Open Donemax Disk Clone for Mac on your Mac, then connect an external hard drive to your Mac. Choose disk cloning mode - OS Clone. It will help you clone Mac startup disk to an external hard drive and make it be bootable.

Step 2. Select the external hard drive as the destination drive, then click on Clone Now button to securely clone all data from the Mac startup disk to the external hard drive.
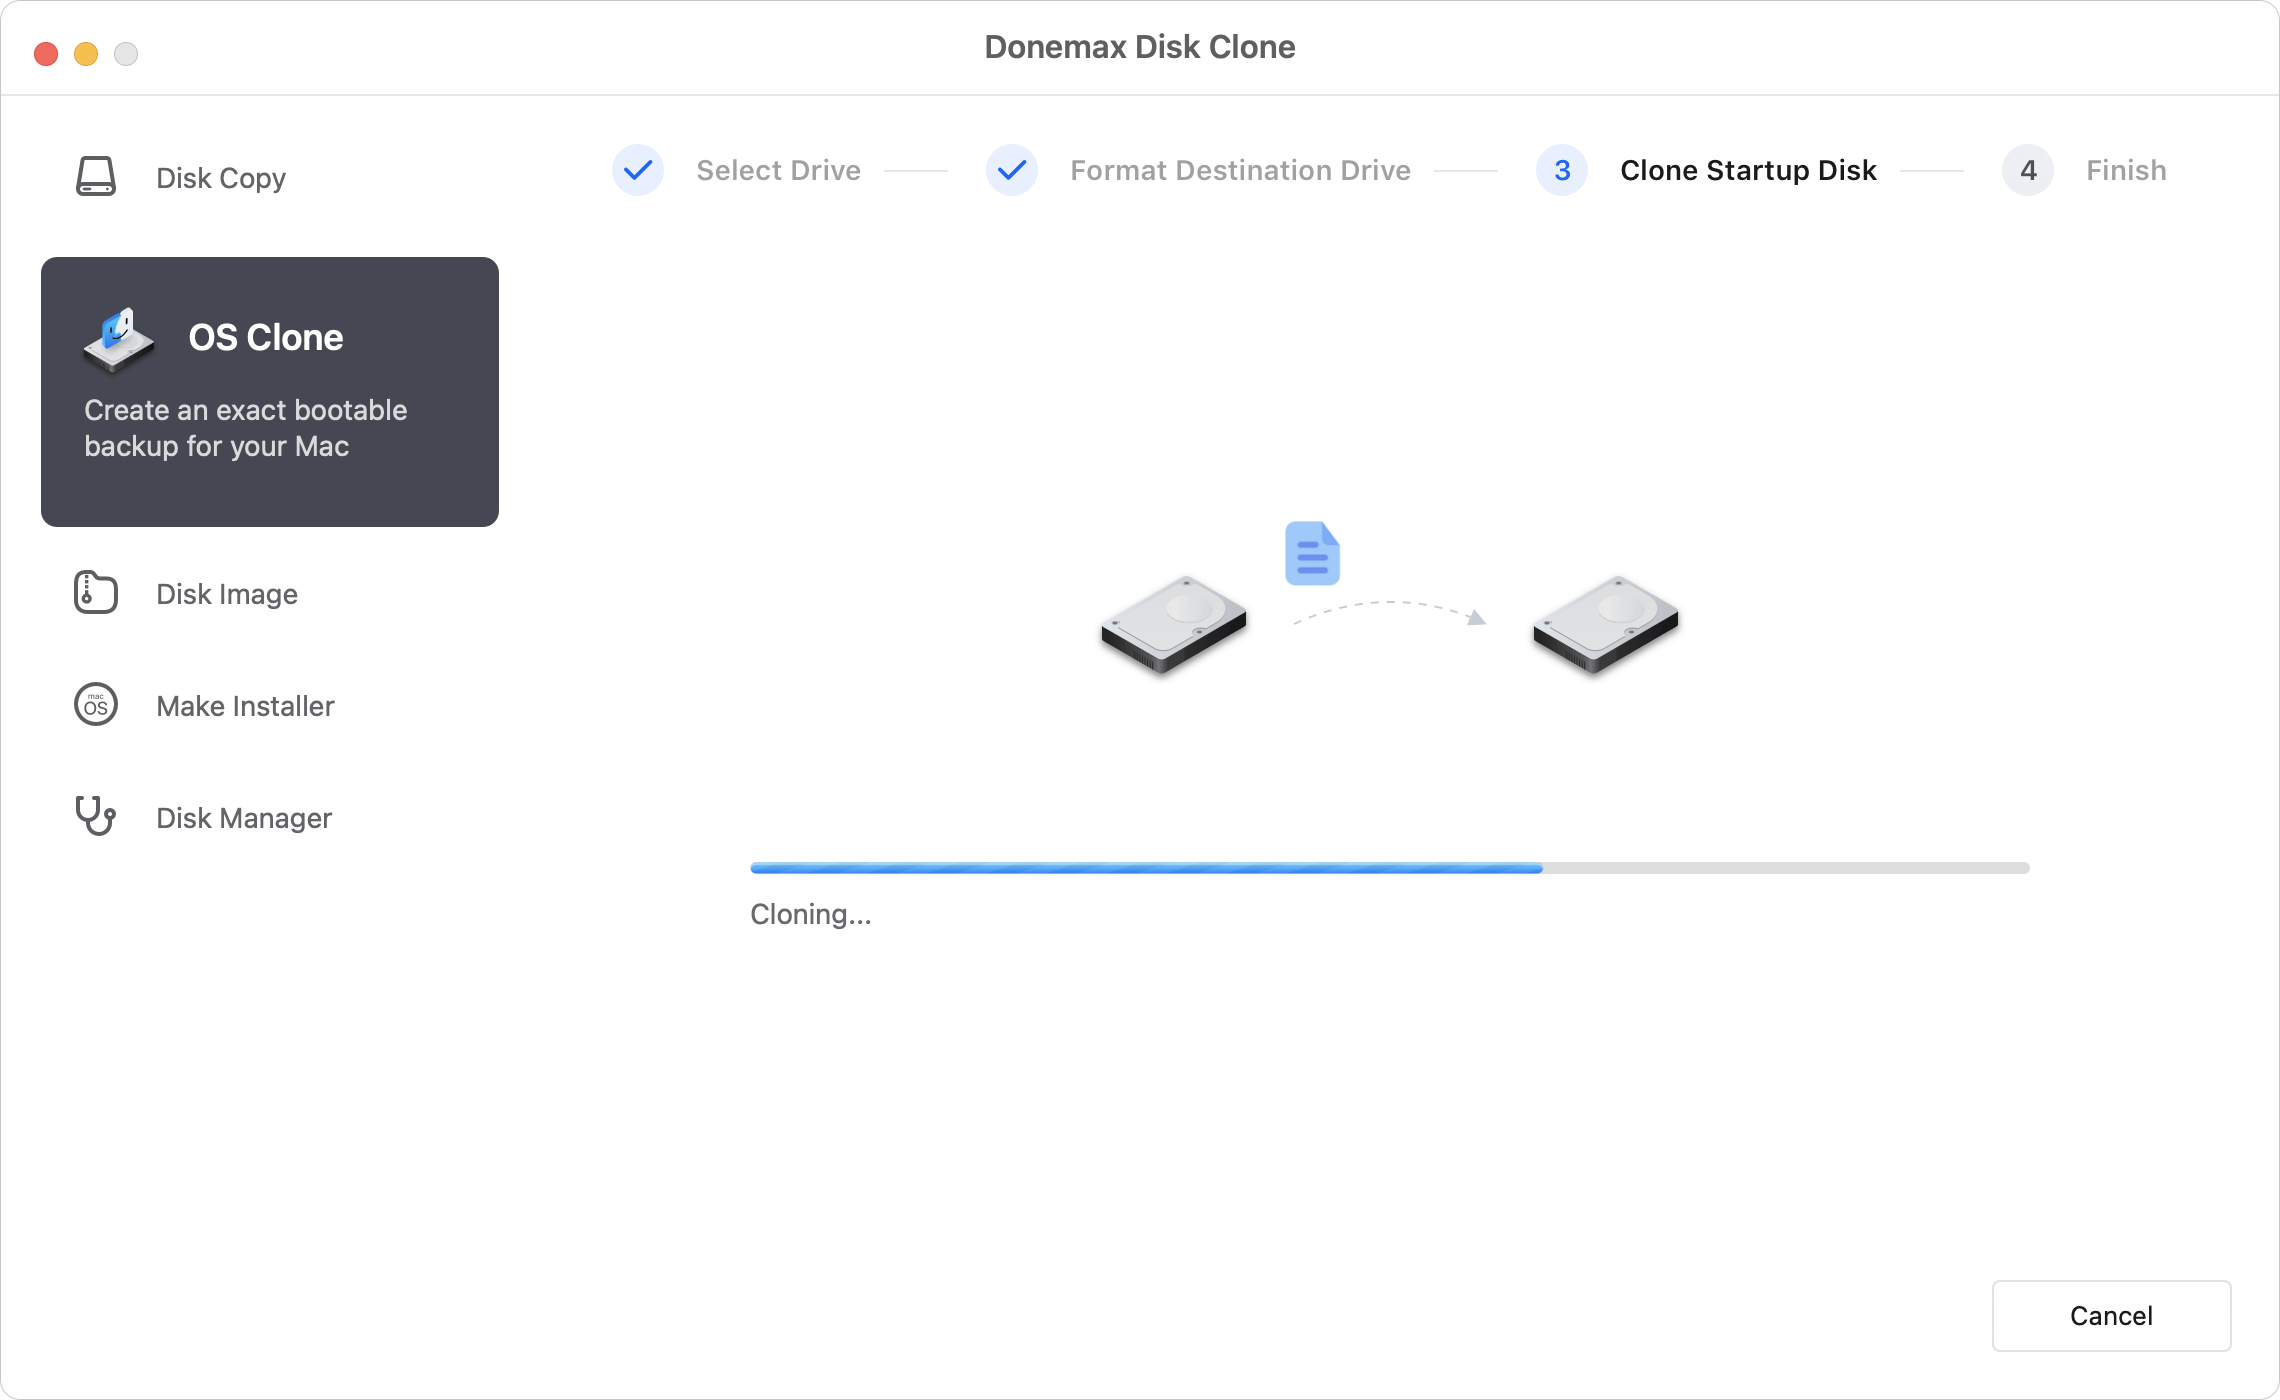
Step 3. Once the process gets finished, you can use the external hard drive as a bootable disk or backup disk.

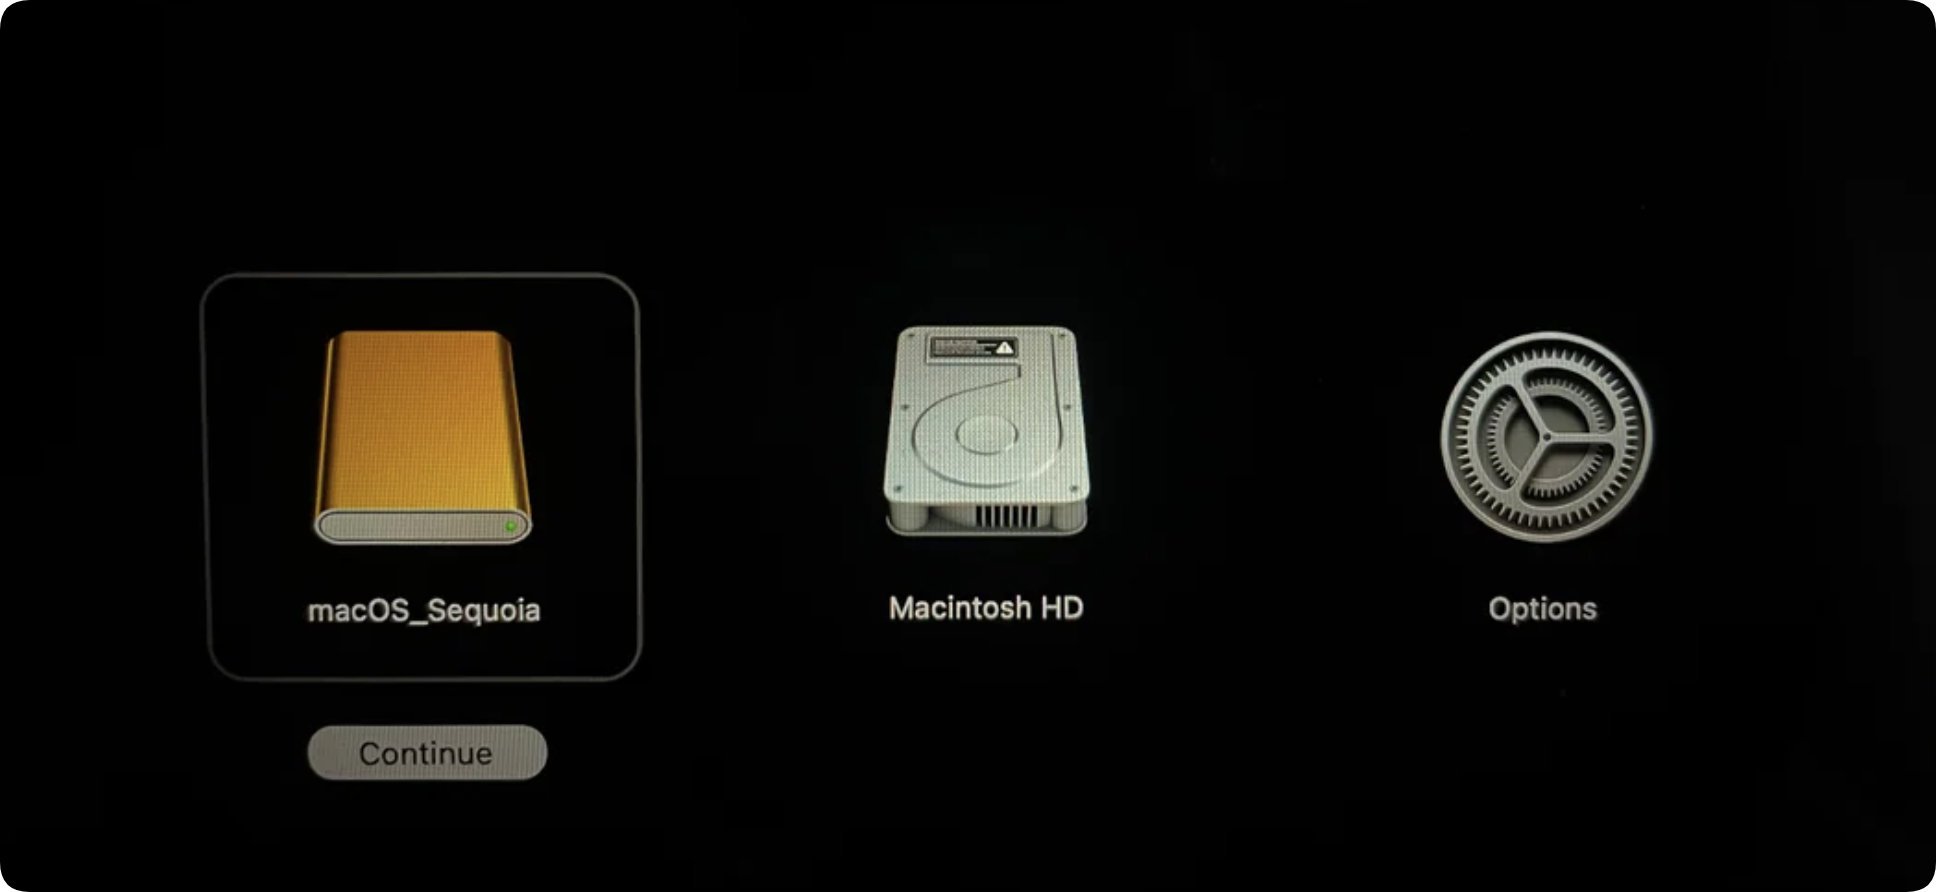
If you want to use the external hard drive as boot drive on the Apple Silicon Mac, you can do as follows:
Connect the external hard drive and start the Mac, you need to immediately press the Power button until you see "Loading startup options" message. Then you will see the external hard drive is list there. Choose the external drive and click Continue to boot from it.
The Final Words
Several methods discussed in this post can be used to migrate the entire system from the old computer to the new one, while others can be used to transfer files from the old Intel Mac to the Apple Silicon Mac exclusively.
Enjoy your new computer by using the appropriate method to transfer files between the Apple Silicon Macs and Intel Macs following your precise demands.
Donemax Disk Clone for Mac
An award-winning disk cloning program to help Mac users clone HDD/SSD/external device. It also can create full bootable clone backup for Macs.
Related Articles
- Jul 18, 2025How to Clone Disk on Mac Pro?
- Jun 03, 2026How to Migrate Data from Old Mac to M5 Mac via Disk Clone?
- Aug 08, 2025How to Restore Mac from A Backup?
- Aug 13, 2025SuperDuper! VS Carbon Copy Cloner for Mac Disk Cloning
- Jun 24, 2025How to Use Time Machine on macOS Sequoia?
- Jun 21, 2023Free Download EaseUS Disk Copy for Mac Alternative Software

Contributing Writer
Charles
Charles, who lives in Sydney, Australia, is an editor & writer of Donemax Team. He is good at writing articles related with Apple Mac computers, Windows operating systems, data recovery, data erasure, disk clone and data backup, etc. He loves reading and playing tennis in his spare time and is interested in testing new digital devices such as mobile phones, Macs, HDDs, SSDs, digital cameras, etc.

Editor in chief
Gerhard Chou
In order to effectively solve the problems for our customers, every article and troubleshooting solution published on our website has been strictly tested and practiced. Our editors love researching and using computers and testing software, and are willing to help computer users with their problems