
Best data recovery software - easily and completely recover deleted, formatted or lost files.
When Microsoft released Windows 11, the tech giant promised gamers that it offered some new features they'd love. Although the current version has some minor flaws, there are still seven ways to improve the gaming experience for gamers who have upgraded to Windows 11. If you want to get a better gaming experience on Windows 11, this article will detail it.
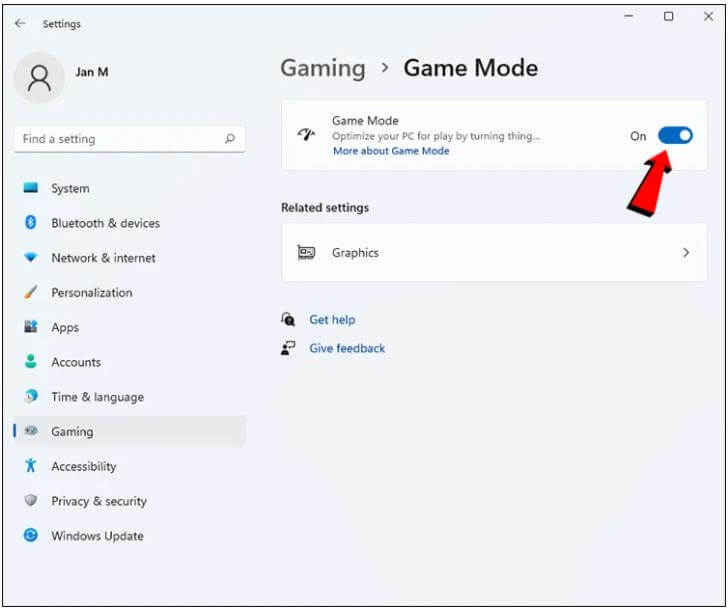
Method 1: Activate Game Mode
Turning on Game Mode will generally improve performance, but results will vary from game to game as every game is different. You can compare and contrast performance and look for any substantial improvements. The specific opening steps are as follows:
1. On your PC, click the Windows Start button in the lower-left corner.
2. Click the gear icon to enter the "Settings" menu

3. Select "Game" from the options, enter "Game Mode", turn on Game Mode, and make the switch appear blue.
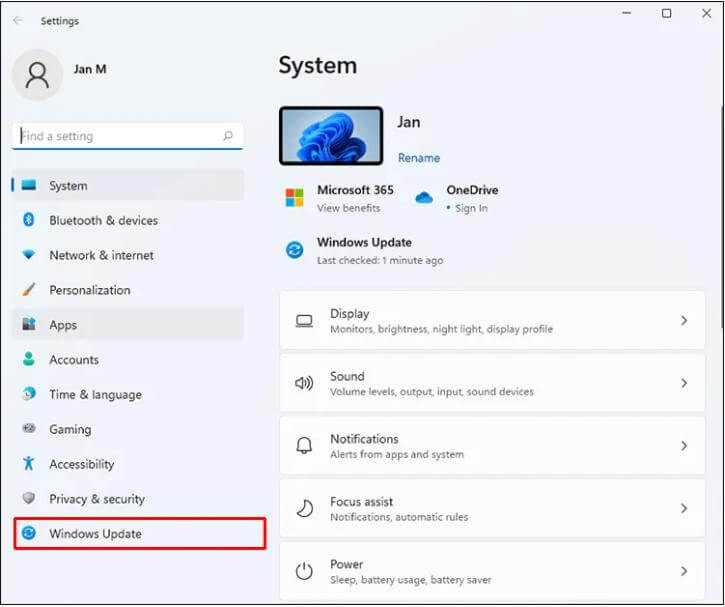
Method 2: Use the Latest Version of Windows 11
The latest version of the operating system usually offers slightly better performance, but that's not all. Newer versions also introduce new security patches to help protect those who play online games and socialize. To help optimize your gaming experience, we recommend updating your Windows 11 operating system as often as possible.
1. Click the Start menu, find and click the Settings button, and look for "Windows Update" in the left column of the Settings
2.In the Updates section, select Check for Updates. then restart the computer
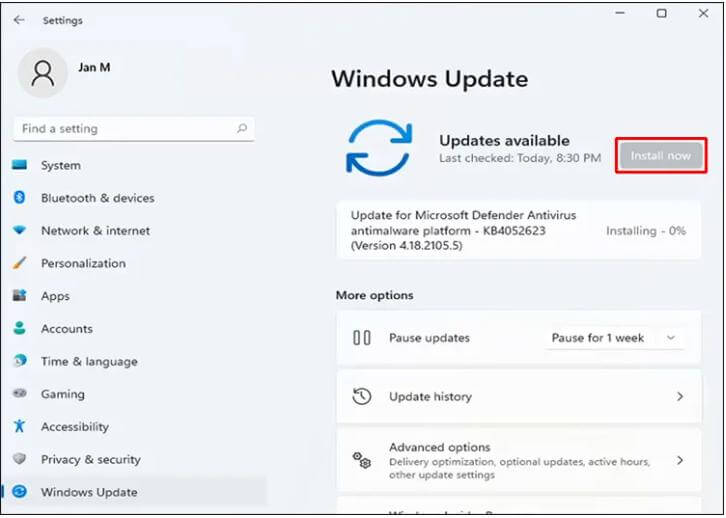
The best way to handle the latest Windows 11 version is to enable automatic updates. They will be installed automatically. All you have to do is restart your computer for the changes to start working.
Method 3: Update Your Graphics Card Driver
Every competent gaming PC will include a dedicated GPU that handles gaming tasks first and foremost. However, laptops with integrated graphics or APUs will receive updates from Windows Update.
Whether your PC has an AMD or NVIDIA GPU, you need to use the appropriate dedicated software.
Here's how to update NVIDIA drivers.
1. Launch NVIDIA GeForce Experience.
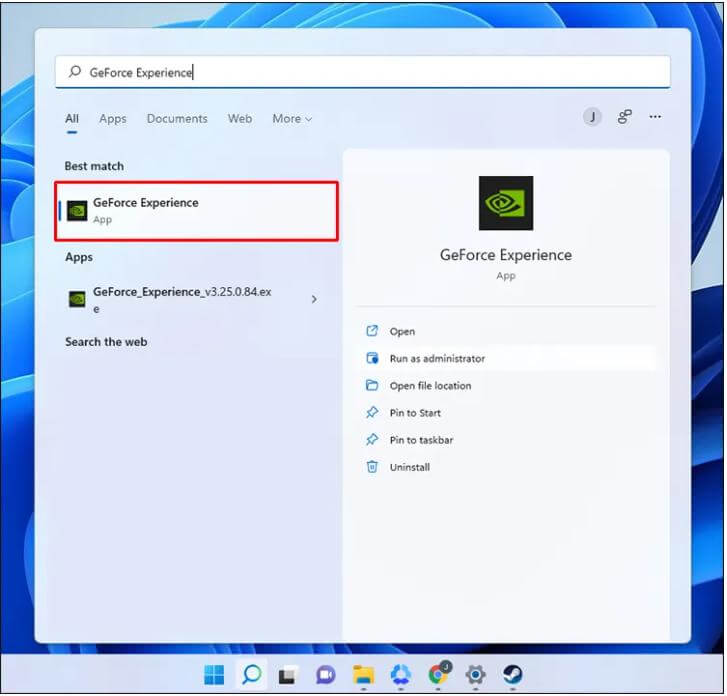
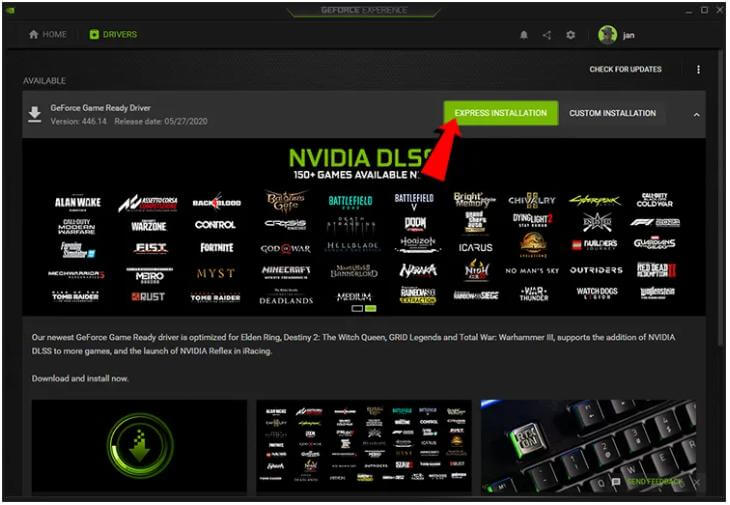
2. Click "Check for Updates". and download the latest driver
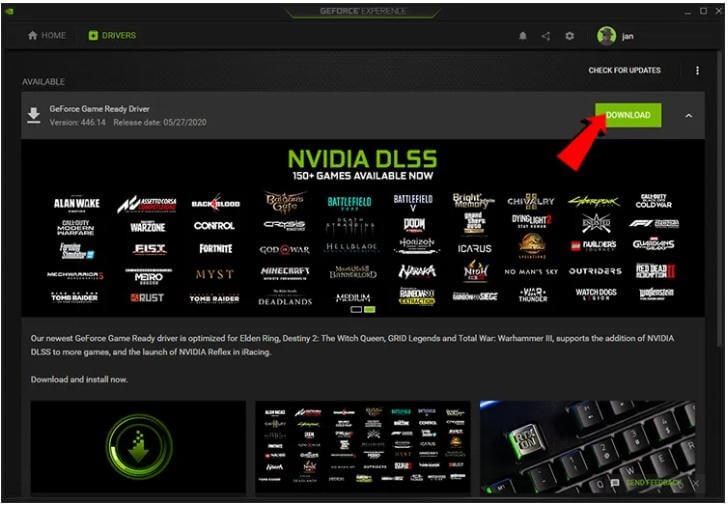
3. Install the driver.
Note: The update method of AMD GPU is consistent with the steps of NVIDIA
If you're using a PC or laptop with integrated graphics, follow the steps below.
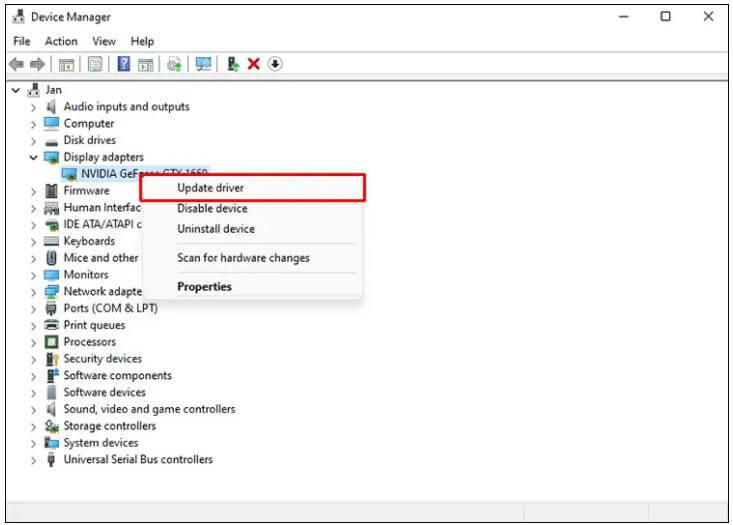
1. Press Windows key + R, enter "devmgmt.msc", and click "OK" to bring up the device manager.
2. Find "Display Adapters" in Device Manager, expand it and find the integrated graphics driver.
3. Right-click on it and select "Update Driver."
4. Click "Search Drivers Automatically".
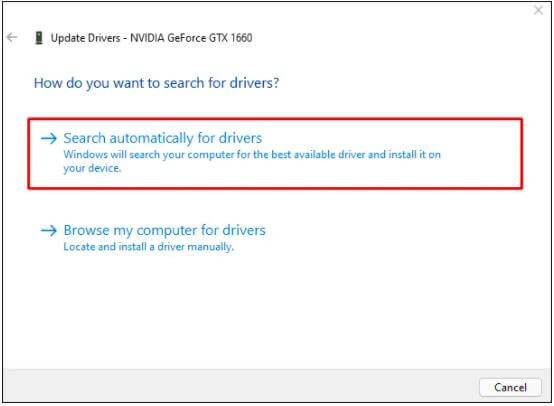
5. After installing the driver, restart the computer.
Method 4: Turn on High-Performance Mode
High-Performance Mode makes Windows 11 prioritize gaming sessions and divert most of the power to those tasks.
1. Click on your search bar and enter "power plan."
2. Click "Edit Power Plan." When the window opens, select "Power Options."
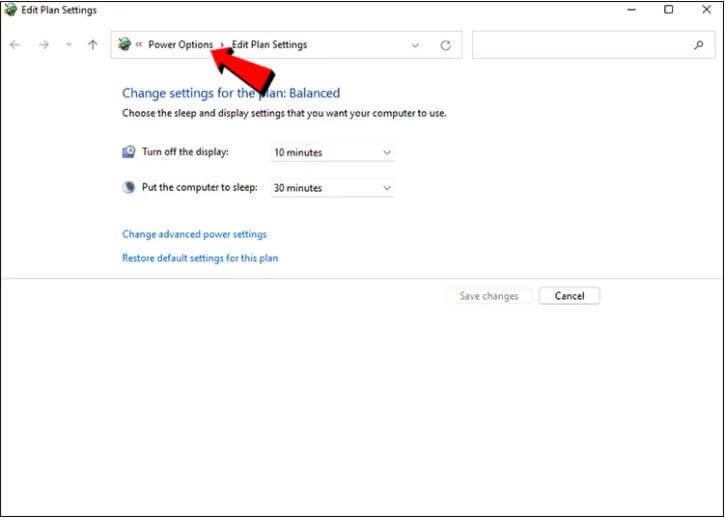
3. If you do not see high performance, show other plans.
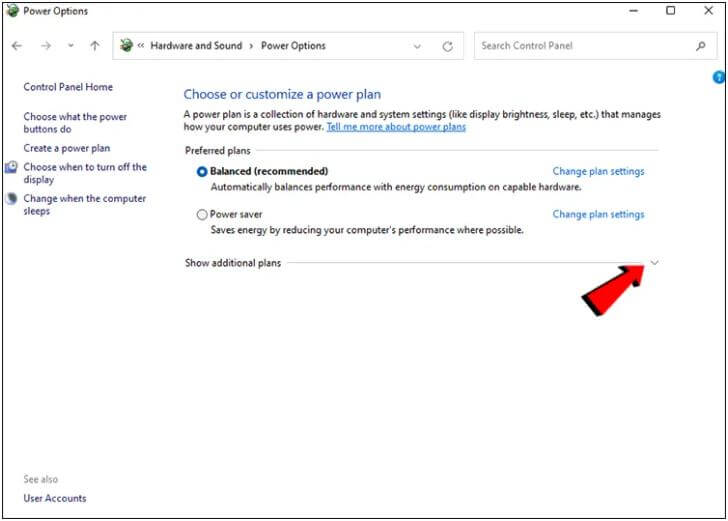
4. Select High Performance from the list.
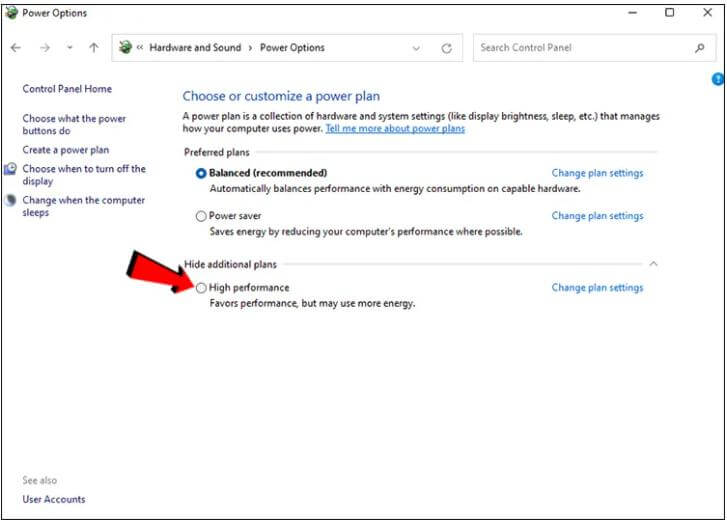
Note: This setting is mainly suitable for laptops, as the PC does not require an internal battery to operate.
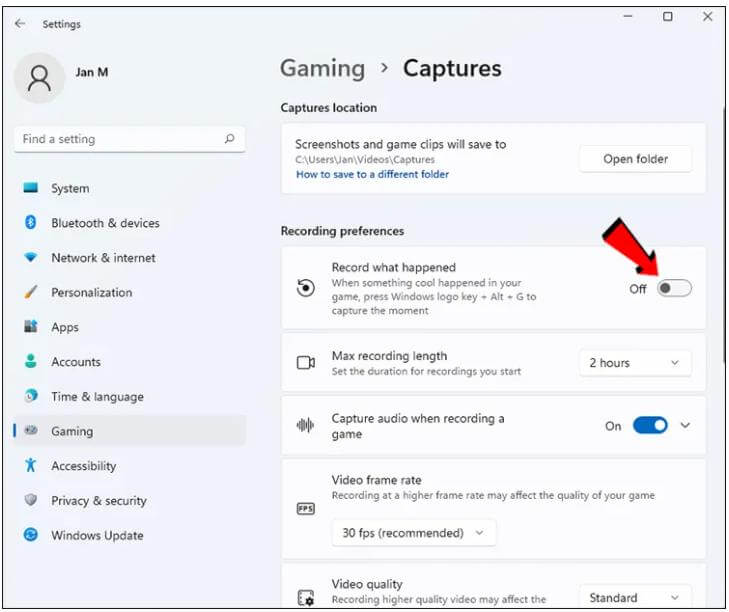
Method 5: Disable Logging of What Happened
Windows 11 comes with the Xbox Game Bar, allowing users to record clips that happened some time ago. Since this setting reduces performance, it is best to disable it. Better driver-based recording options are available for both AMD and NVIDIA GPU users.
1. On your PC, click the Windows Start button in the lower-left corner.
2. Click the gear icon to enter the "Settings" menu
3. Select "Game" from the options, and click "Capture."
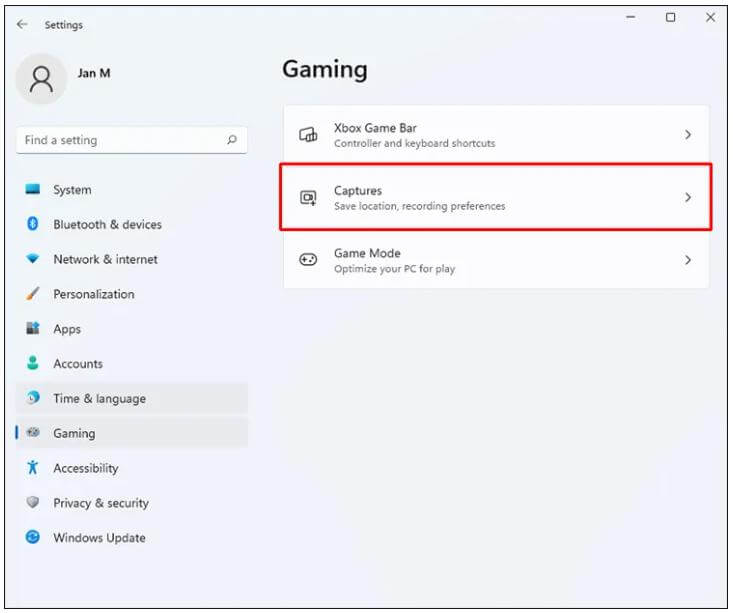
4. Turn off "Record what happened".
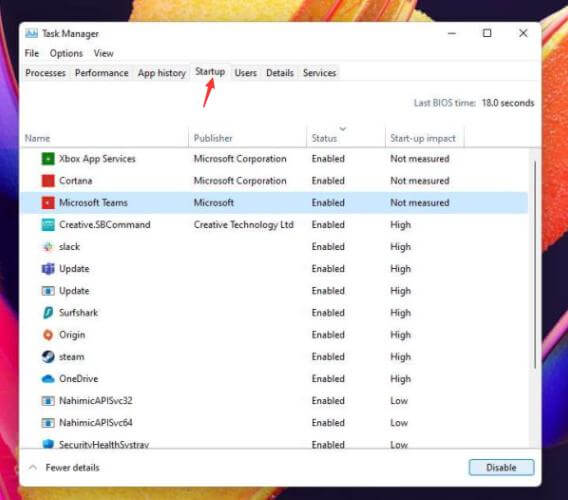
Method 6: Disable Application Startup During Startup
Launching too many apps at once can slow down your PC, so limiting startup items can make your PC run faster.
Right-click the Windows Start button and click Task Manager. Then click the Startup tab and disable any software you don't want to start when you log into Windows.
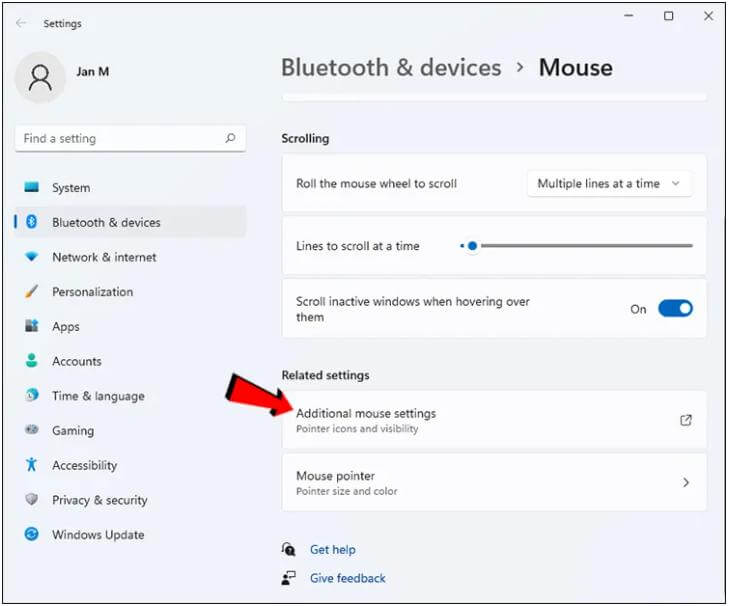
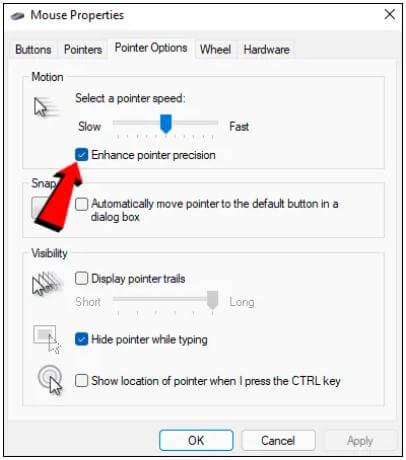
Method 7: Disable Enhanced Pointer Precision
These days, many gaming mice have drivers and software to increase sensitivity or enable pointer acceleration. Windows 11 also has built-in mouse acceleration, but it's best to disable it. This way, you can precisely adjust the mouse without outside interference.
1. Search for "mouse" in the Windows search bar and go to mouse settings
2. Click Additional Mouse Settings.
3. Move to Pointer Options.
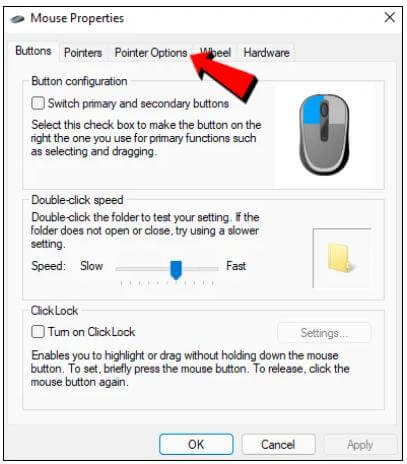
4. Under Motion, disable Enhanced Pointer Precision. and click Apply to save the settings.
After following these steps, you can configure your gaming mouse settings. Everything should feel better without the weird acceleration you don't want.
Further reading:
Windows 11 provides a lot of optimization and processing in terms of gaming and has made significant improvements to the experience. If gamers encounter data loss in using, here I recommend a free data recovery software, Donemax Data Recovery Software, which can well retrieve lost/deleted files on Windows 11. Here are the steps to recover data on Windows 11 PC.
Step 1. Choose a location and start scanning
Launch Donemax Data Recovery Wizard and select the partition from which you lost data. Then, click Scan.

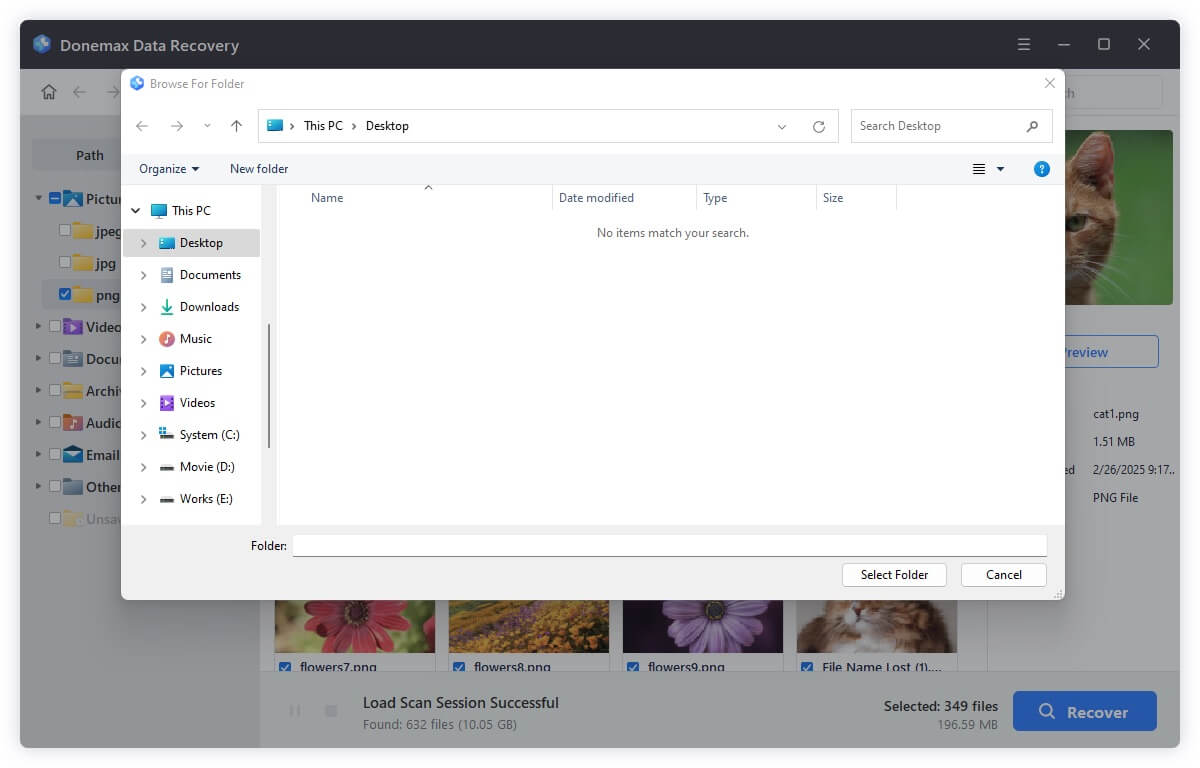
Step 2. Find the file you need.

Step 3. Select the file and click Restore to restore the file to a safe place.
Donemax Data Recovery
Hot Articles
- Best 10 data recovery software for Windows and Mac OS
- Easy Way to Recover Permanently Deleted Files
- Fix Corrupted SD Card and Recover Lost Images and Videos
- Fix External Device Not Showing Up and Recover Data
- Recover Lost or Unsaved Word Documents
- Recover Deleted or Lost Hard Drive Partition
- Recover Lost Data on Windows 11 PC
- Recover Lost Data from Formatted SSD
- Recover Deleted Photos from Digital Camera
- How to Fix WD Portable Drive Not Showing Up